> ## Documentation Index
> Fetch the complete documentation index at: https://docs.ruloans.com/llms.txt
> Use this file to discover all available pages before exploring further.
# How to Add Bank Account for a DSA on RuConnect
> Assisted flow for adding both individual and Company bank accounts for a DSA
## Introduction
This document provides a comprehensive step-by-step guide for DSAs to add bank account on the RuConnect platform. It highlights mandatory and optional fields, supported by screenshots, to ensure clarity and completeness.
## Step 1: Access the RuConnect Platform
1. **URL**: Open the RuConnect platform at [https://ruconnect.in/](https://ruconnect.in/).
2. **Login**
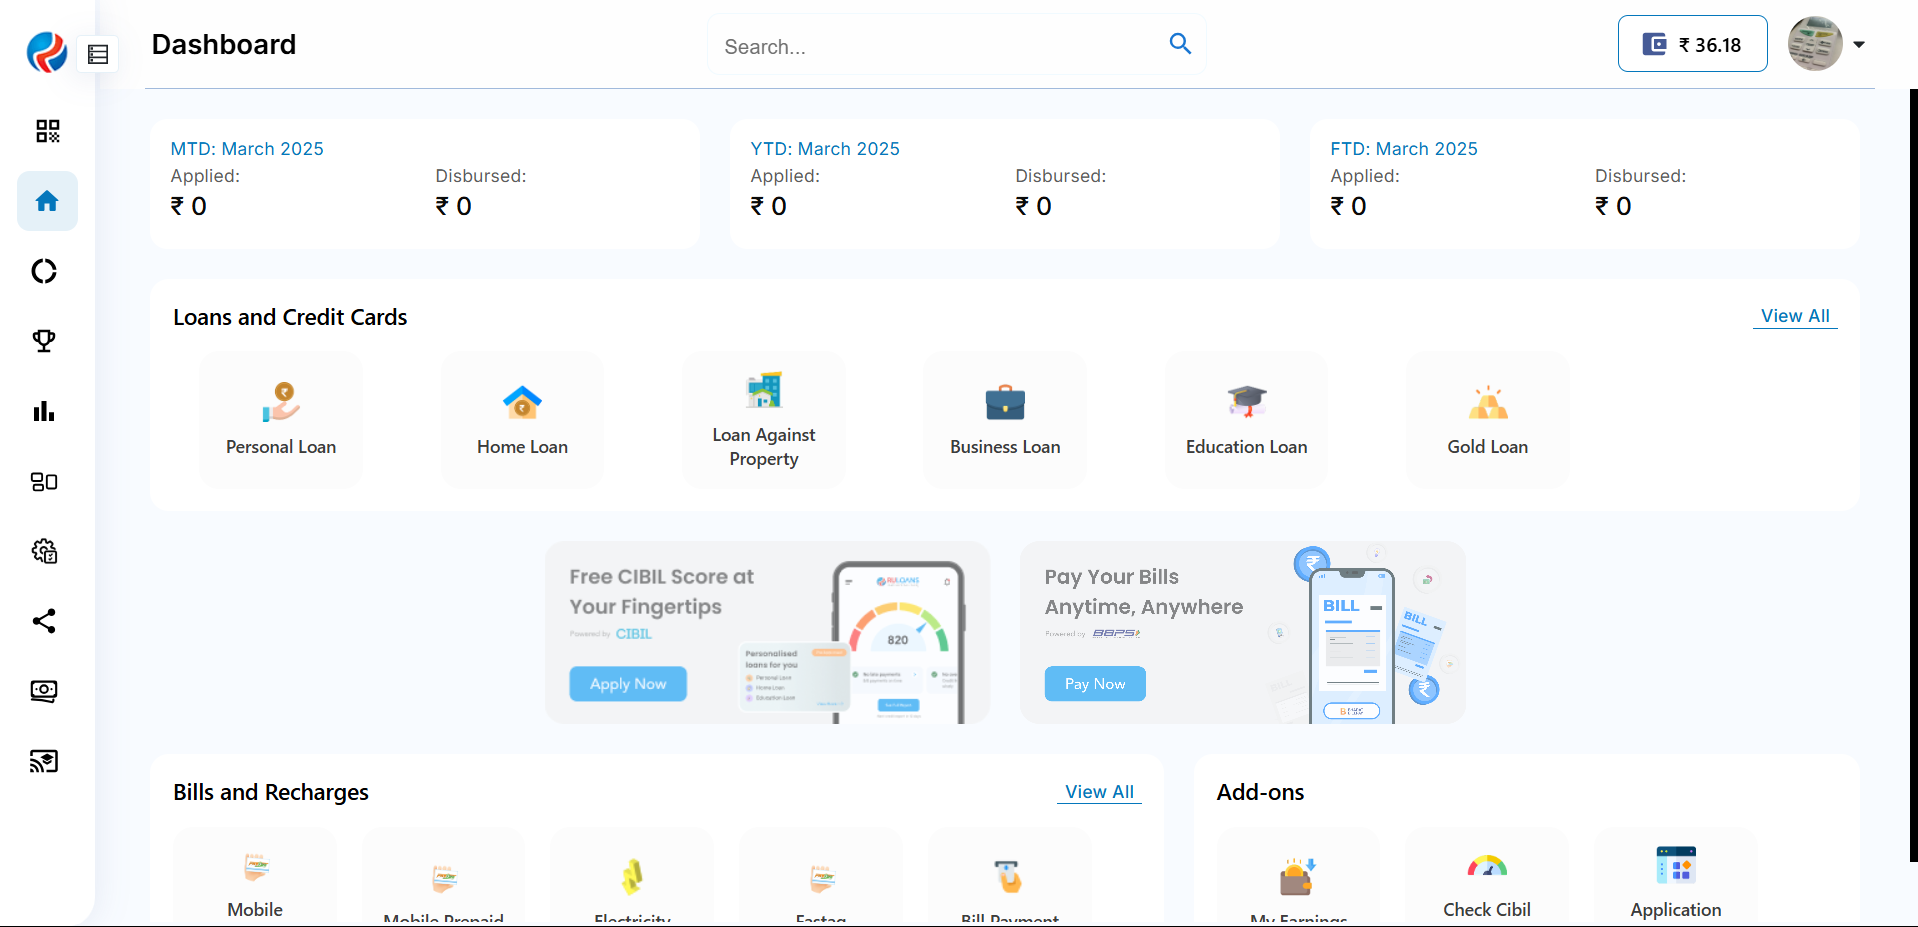
## Step 2: Navigate to the Dashboard
1. After successful login, you will land on the Dashboard.
2. The Dashboard provides:
* **Quick Access Links**: Links to personal loans, home loans, and other products.
* **Status Overview**: Displays details of ongoing or past applications.
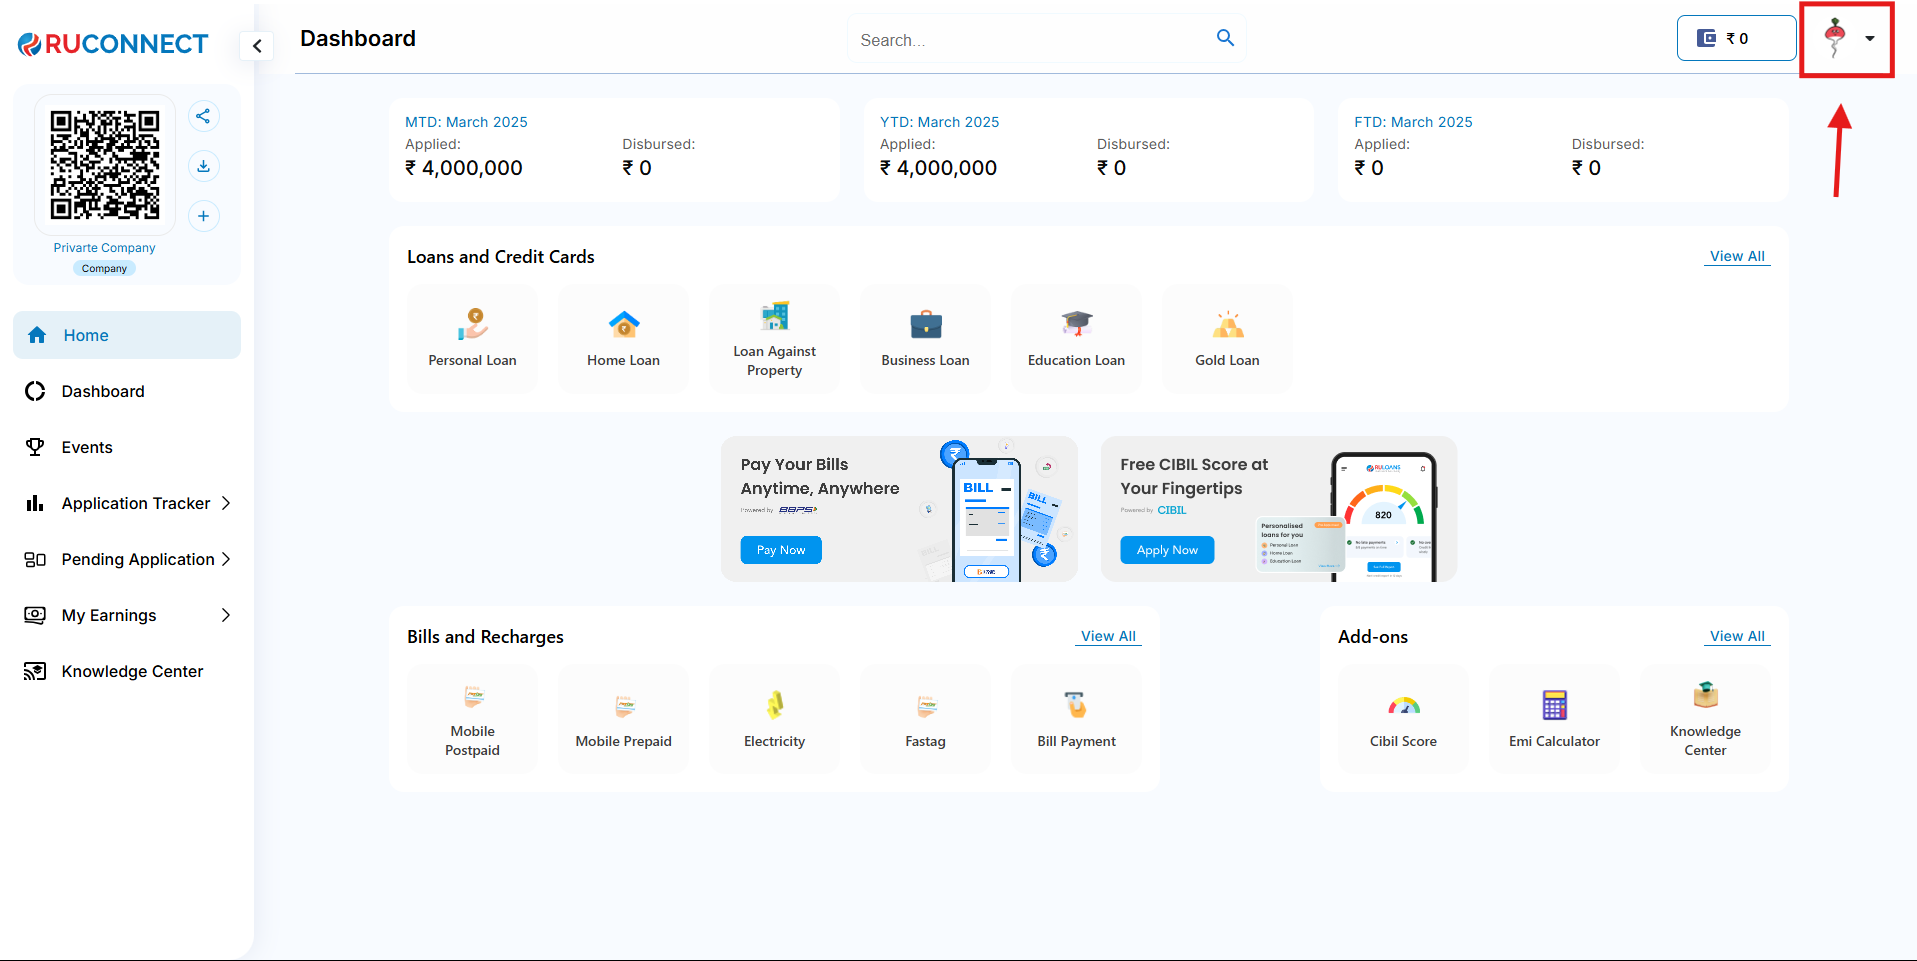
 ## Step 3: Navigate to Profile Selection
1. Click on the Profile image of the DSA.
2. Click on the Name of the DSA to Navigate to profile section.
## Step 3: Navigate to Profile Selection
1. Click on the Profile image of the DSA.
2. Click on the Name of the DSA to Navigate to profile section.
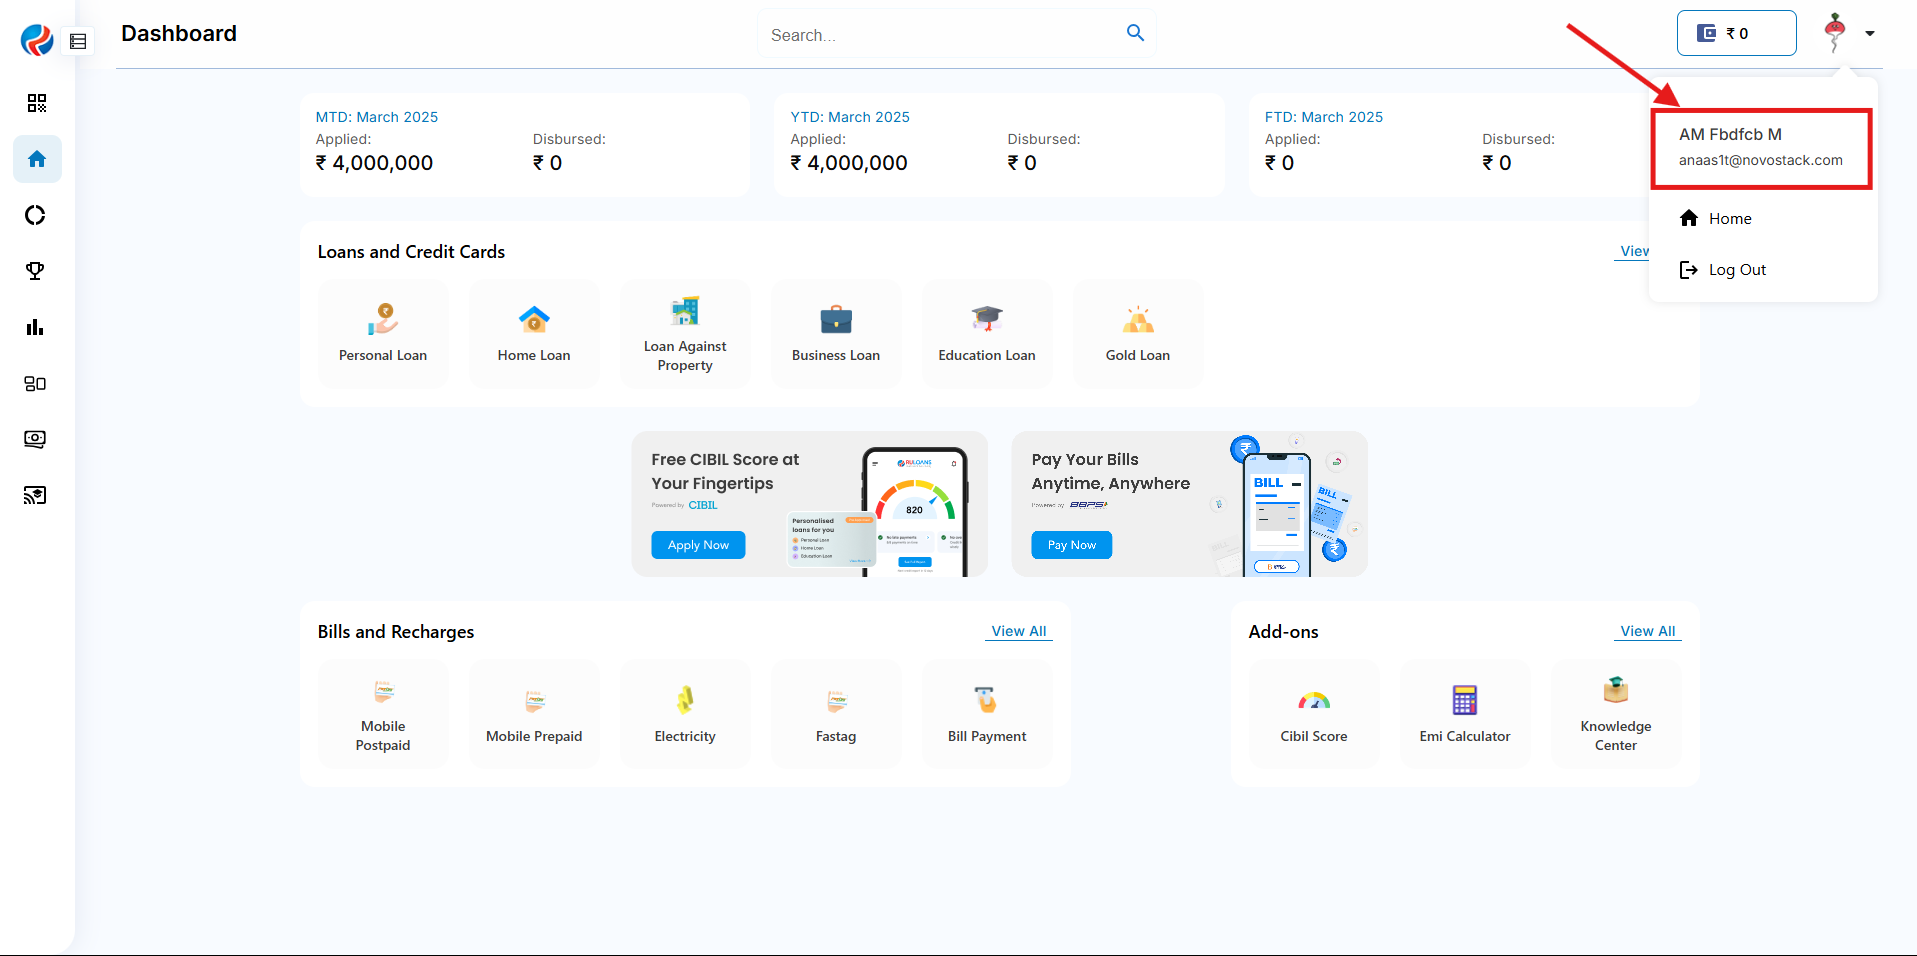 ### Note: For individual dsa and dsa registered as a company but not the person who registered the company.
## Step 4: Add Bank Details section
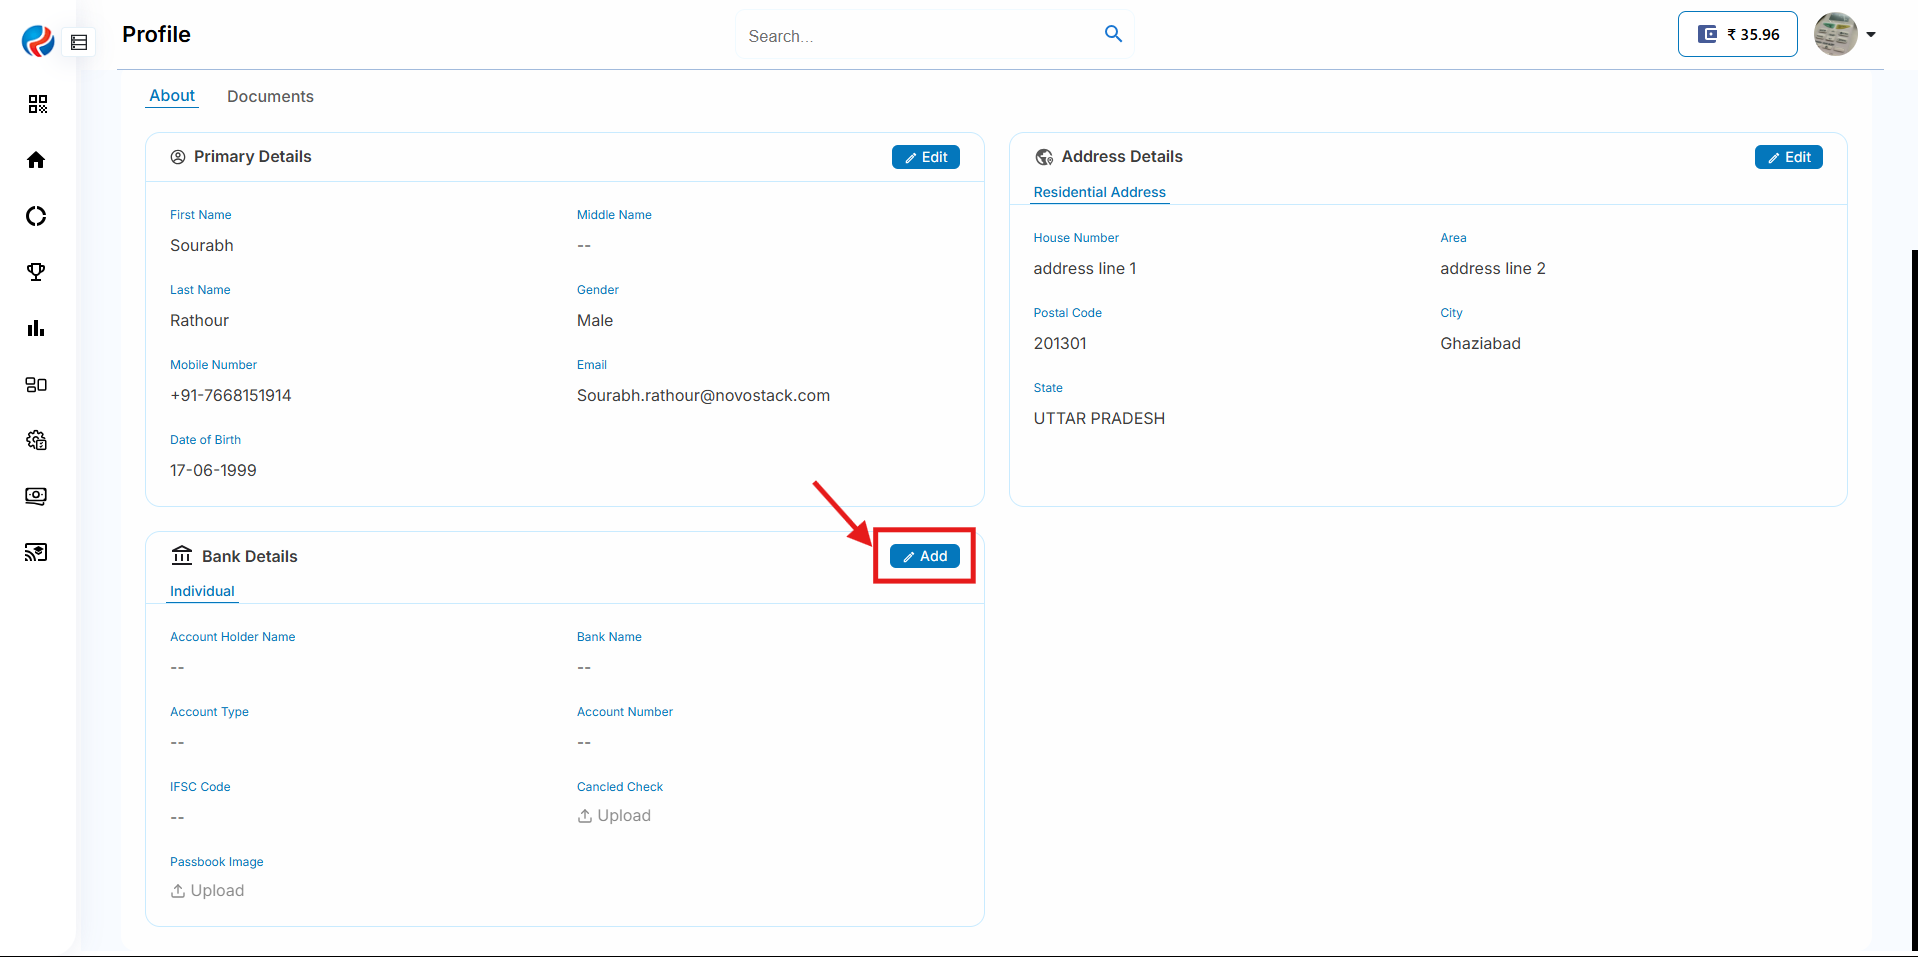
1.Click on Add button.
### Note: For individual dsa and dsa registered as a company but not the person who registered the company.
## Step 4: Add Bank Details section
1.Click on Add button.
 2.Fill all the necessary mandatory details for adding the bank account.
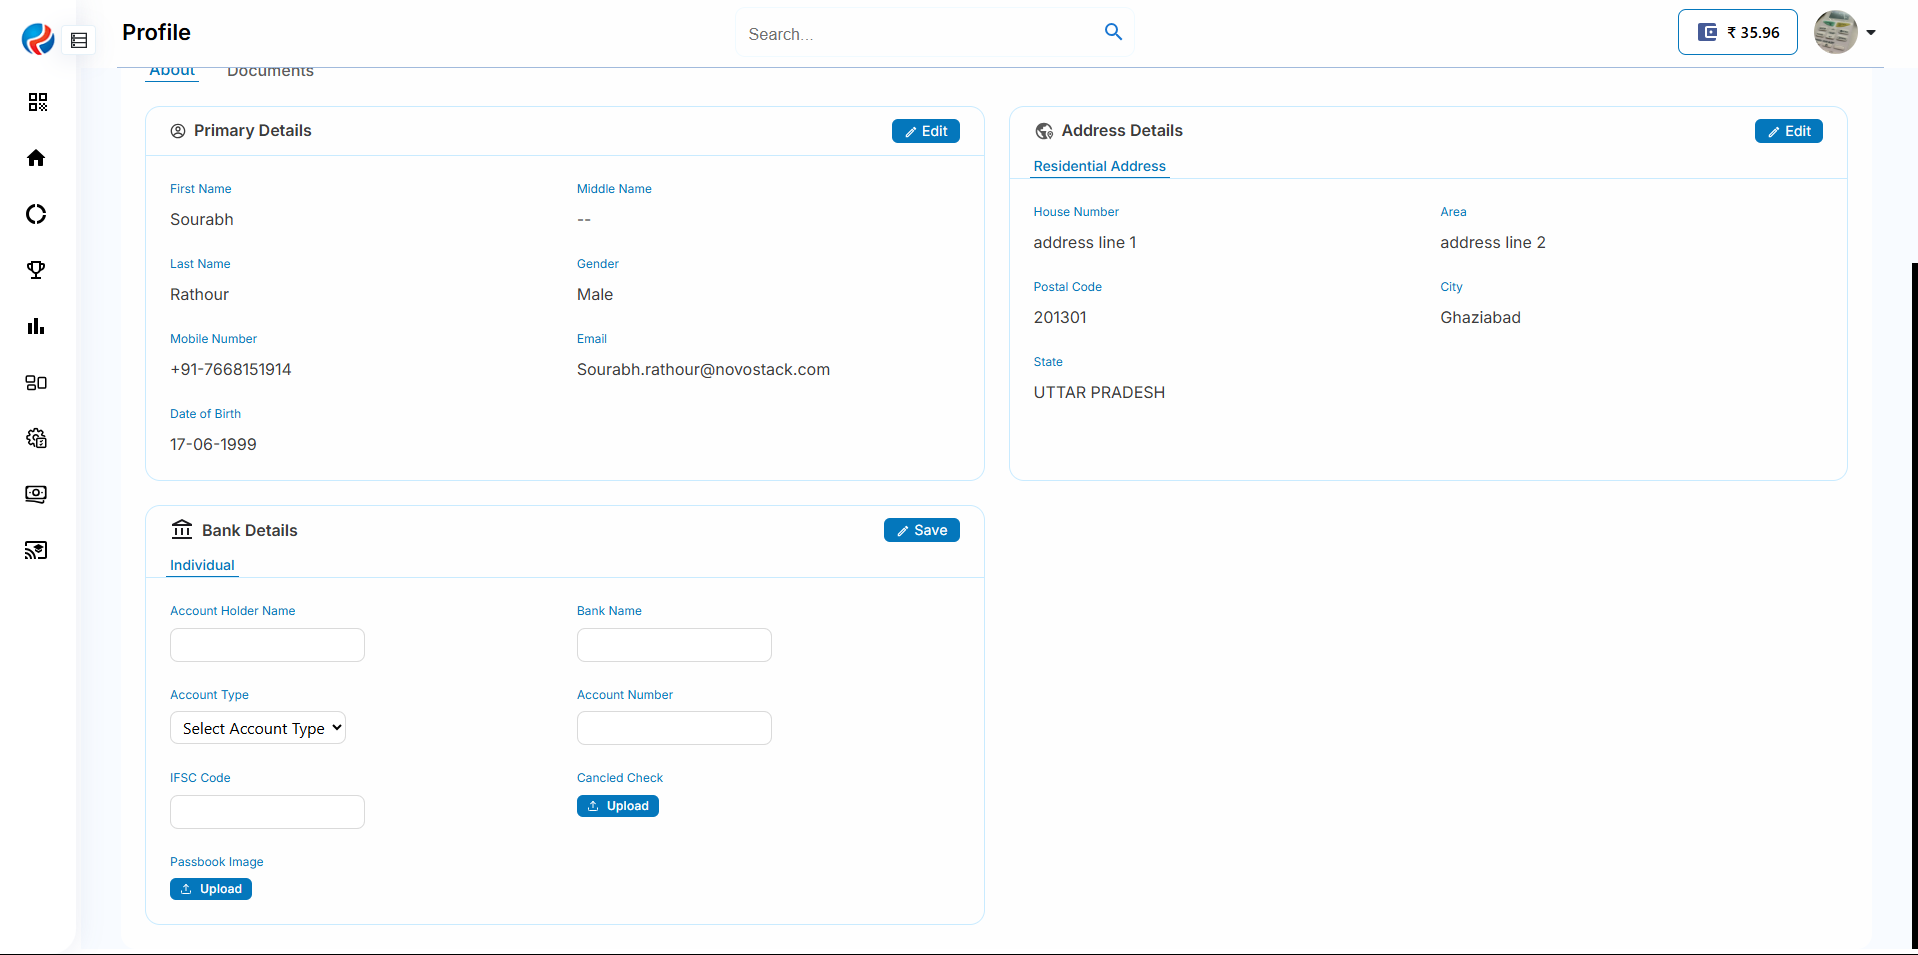 3.Click on Save button.
### Note: For Dsa registered as a company owner
## Step 4: Add Bank Details section
1.Click on Add button.
3.Click on Save button.
### Note: For Dsa registered as a company owner
## Step 4: Add Bank Details section
1.Click on Add button.
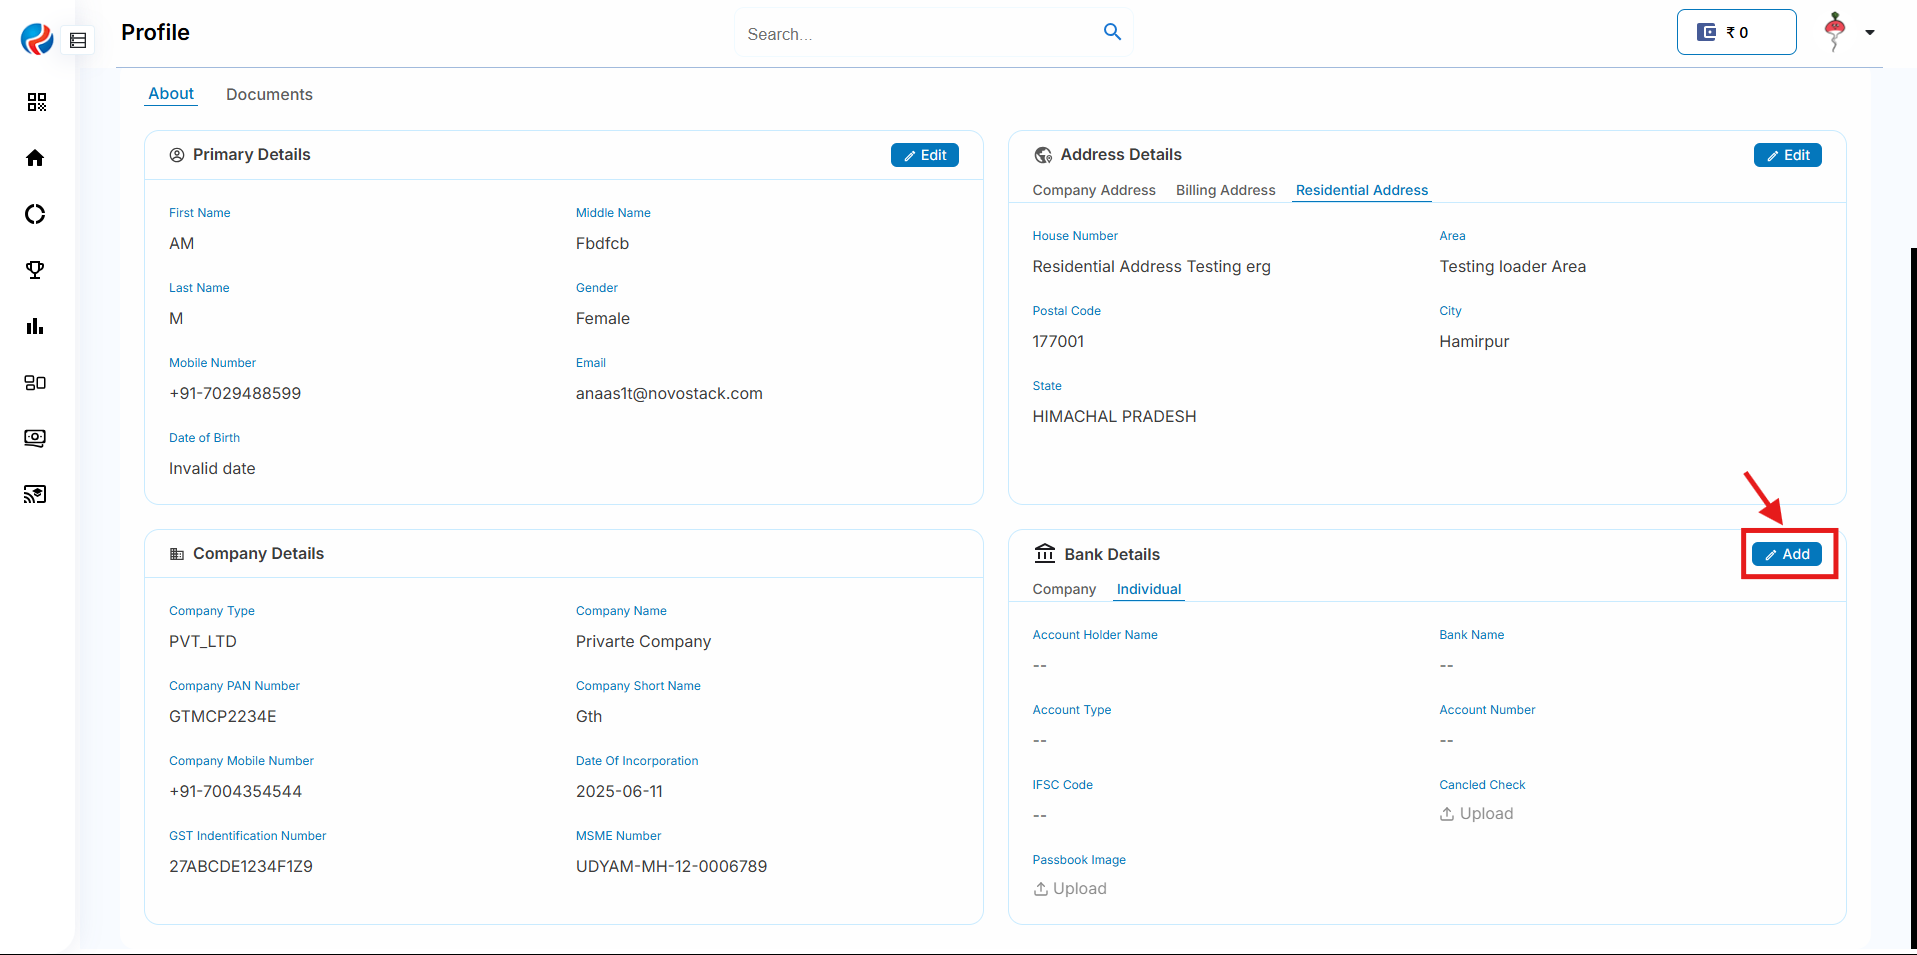 2.Fill all the necessary mandatory details for adding the bank account in both company and individual sections.
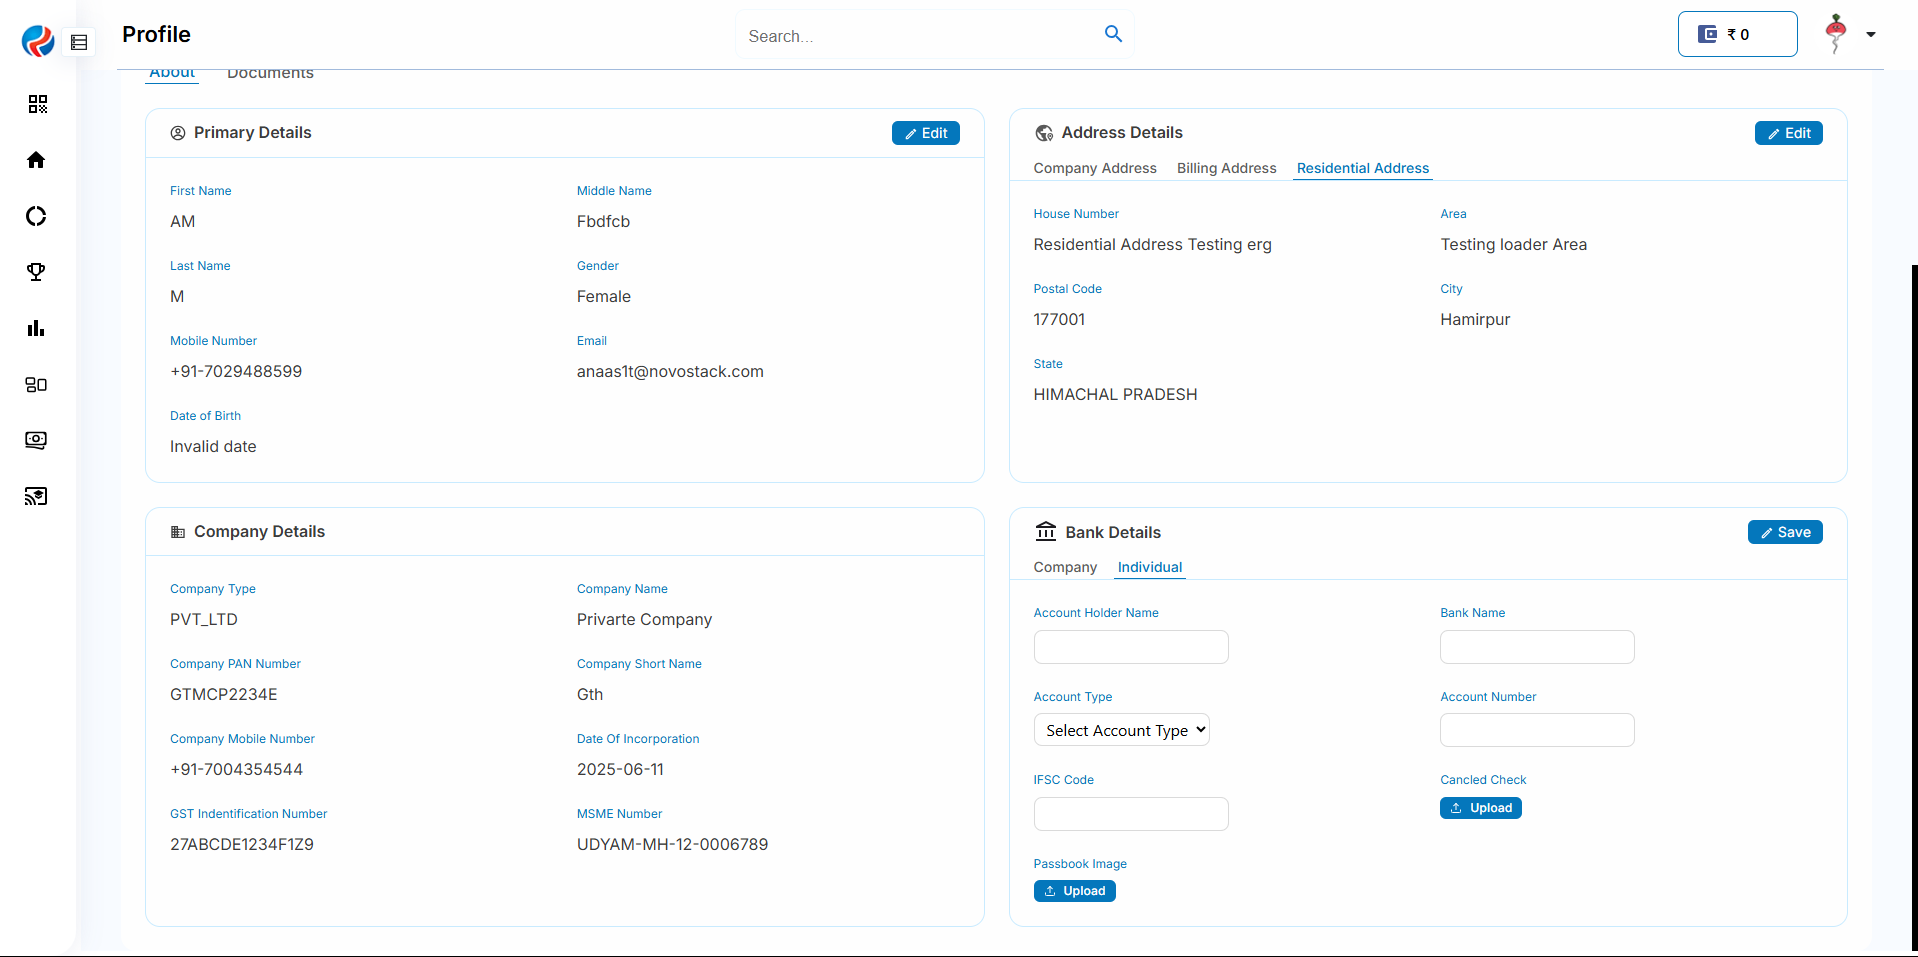
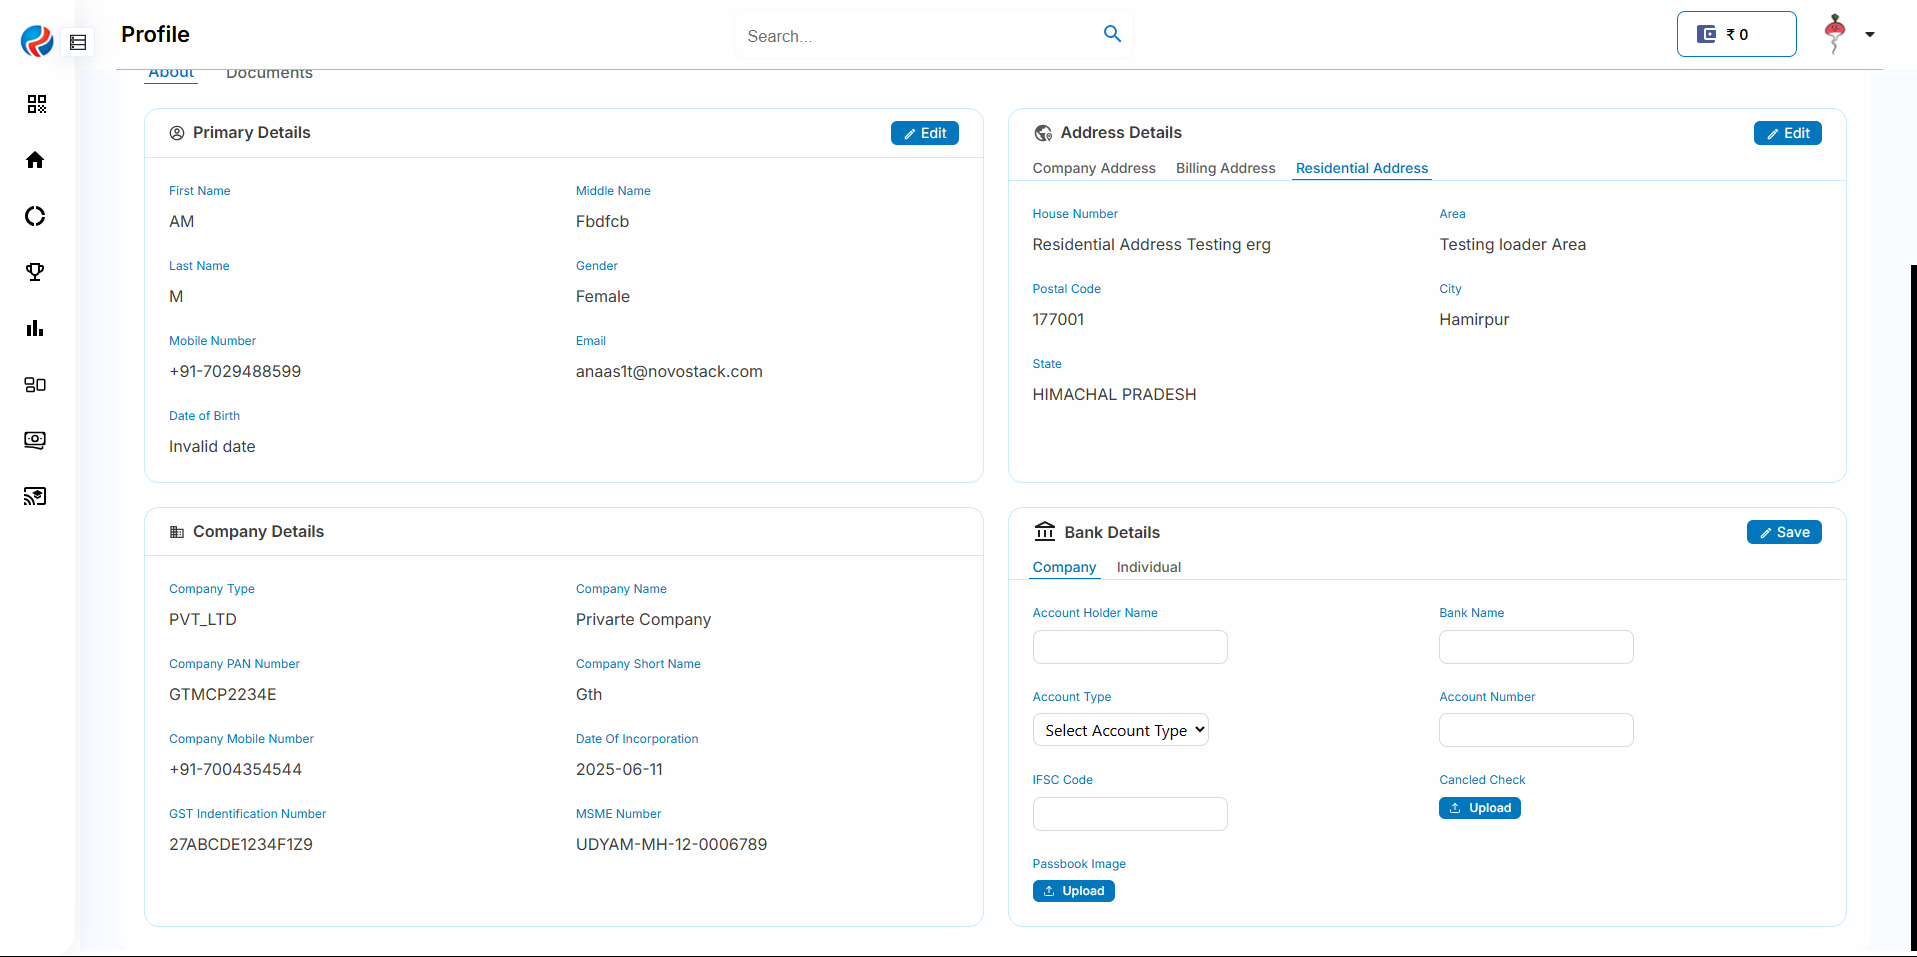 3.Click on Save button.
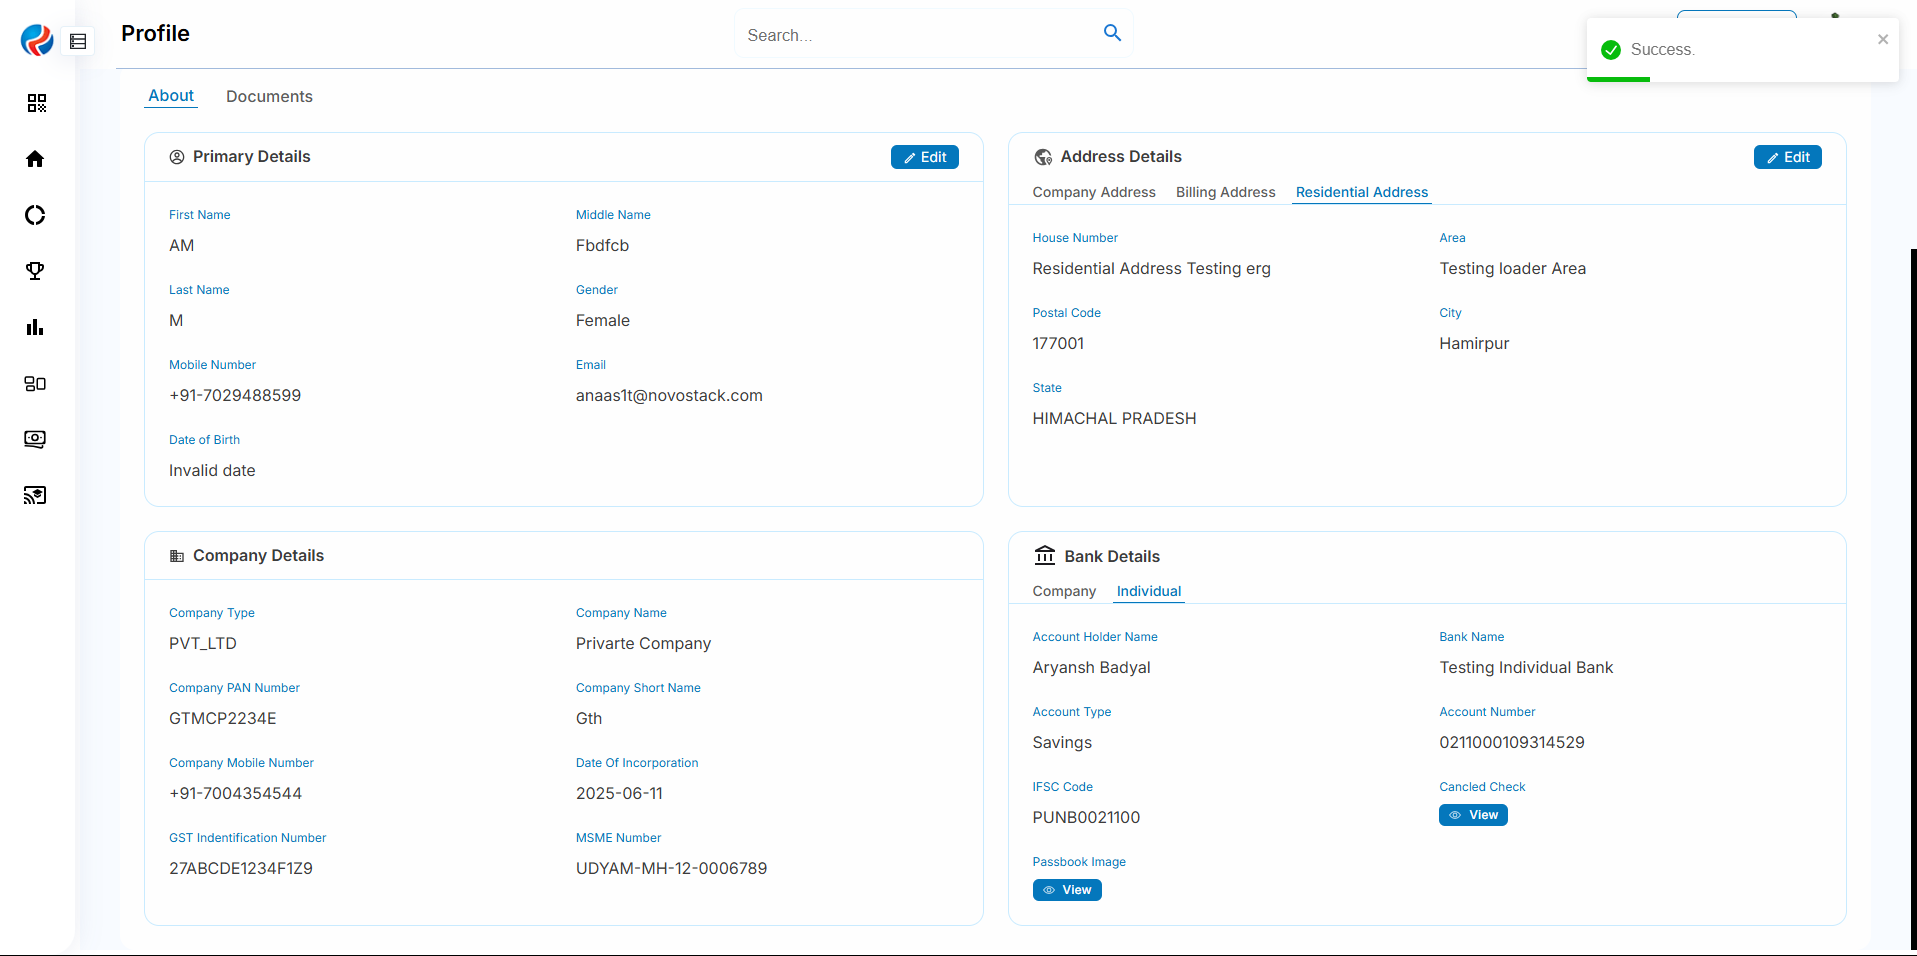
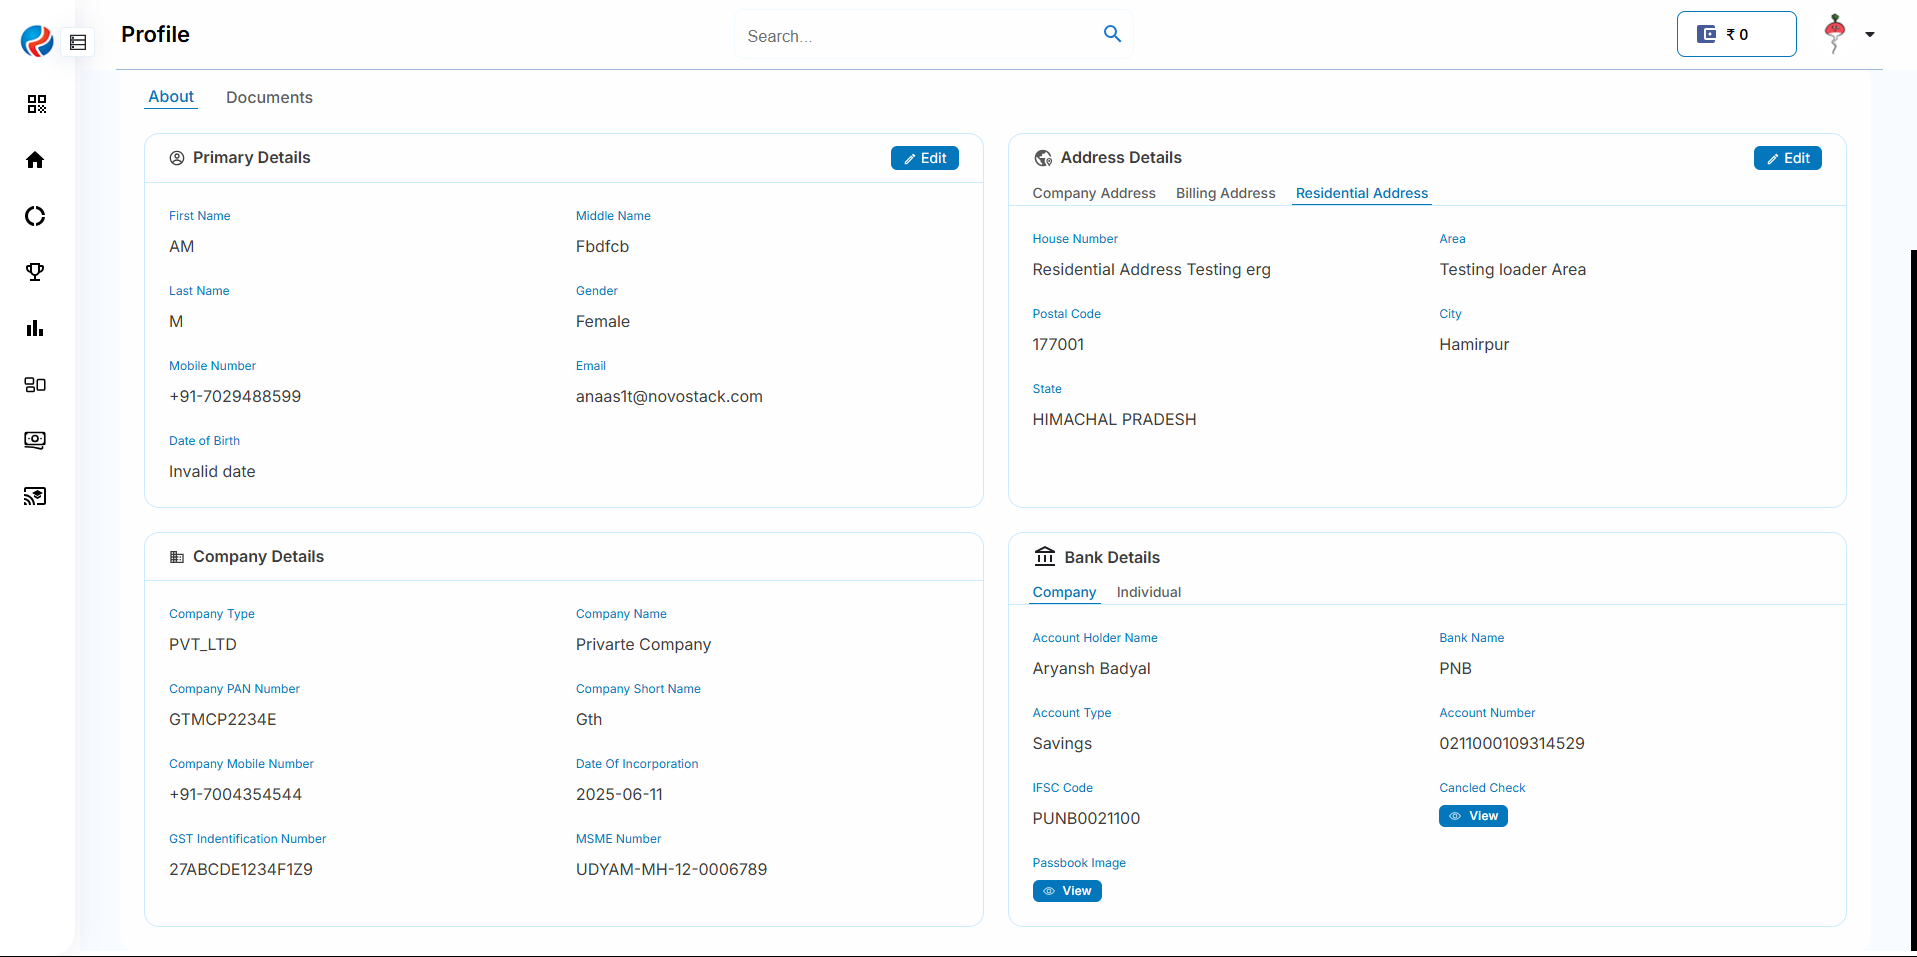
## Step 5: View Bank Details
1.For Individual DSA
3.Click on Save button.
## Step 5: View Bank Details
1.For Individual DSA
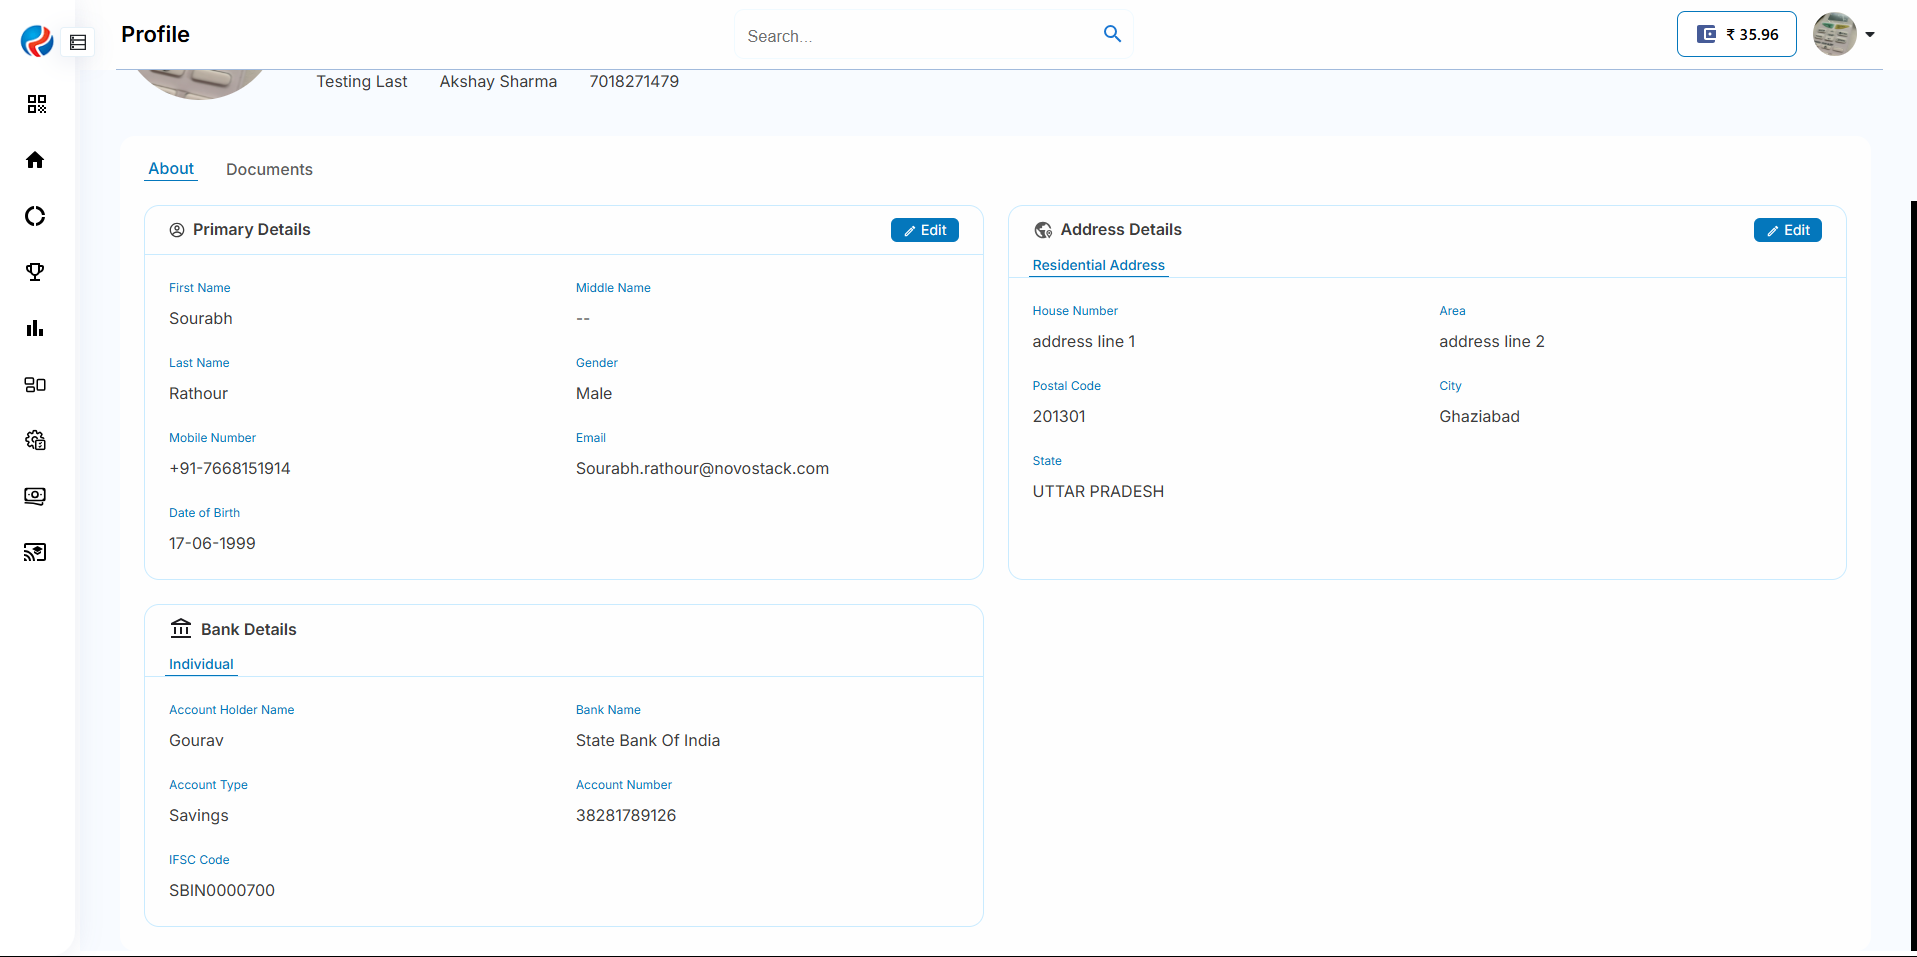 2.For Company DSA