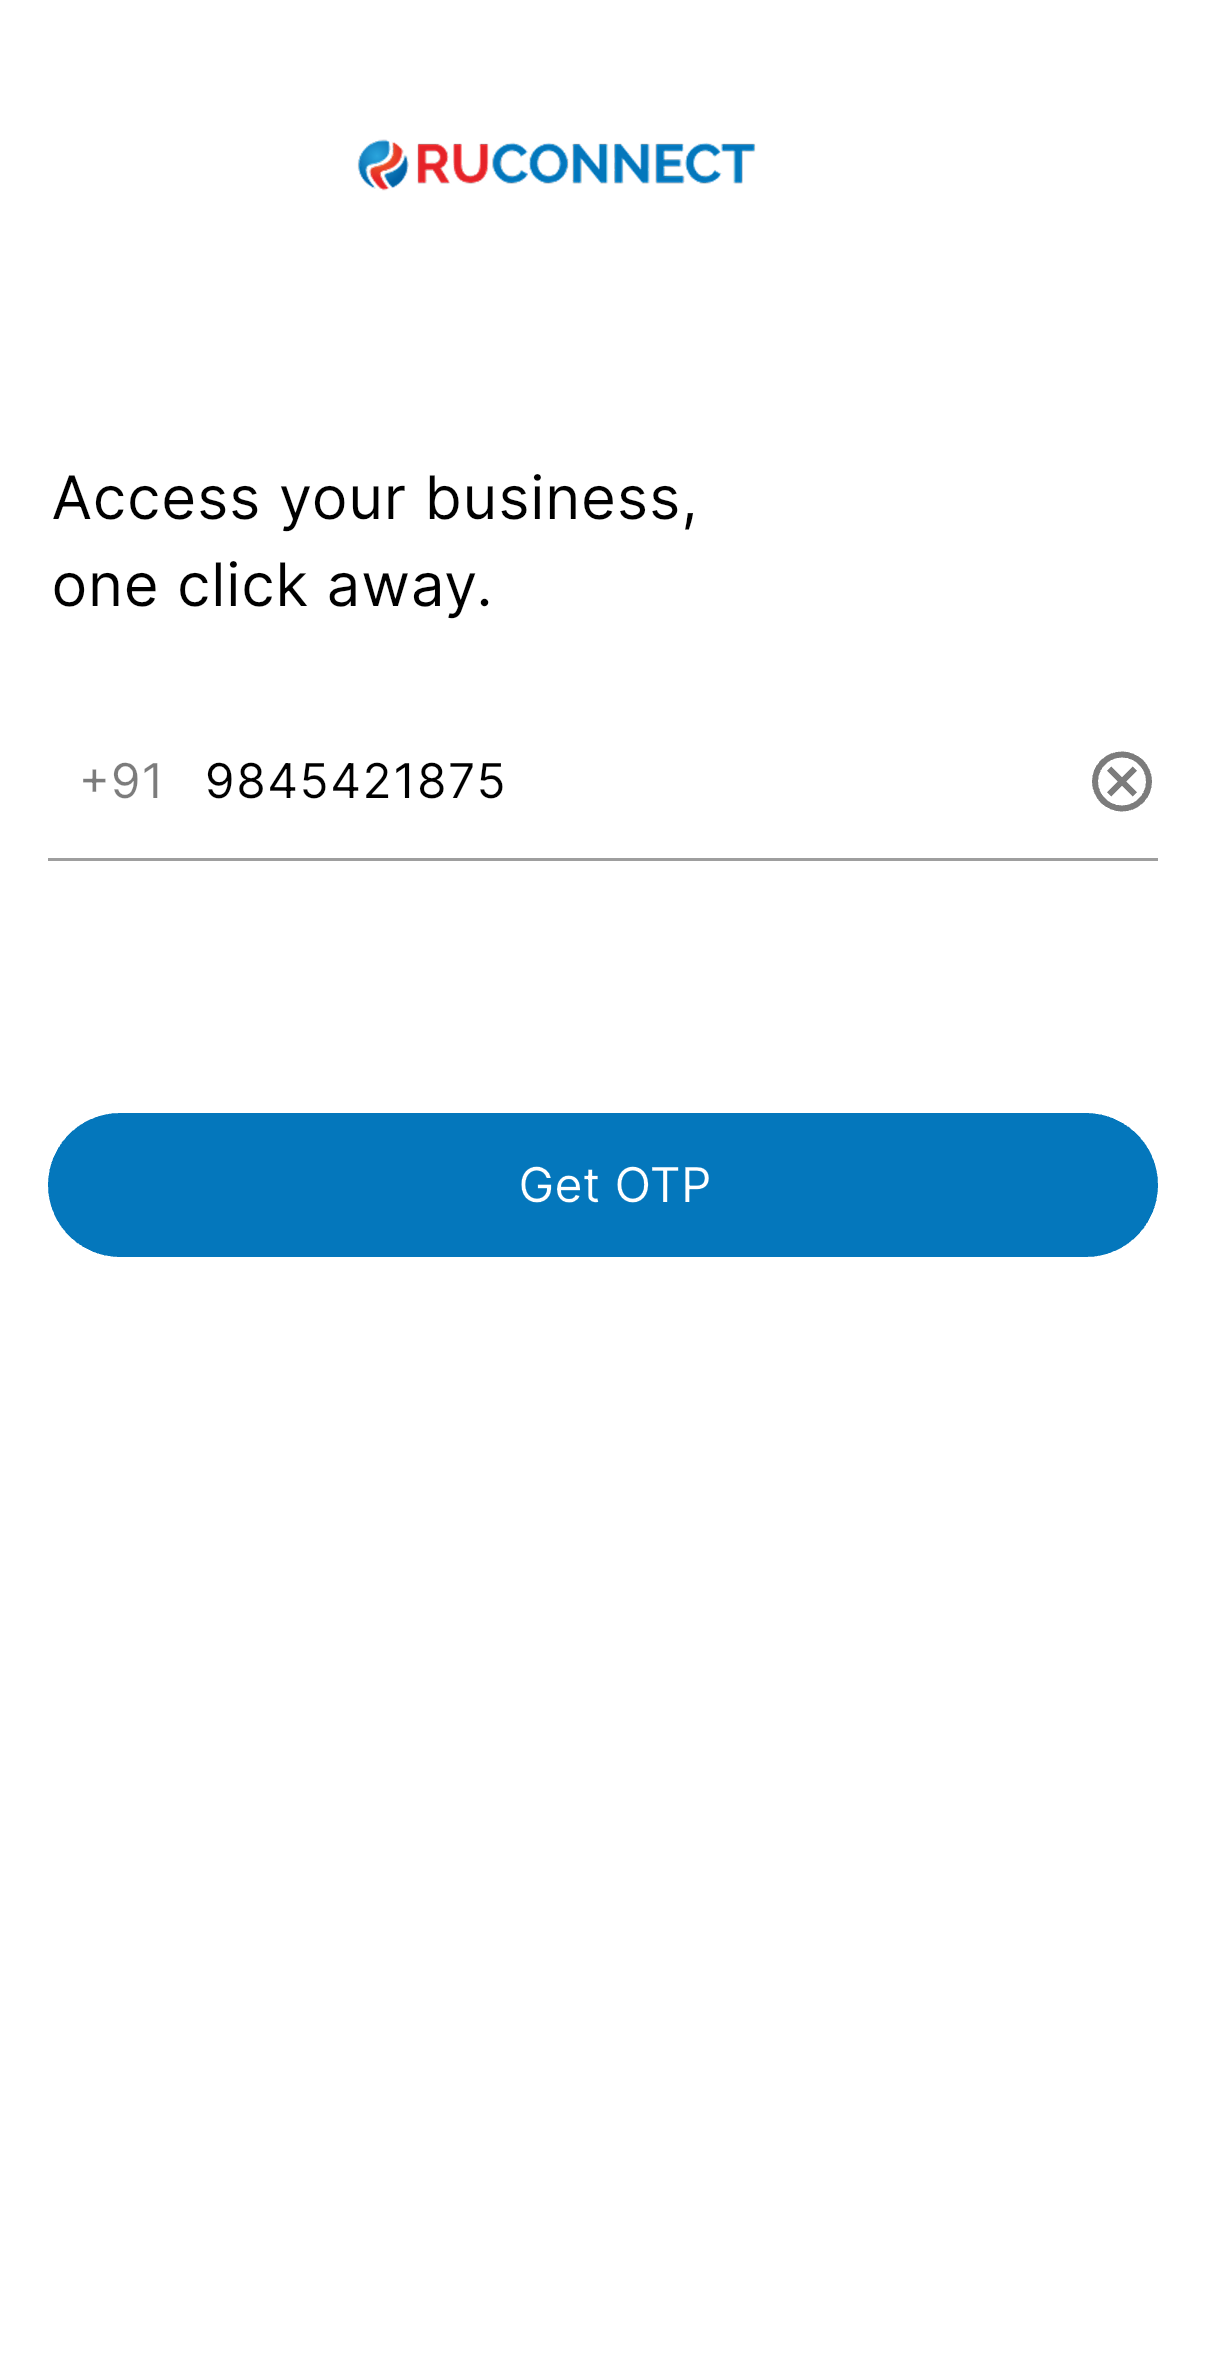
Step 1: Enter Your Mobile Number
Just type your 10-digit mobile number and click “Get OTP.”We’ll send a one-time password to verify your number.
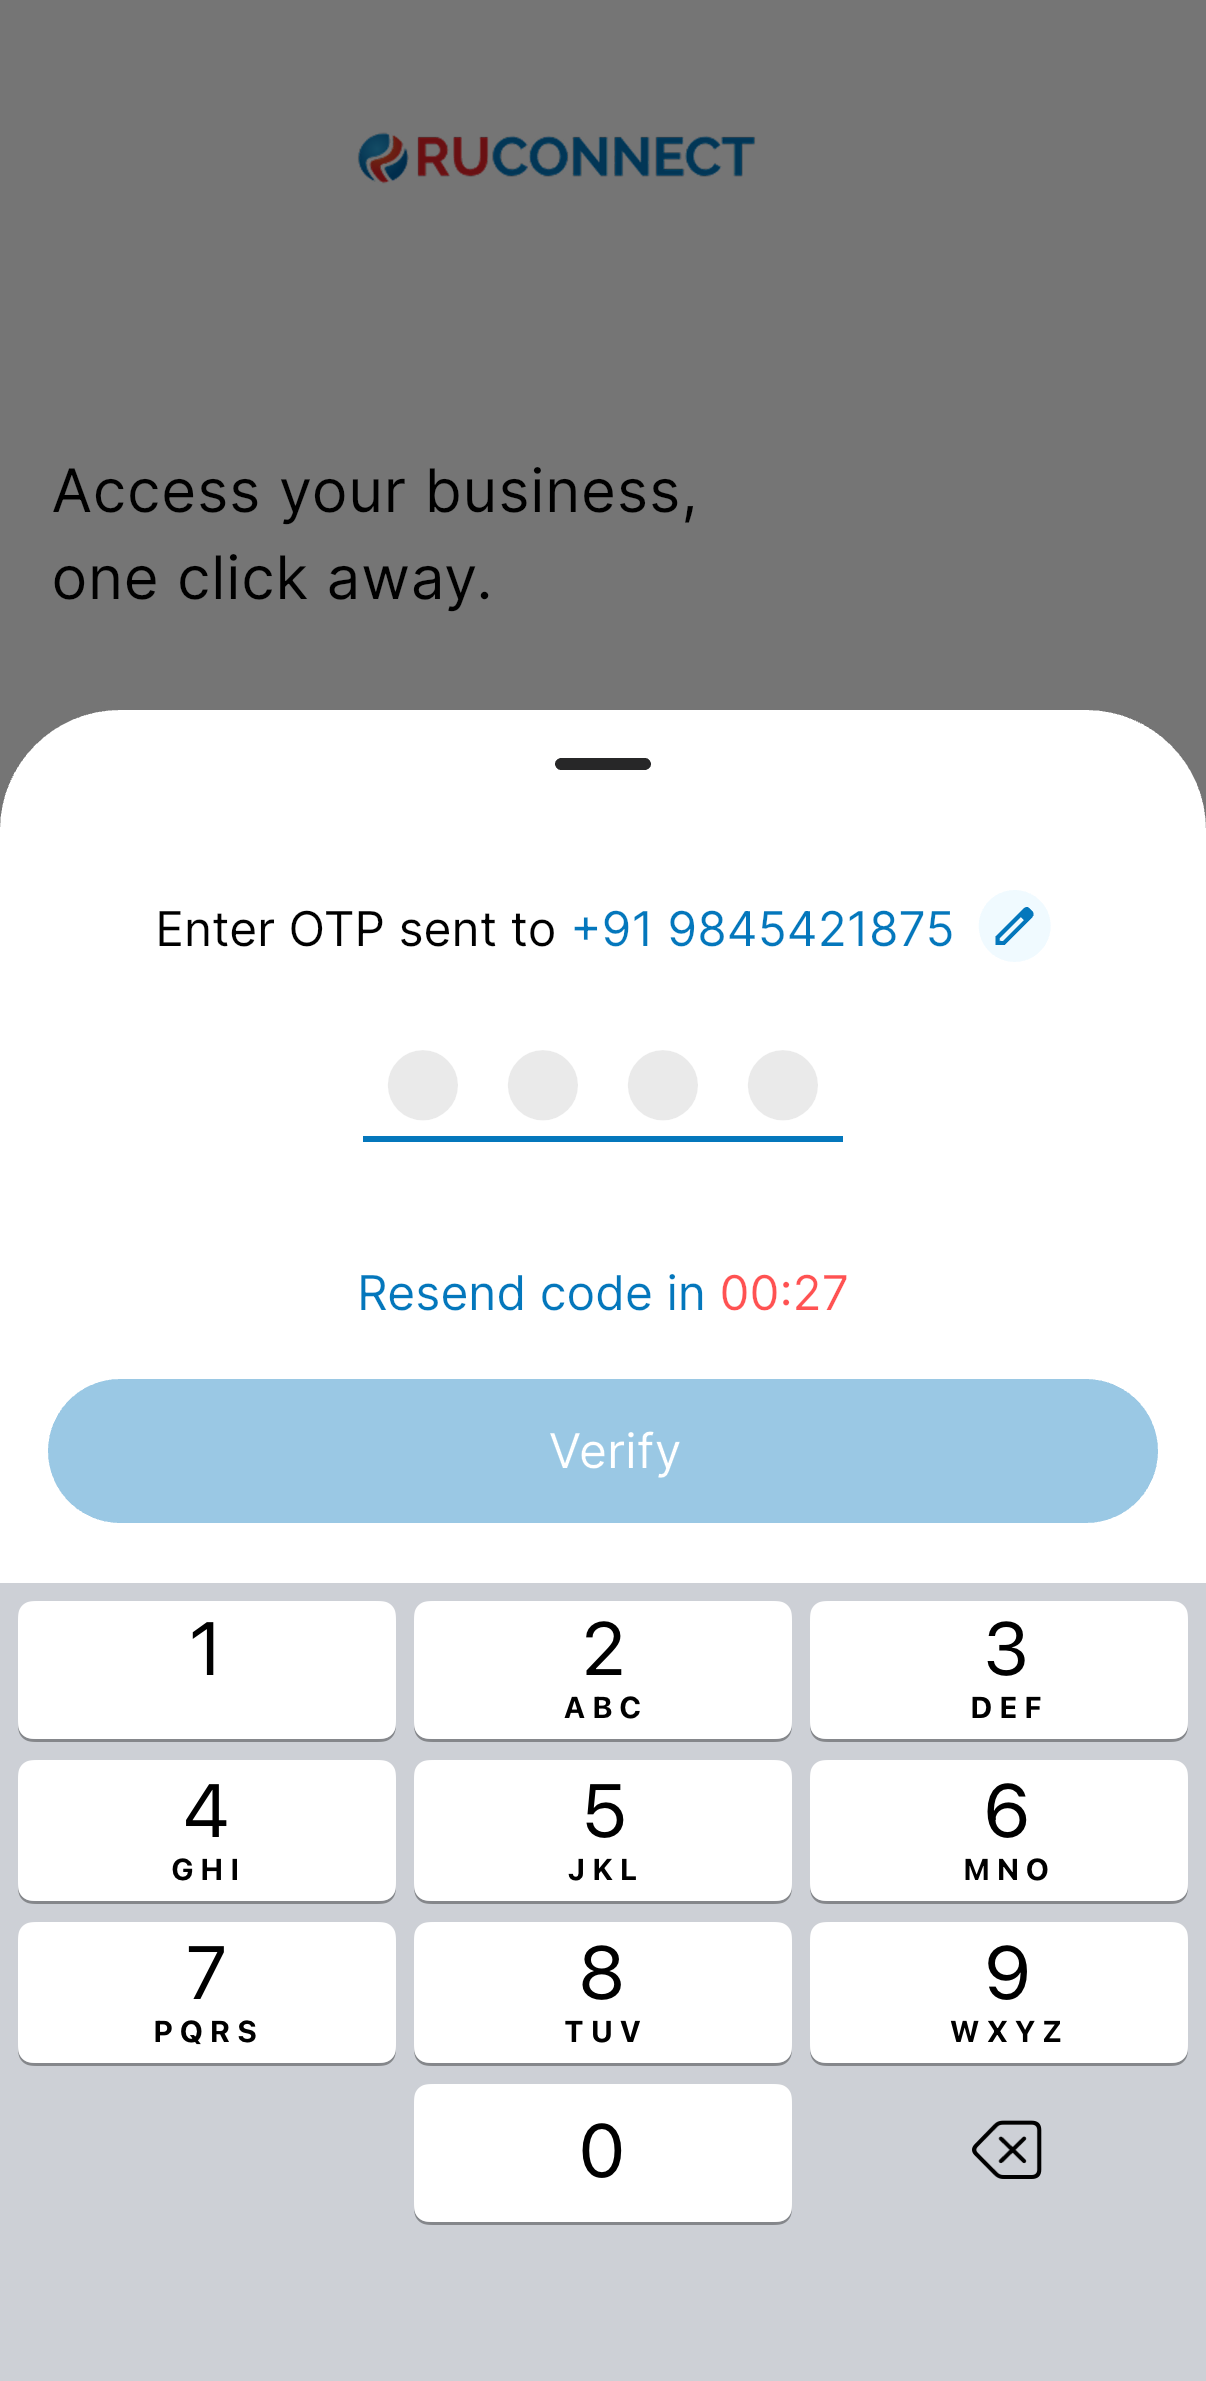
Step 2: Verify with OTP
Enter the 4-digit OTP sent via SMS.You can resend it if it doesn’t arrive in time.
Step 3: Tell Us About Yourself
Choose if you’re an Individual or a Company.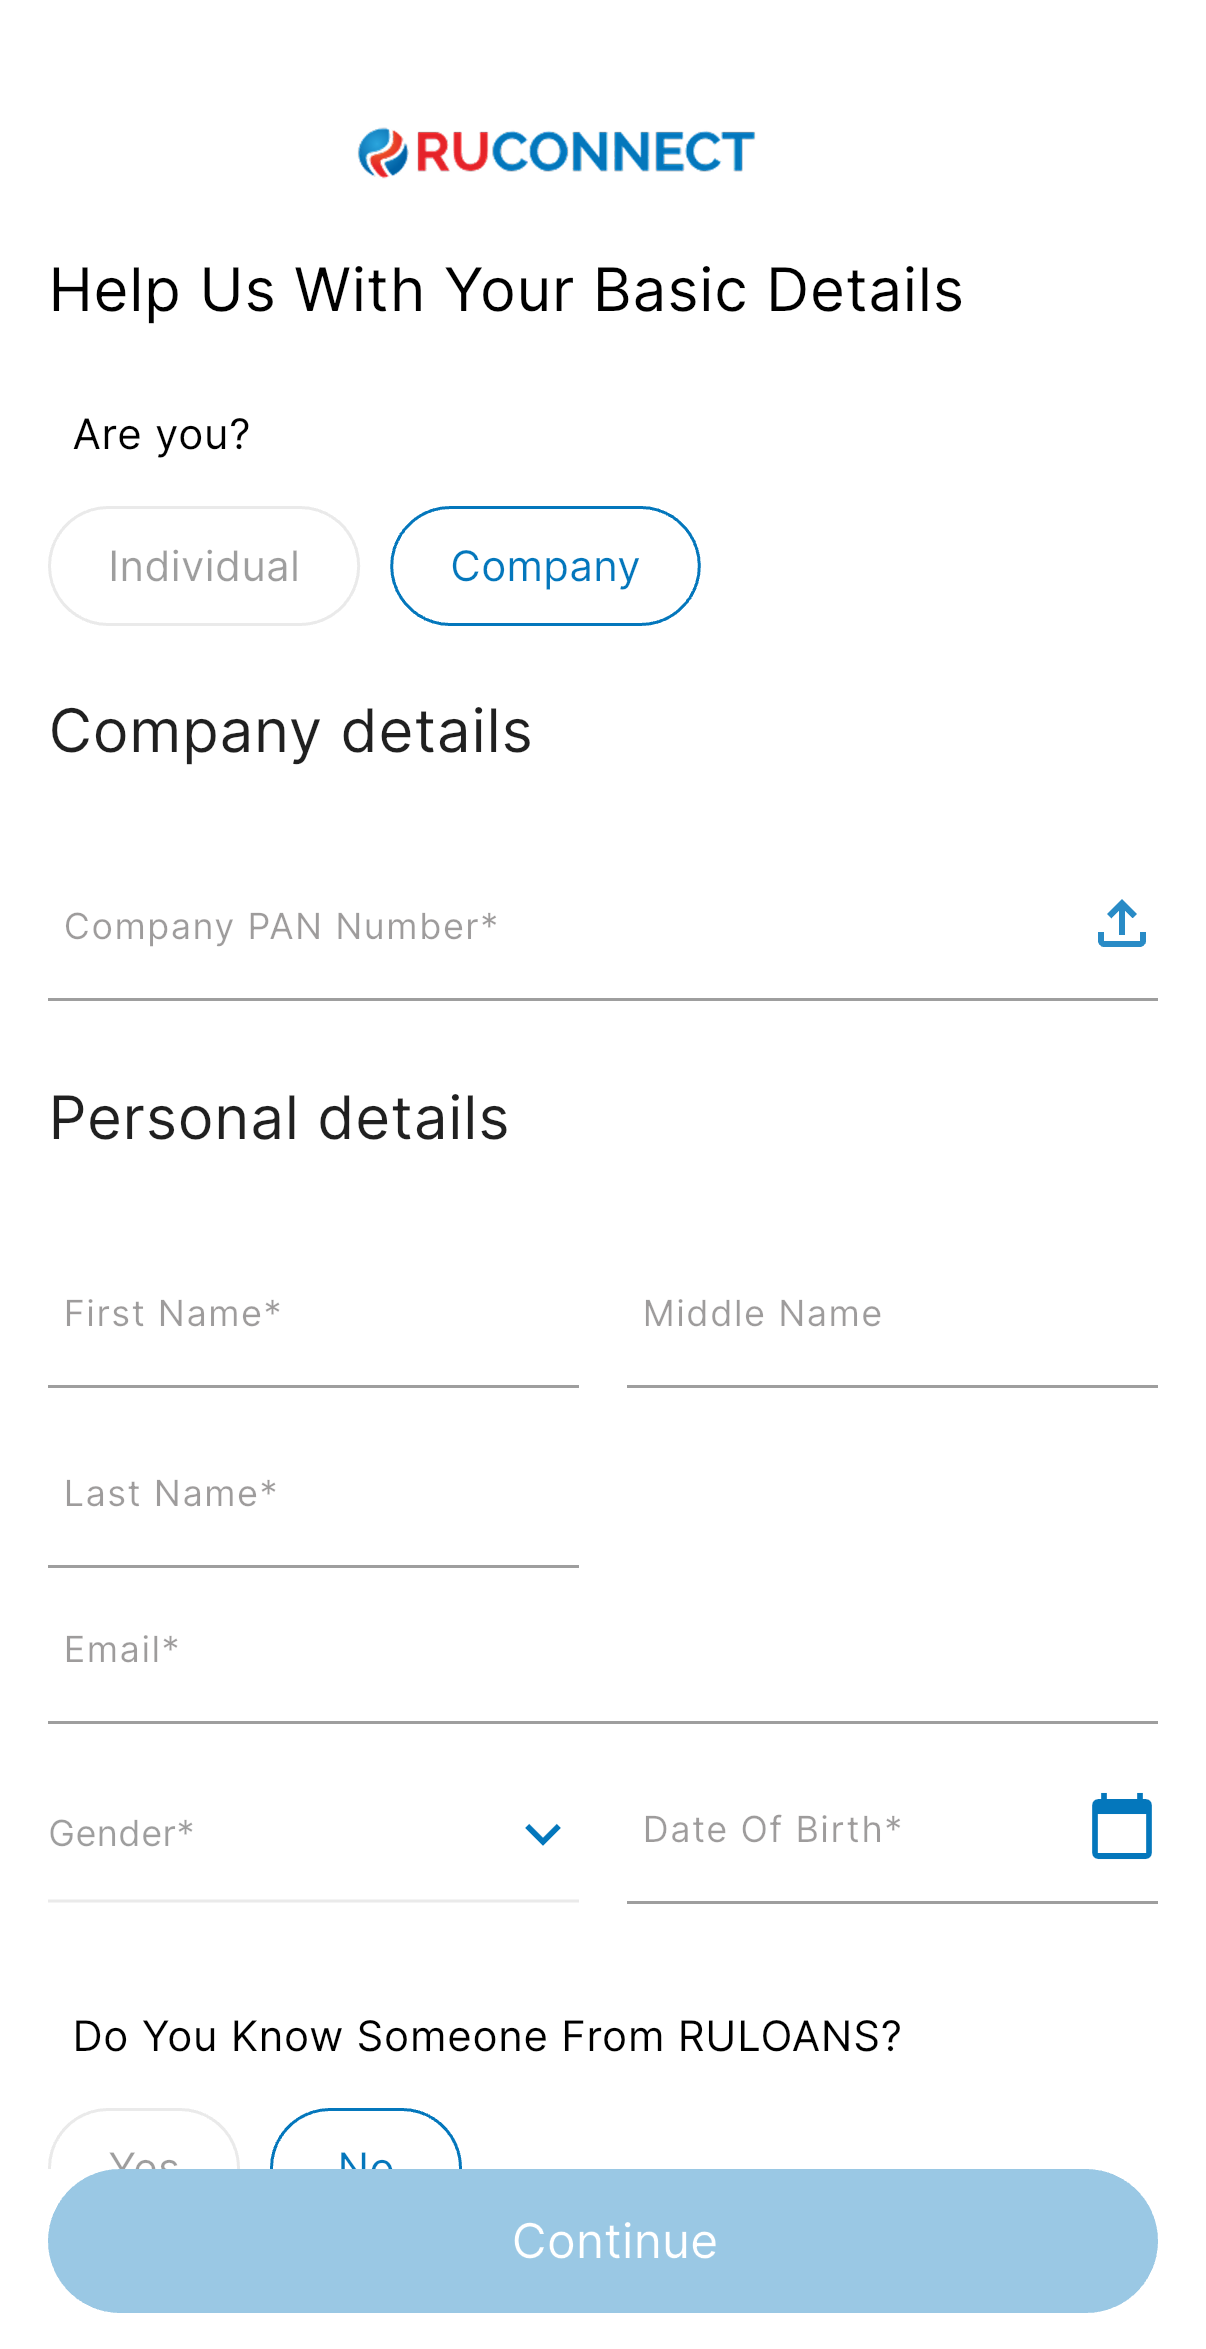 **Select Company option
-Enter Company PAN number
-Upload PAN
**Select Company option
-Enter Company PAN number
-Upload PAN
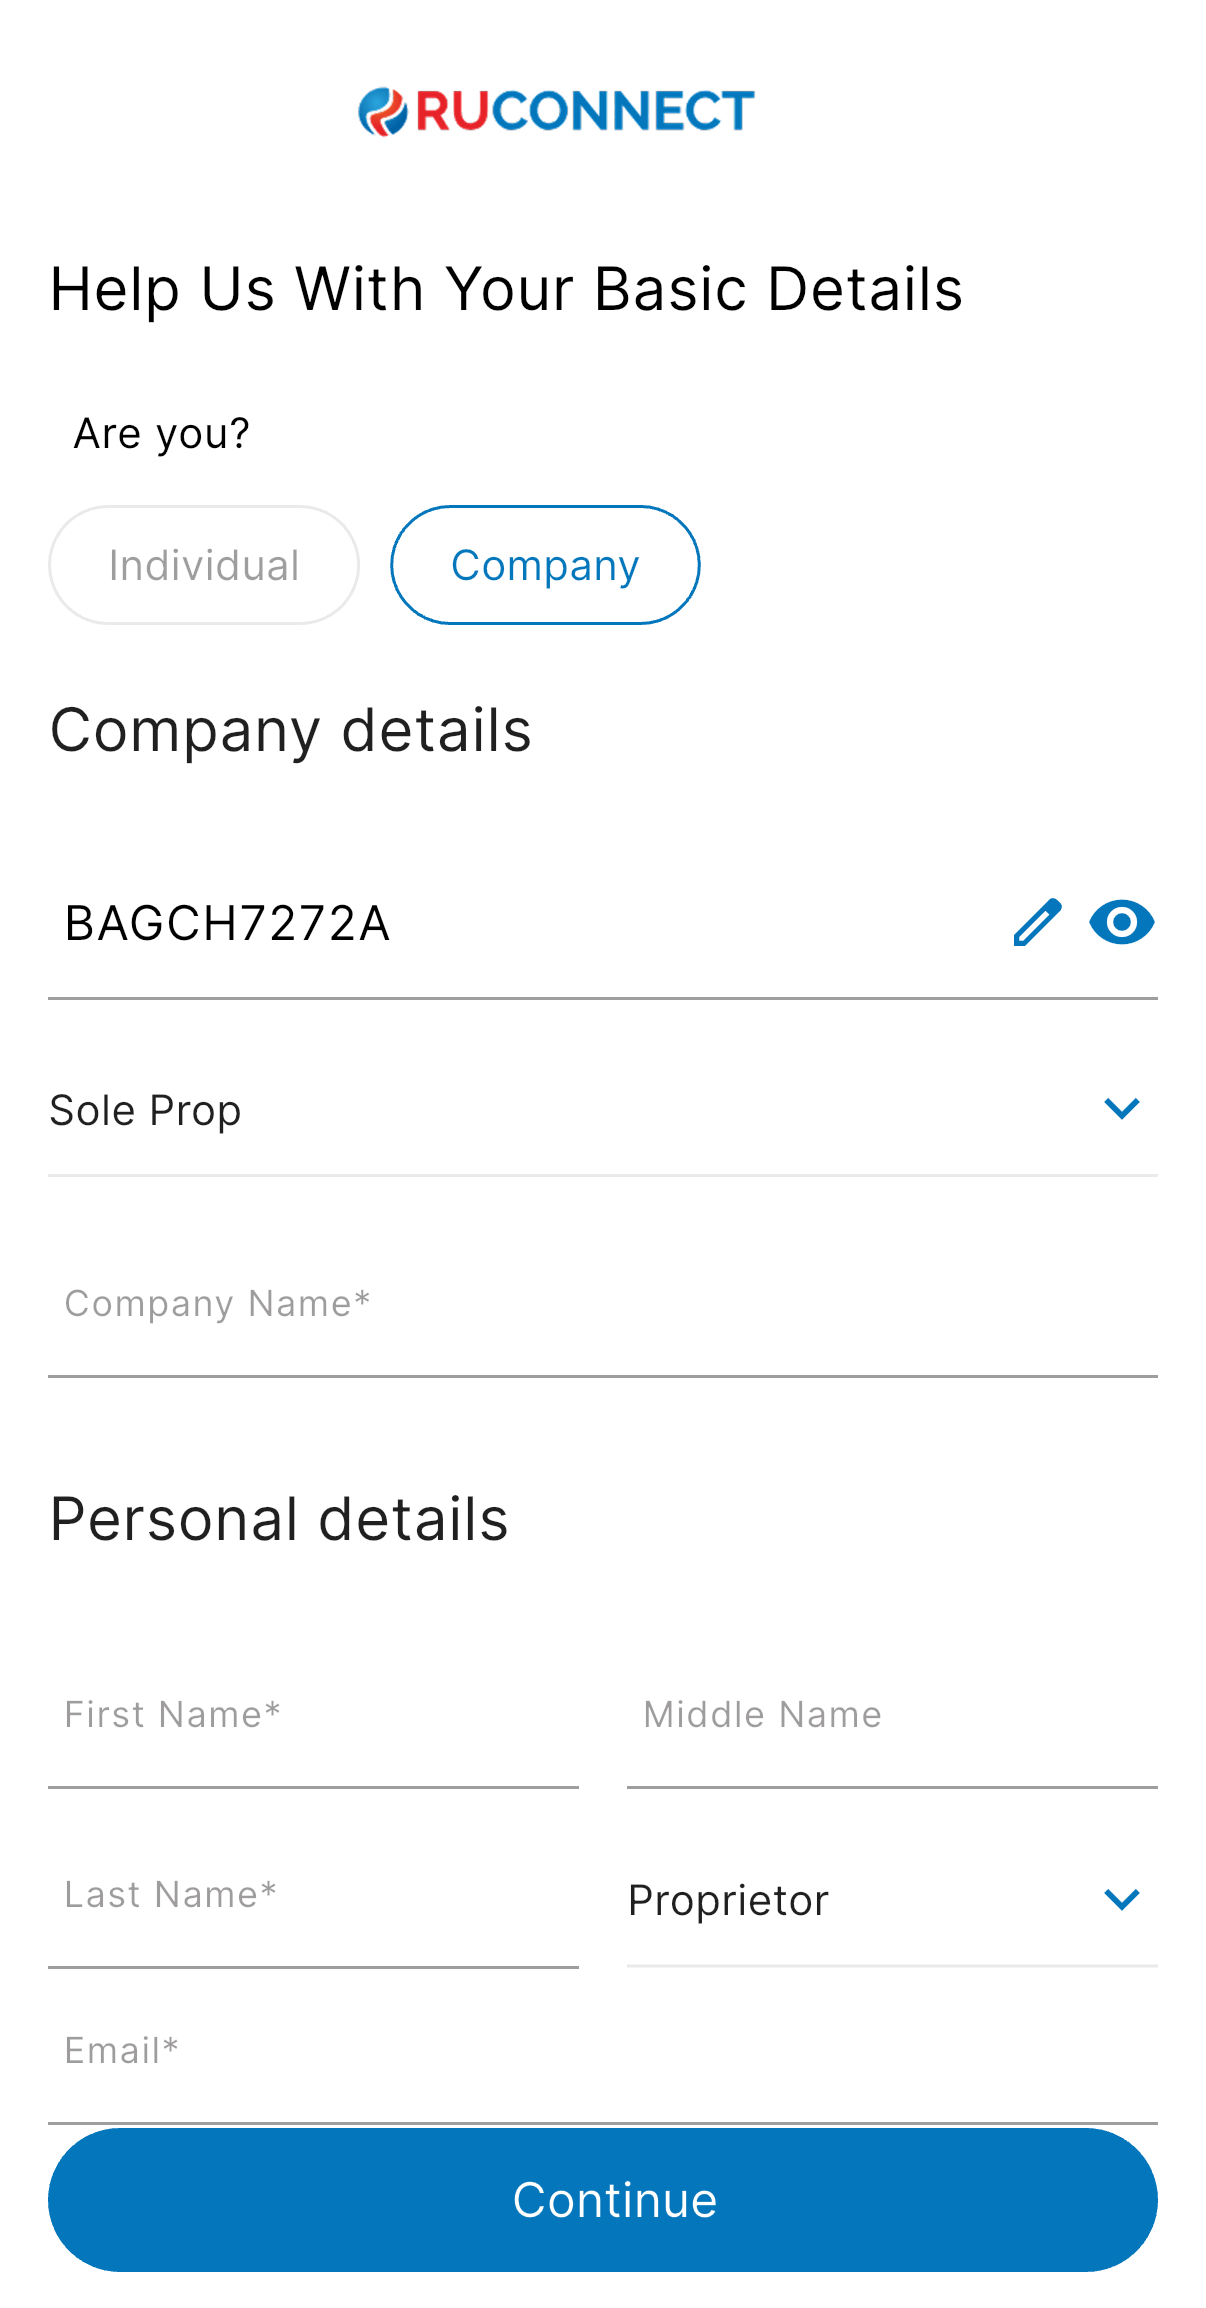 When Company PAN is entered based on that 2 fields appear on the screen
-Company Type (Select the type of Company)
-Company Name
**Note: Company type is based on PAN entered
Exapmle: IF fourth letter of company PAN is P (Company is Sole Proprietorship)
When Company PAN is entered based on that 2 fields appear on the screen
-Company Type (Select the type of Company)
-Company Name
**Note: Company type is based on PAN entered
Exapmle: IF fourth letter of company PAN is P (Company is Sole Proprietorship)company PAN is H (Company is Hindu Undivided Family) When fourth letter of Company PAN is C all options for company types are available. Fill in your personal details:
- Name
- Your Role in Company
- Gender
- Date of Birth
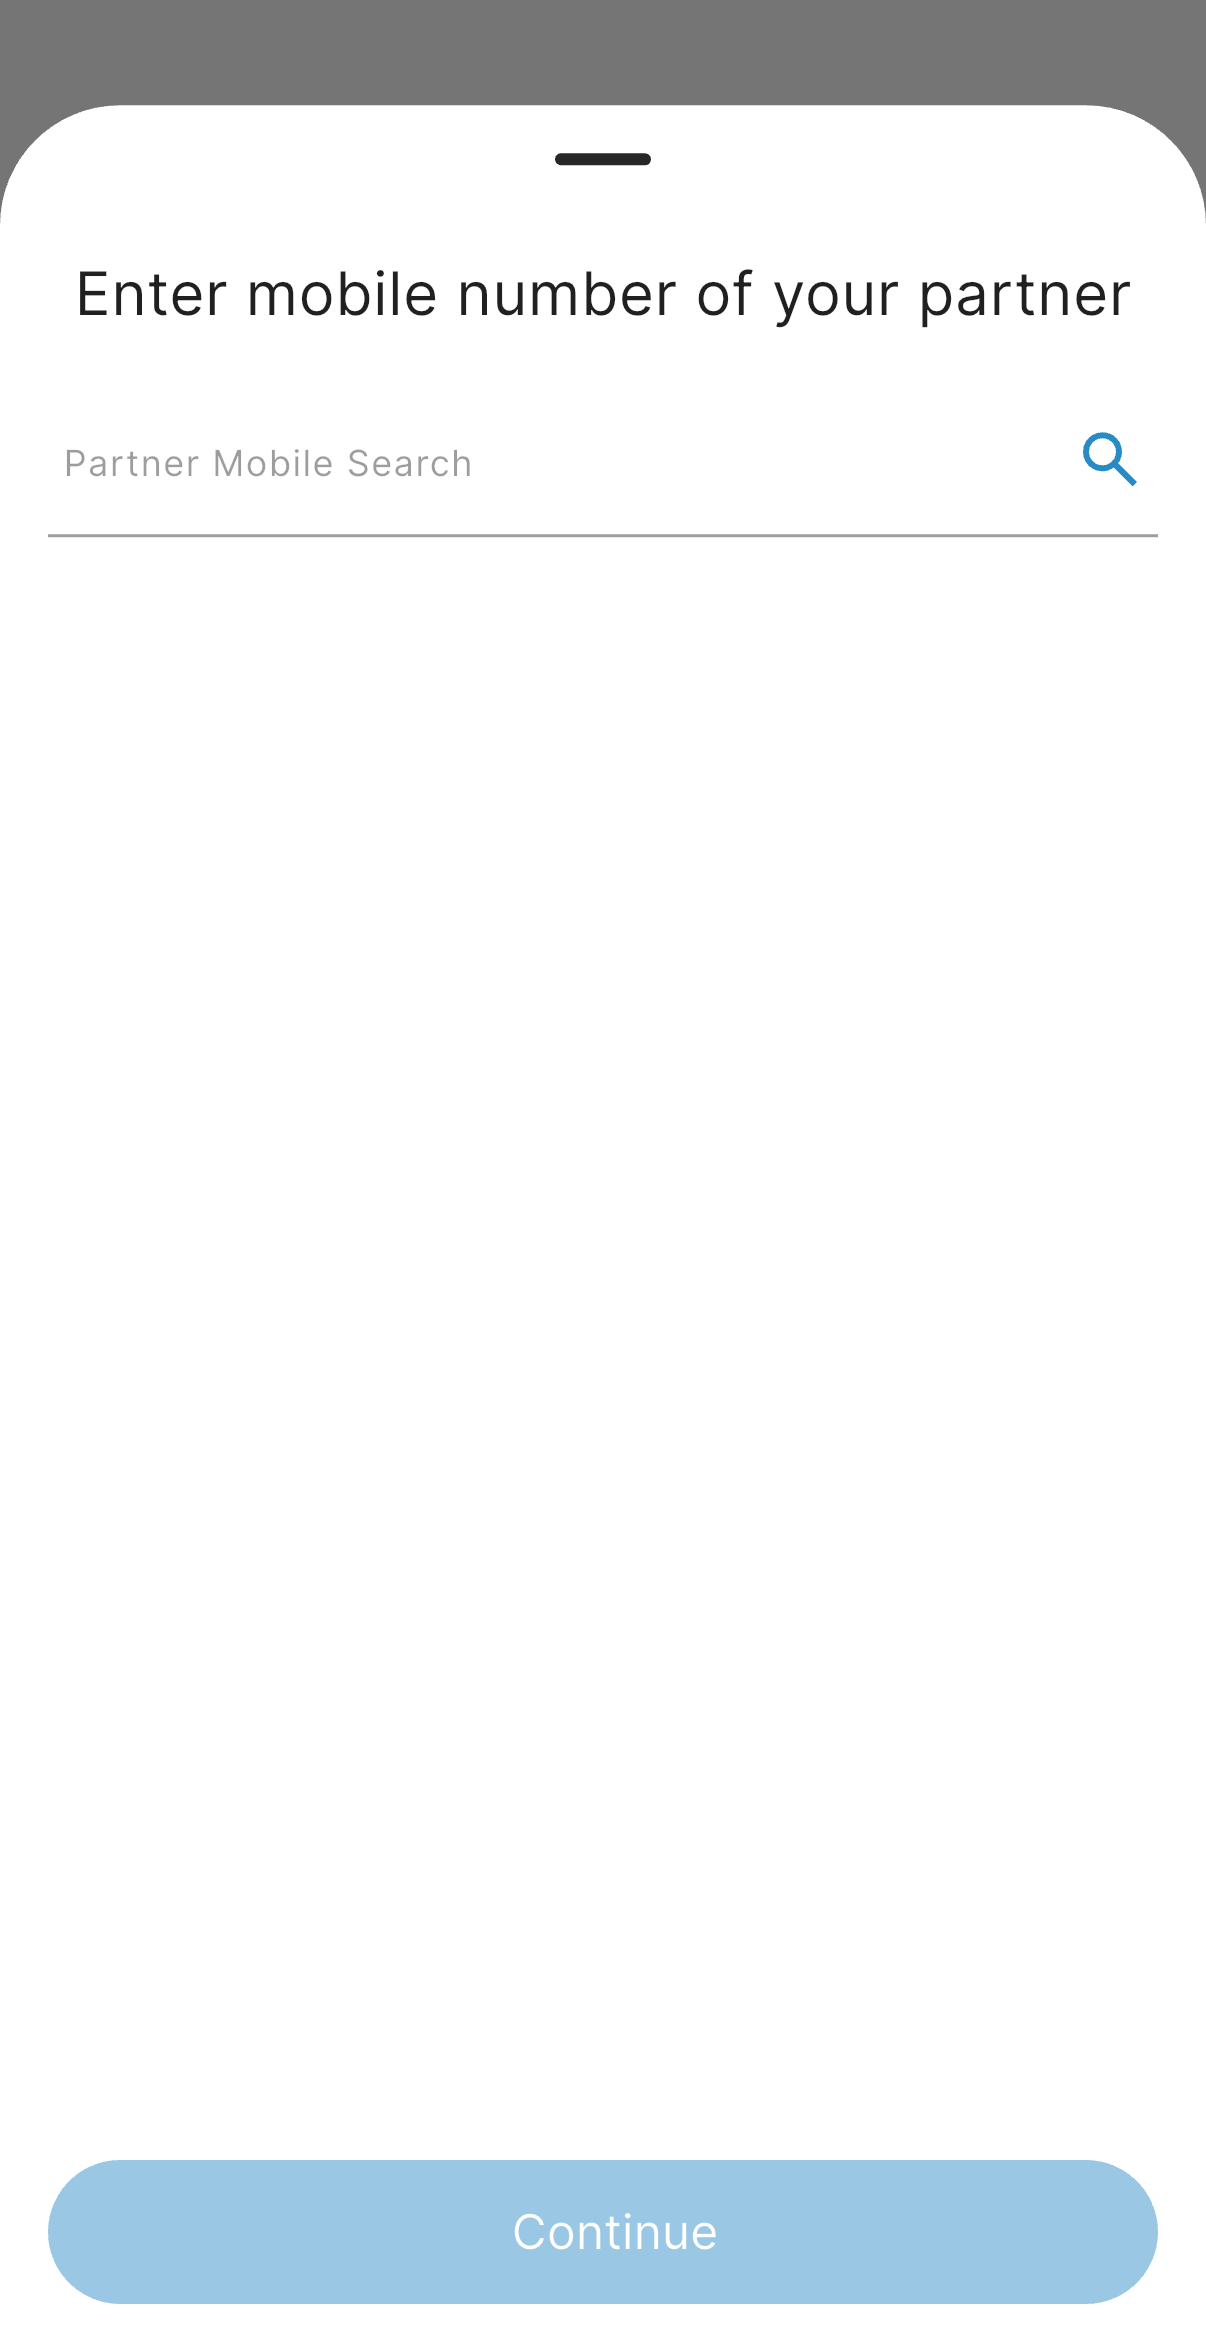
Step 4: Referral Info (Optional)
If someone referred you, enter their mobile number.This helps them get credit for referring you! Note: If ‘No’ is selected this step is skipped.
Step 5:Company Details
From the options for Company type user has selected Partnership Fill your Company Deatils: -Company Short Name -Company Mobile Number -Date Of Incorporation -GST available? (Yes or No) -MSME Number available? (Yes or No) Note: If Yes is selected for any of the fields GST or MSME Number. User has to enter and upload that document too.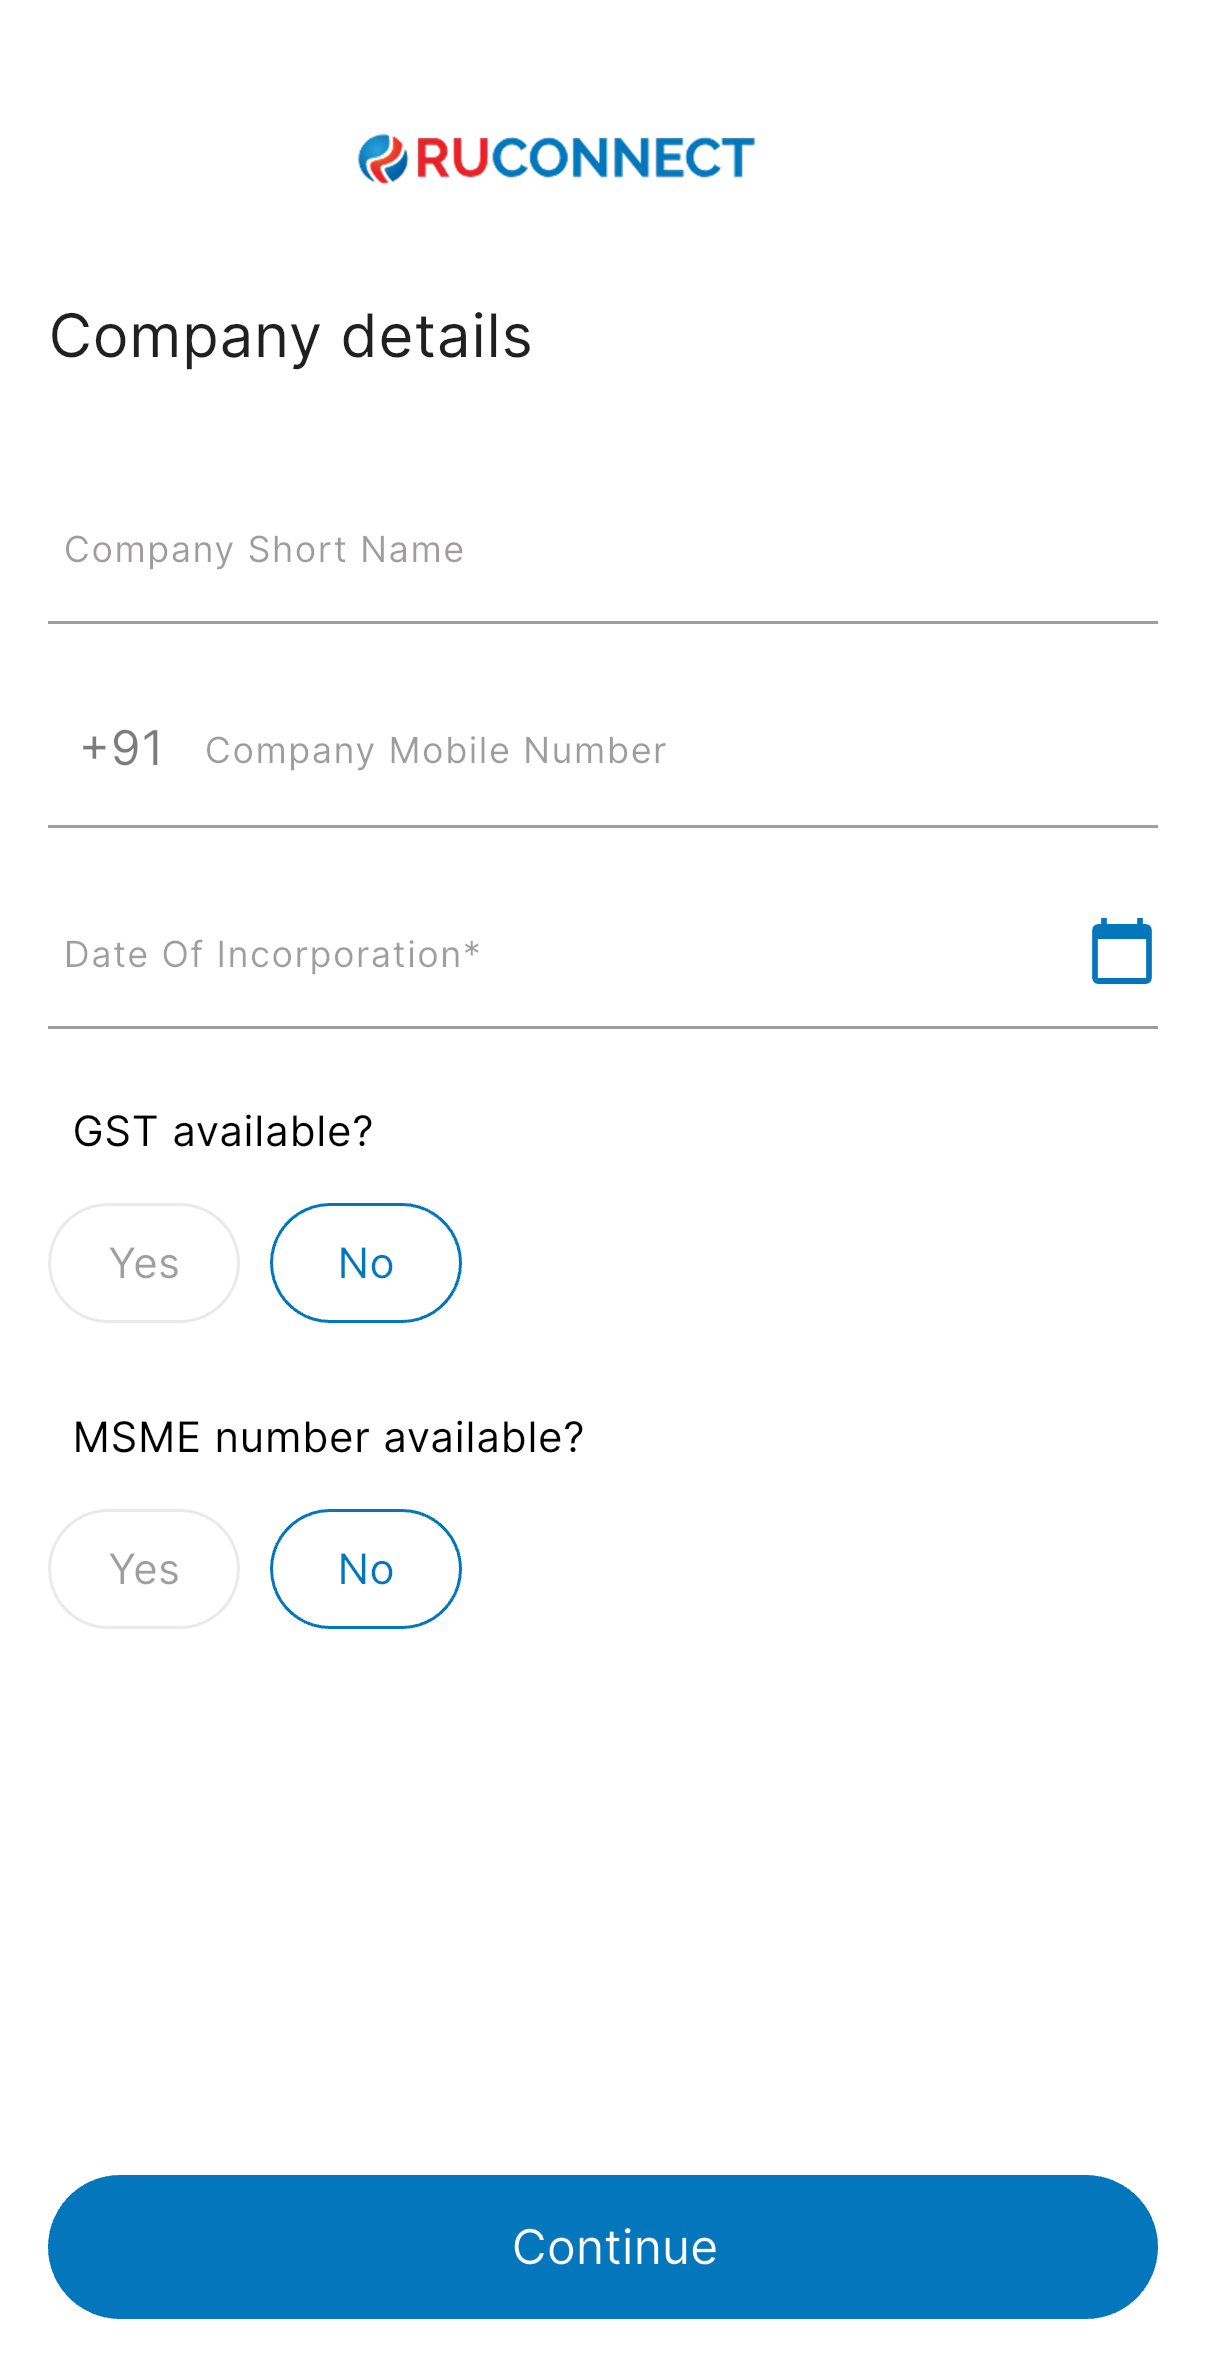 Additional Documents for different Company types:
COI (Certificate of Incorporation) is mandatory for:
Additional Documents for different Company types:
COI (Certificate of Incorporation) is mandatory for:
- Pvt. Ltd.
- Public Ltd.
- Partnership Deed (mandatory upload)
- Partnership Authority Letter (PAL) (mandatory upload) Private Limited:
- Board Resolution (BR) (mandatory upload)
- List of Directors & Shareholders (manual entry, with a minimum of two persons; mandatory upload)
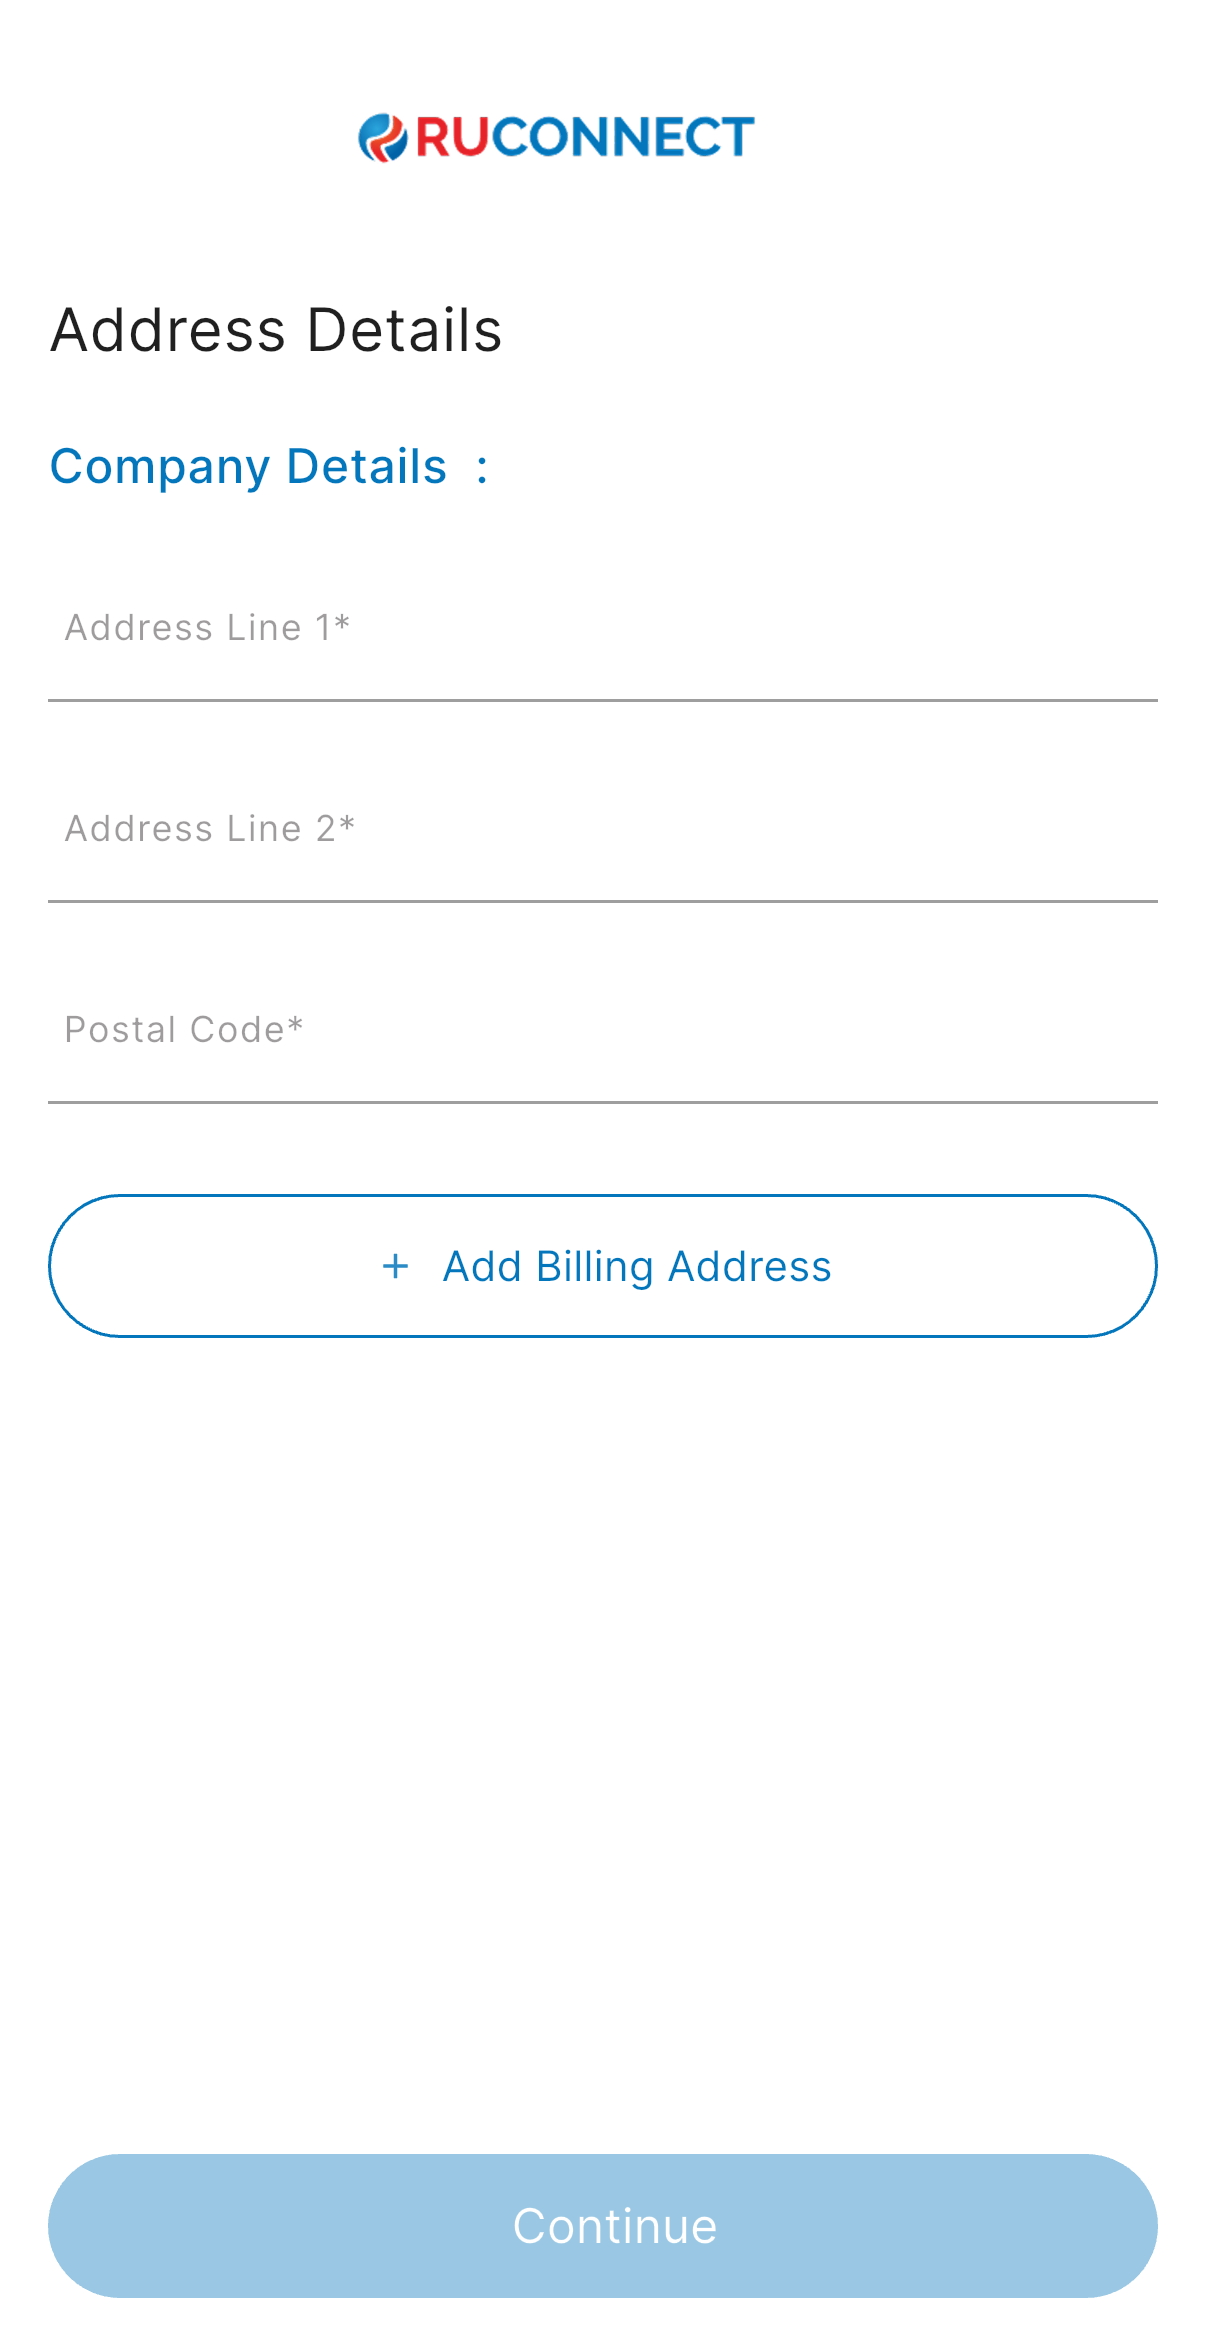
Step 6: Add Your Company Address
Fill in your full Company address:- Address Line 1
- Address Line 2
- Residential Postal Code
- City/State (Select these on basis of entered Postal Code)
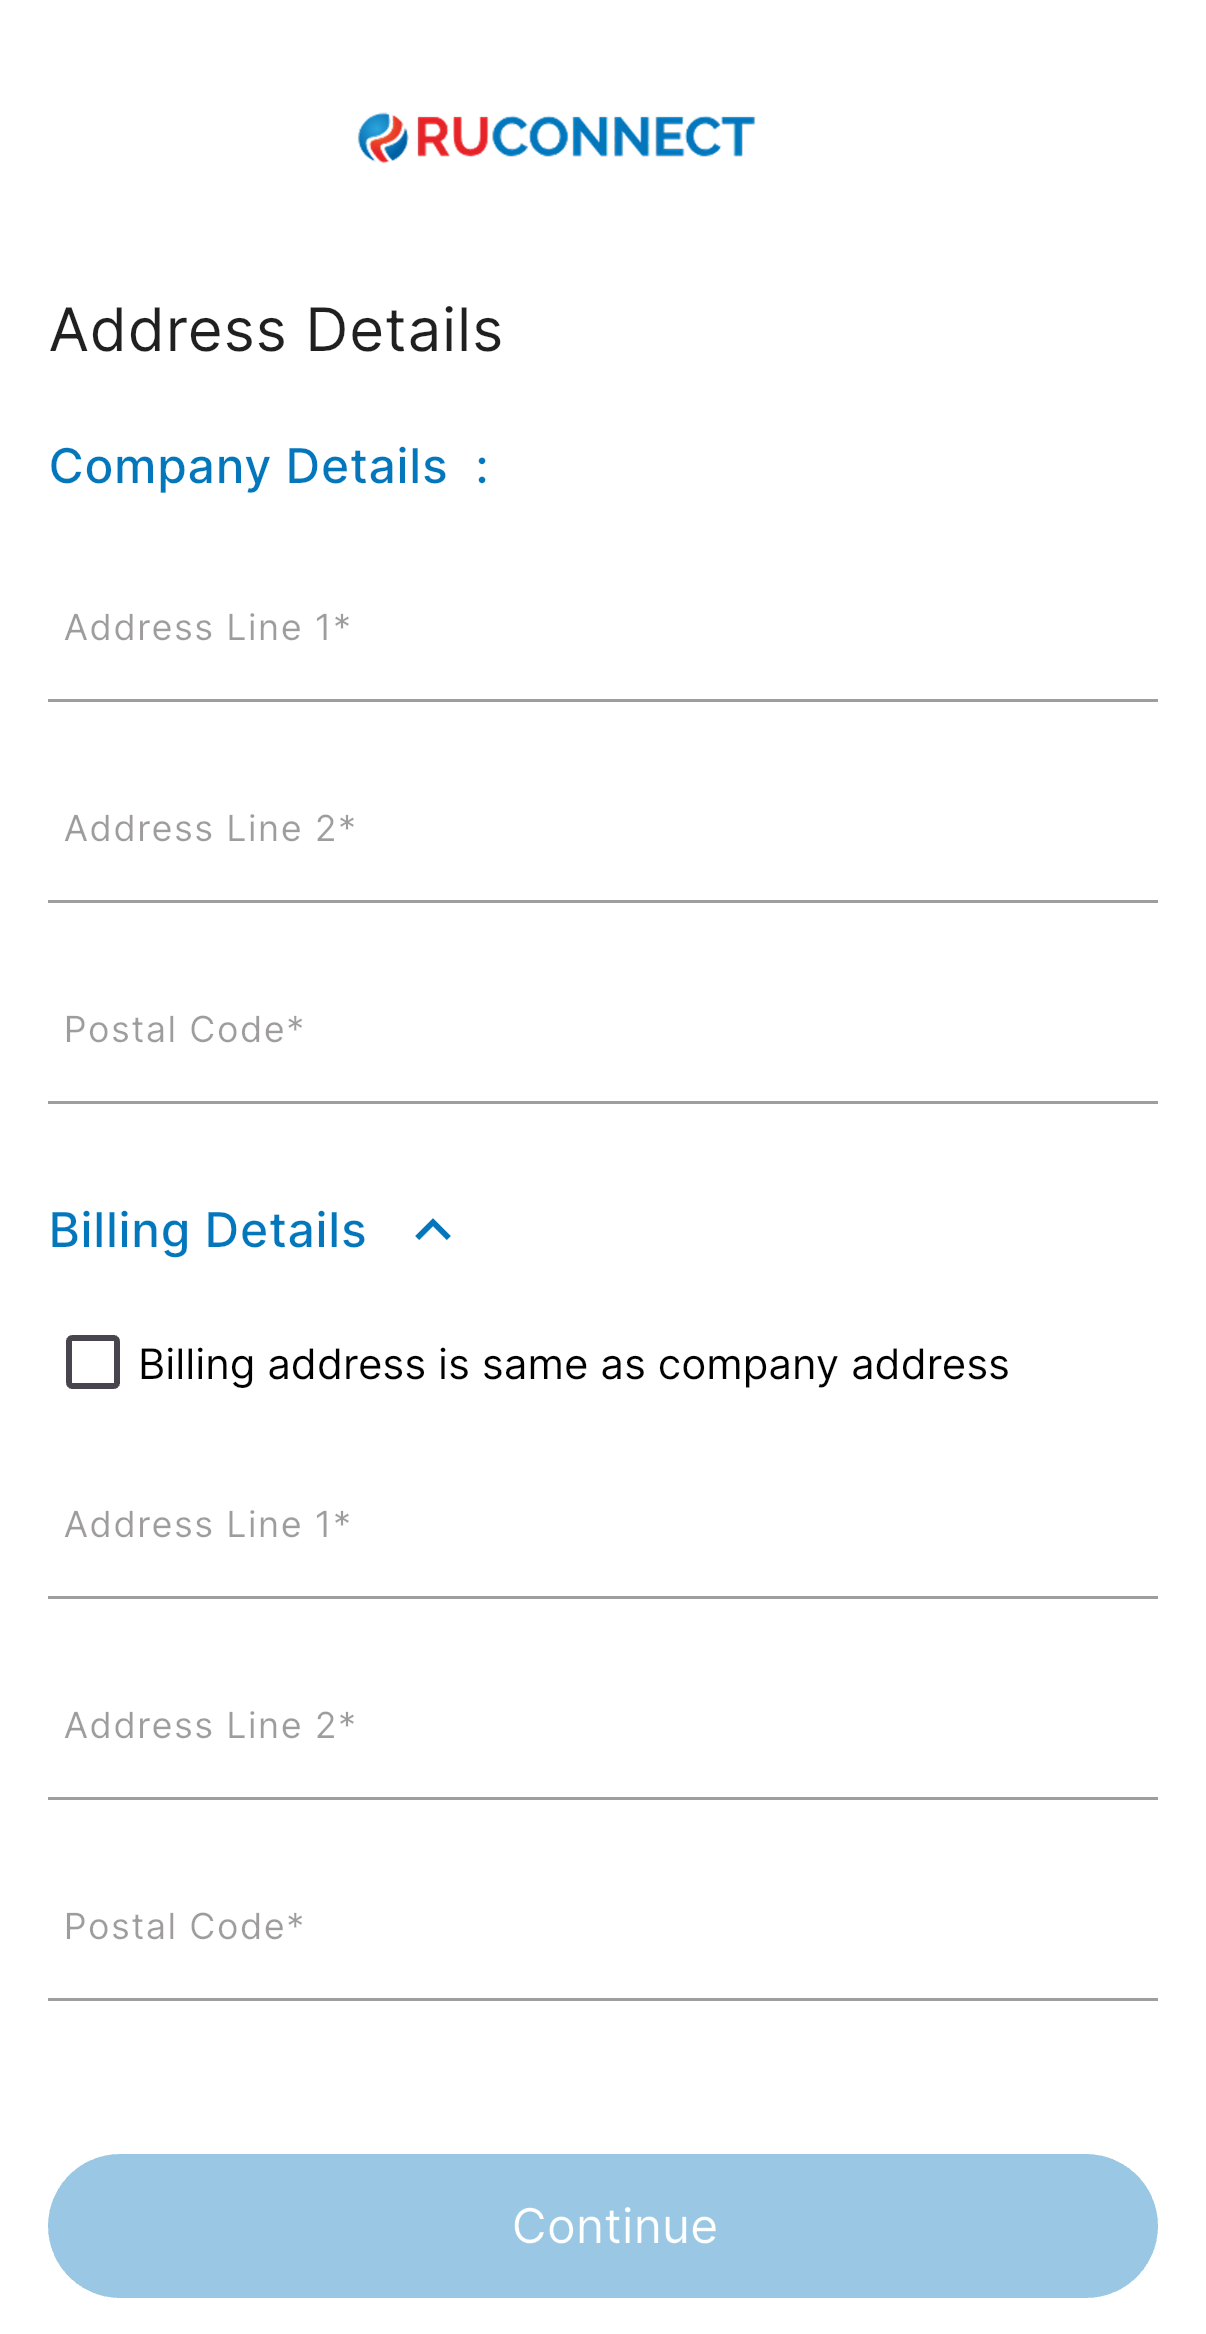
 If GST is selected as yes then only billing address is mandatory.
Fill in your Billing address:
If GST is selected as yes then only billing address is mandatory.
Fill in your Billing address:
- Address Line 1
- Address Line 2
- Residential Postal Code
- City/State (Select these on basis of entered Postal Code)
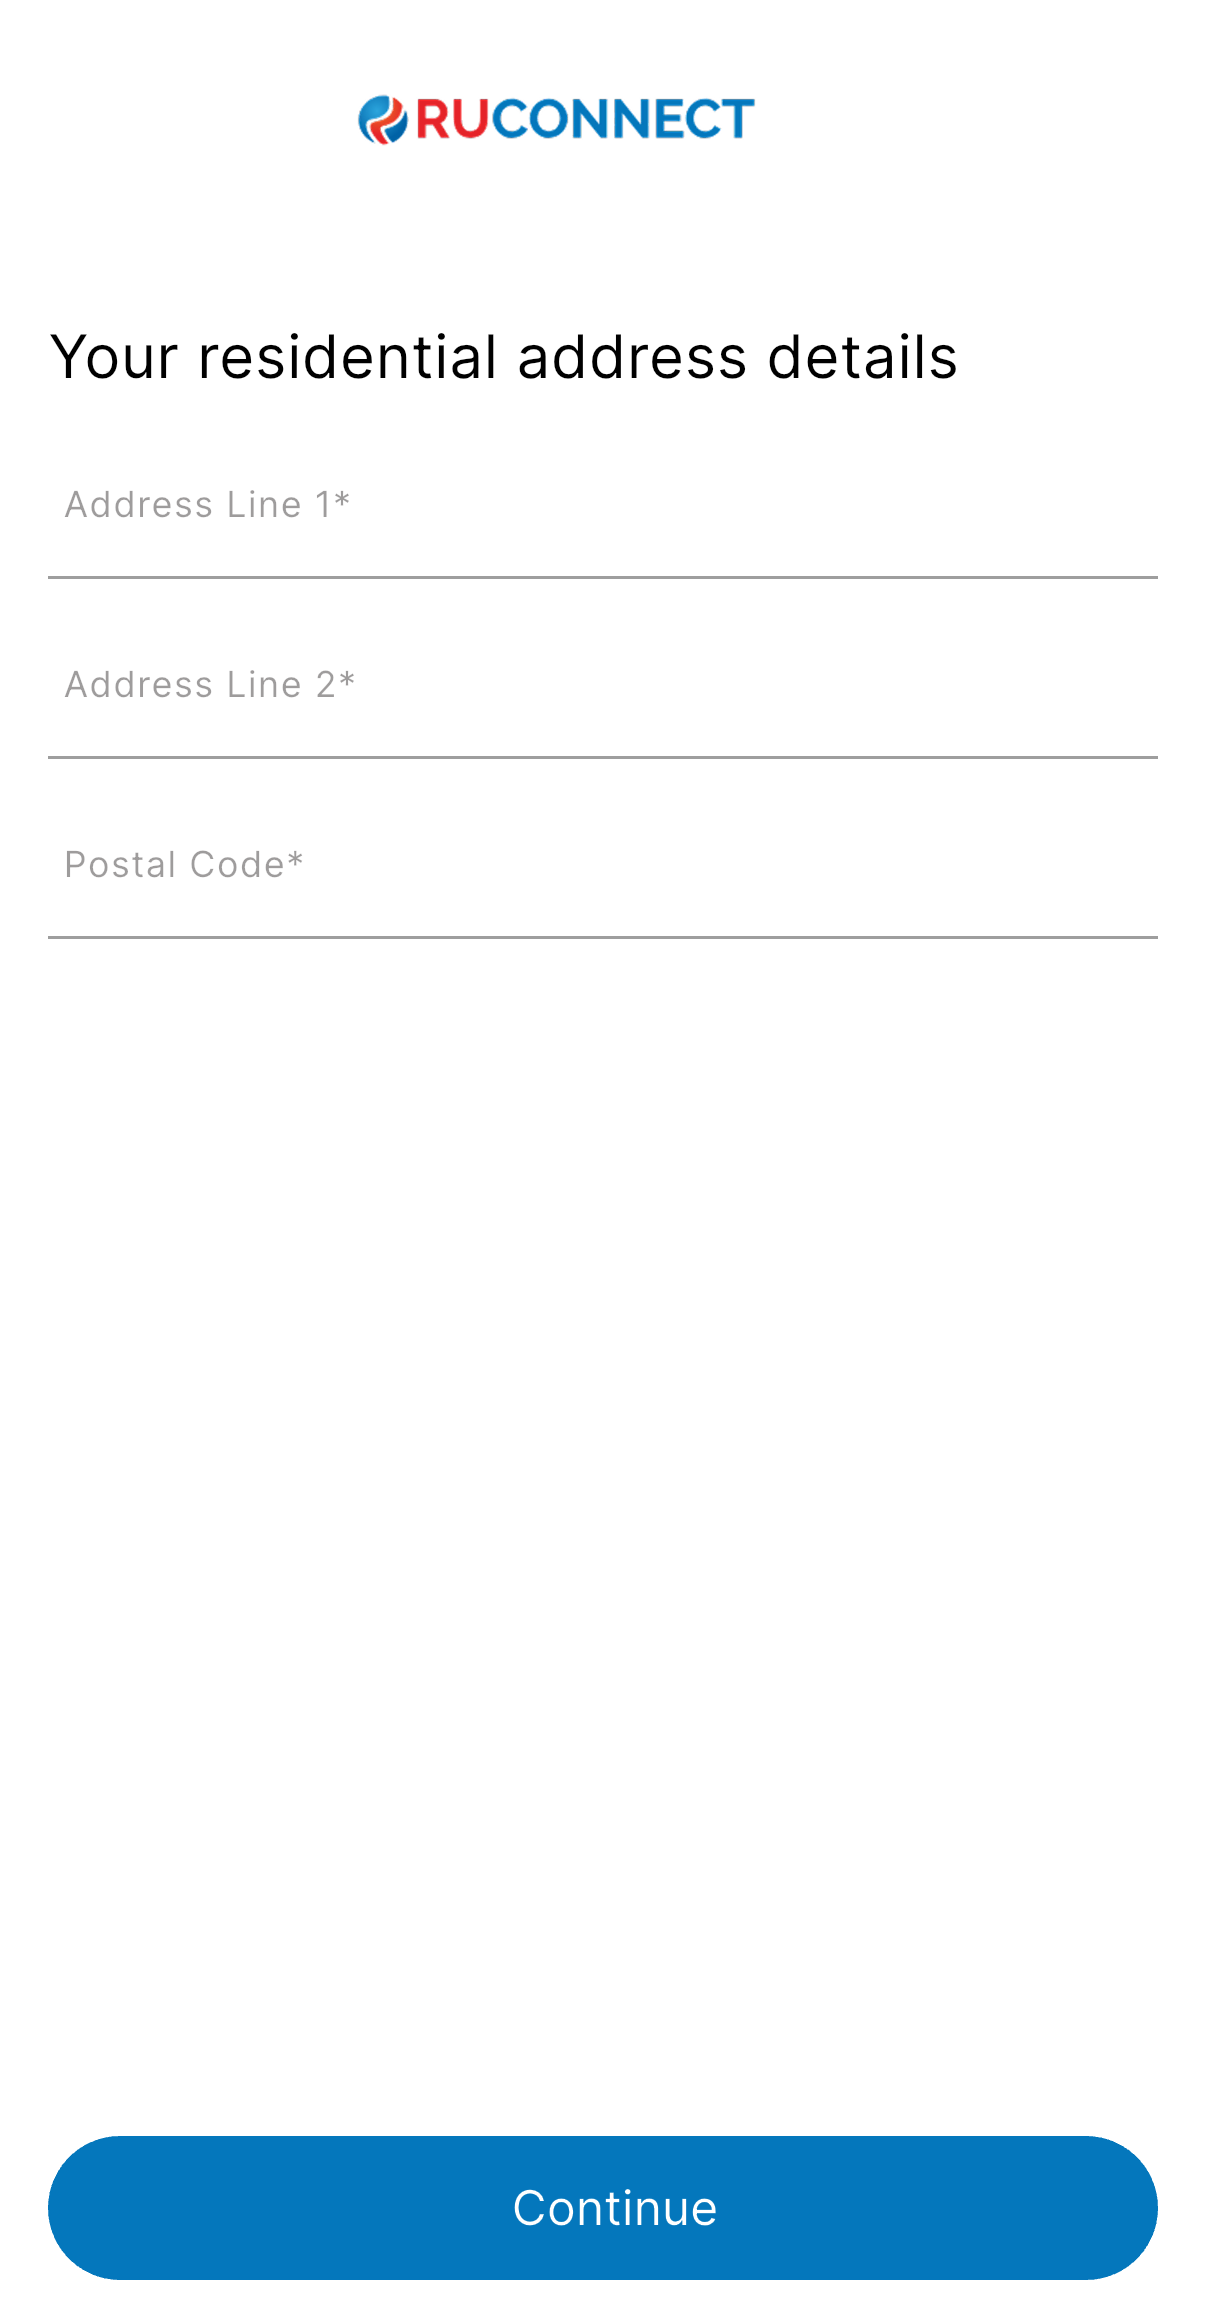
Step 7: Add Your Residential Address
Fill in your full address:- Address Line 1
- Address Line 2
- Residential Postal Code
- City/State (Select these on basis of entered Postal Code)
Step 8: Complete Your KYC
You can choose one of the following:Option 1: eKYC via Digio
Option 2: Manual KYC (Skip for Now)
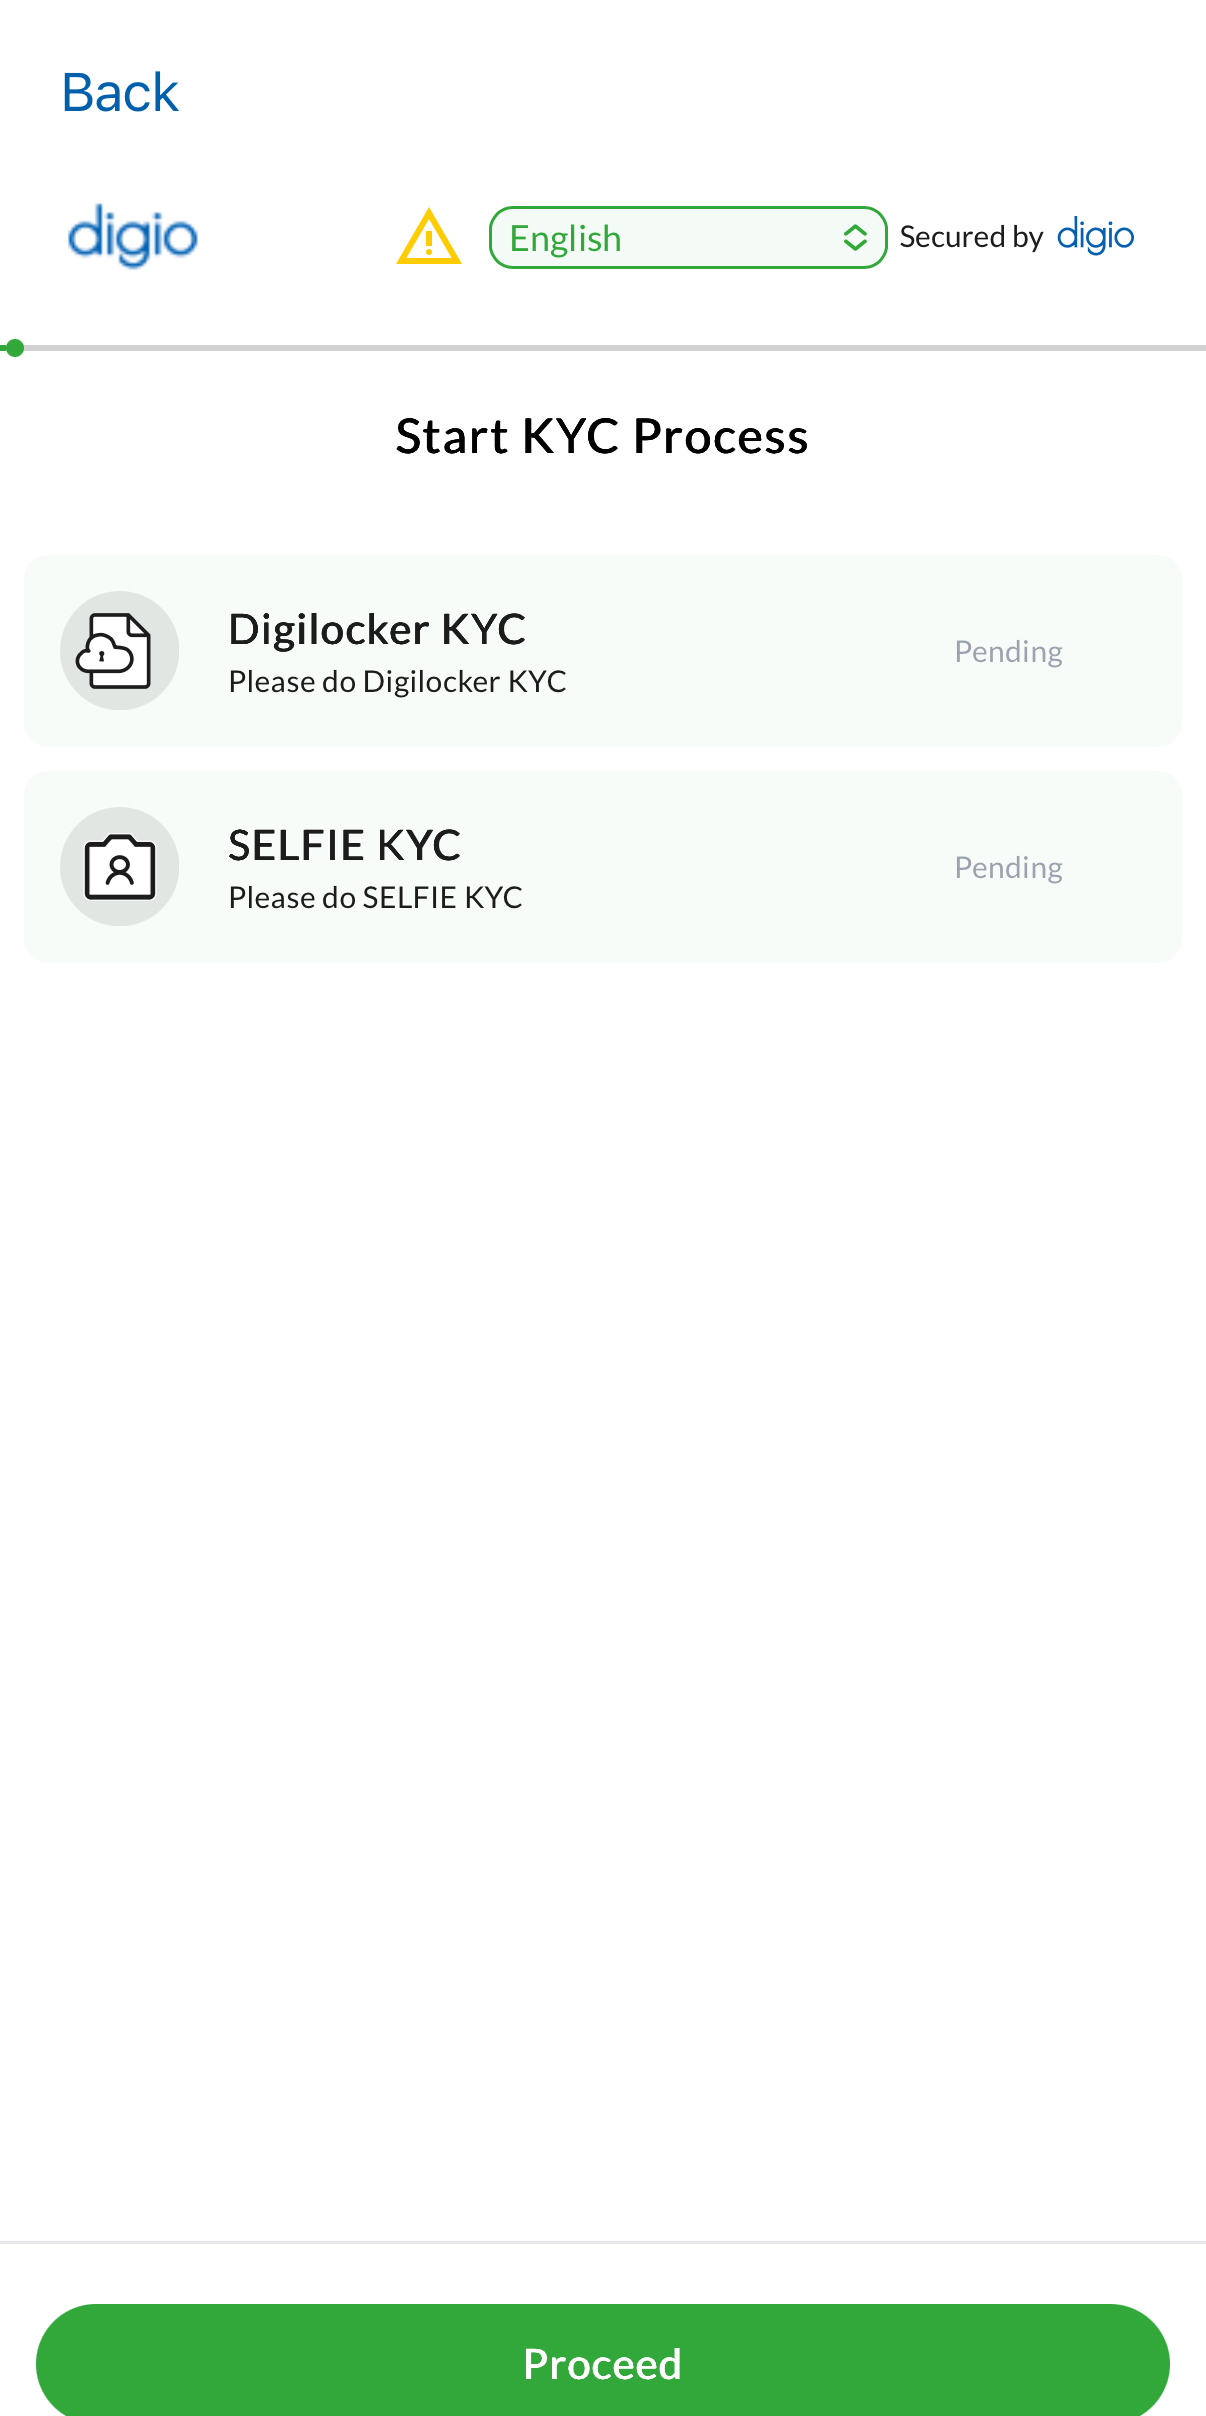
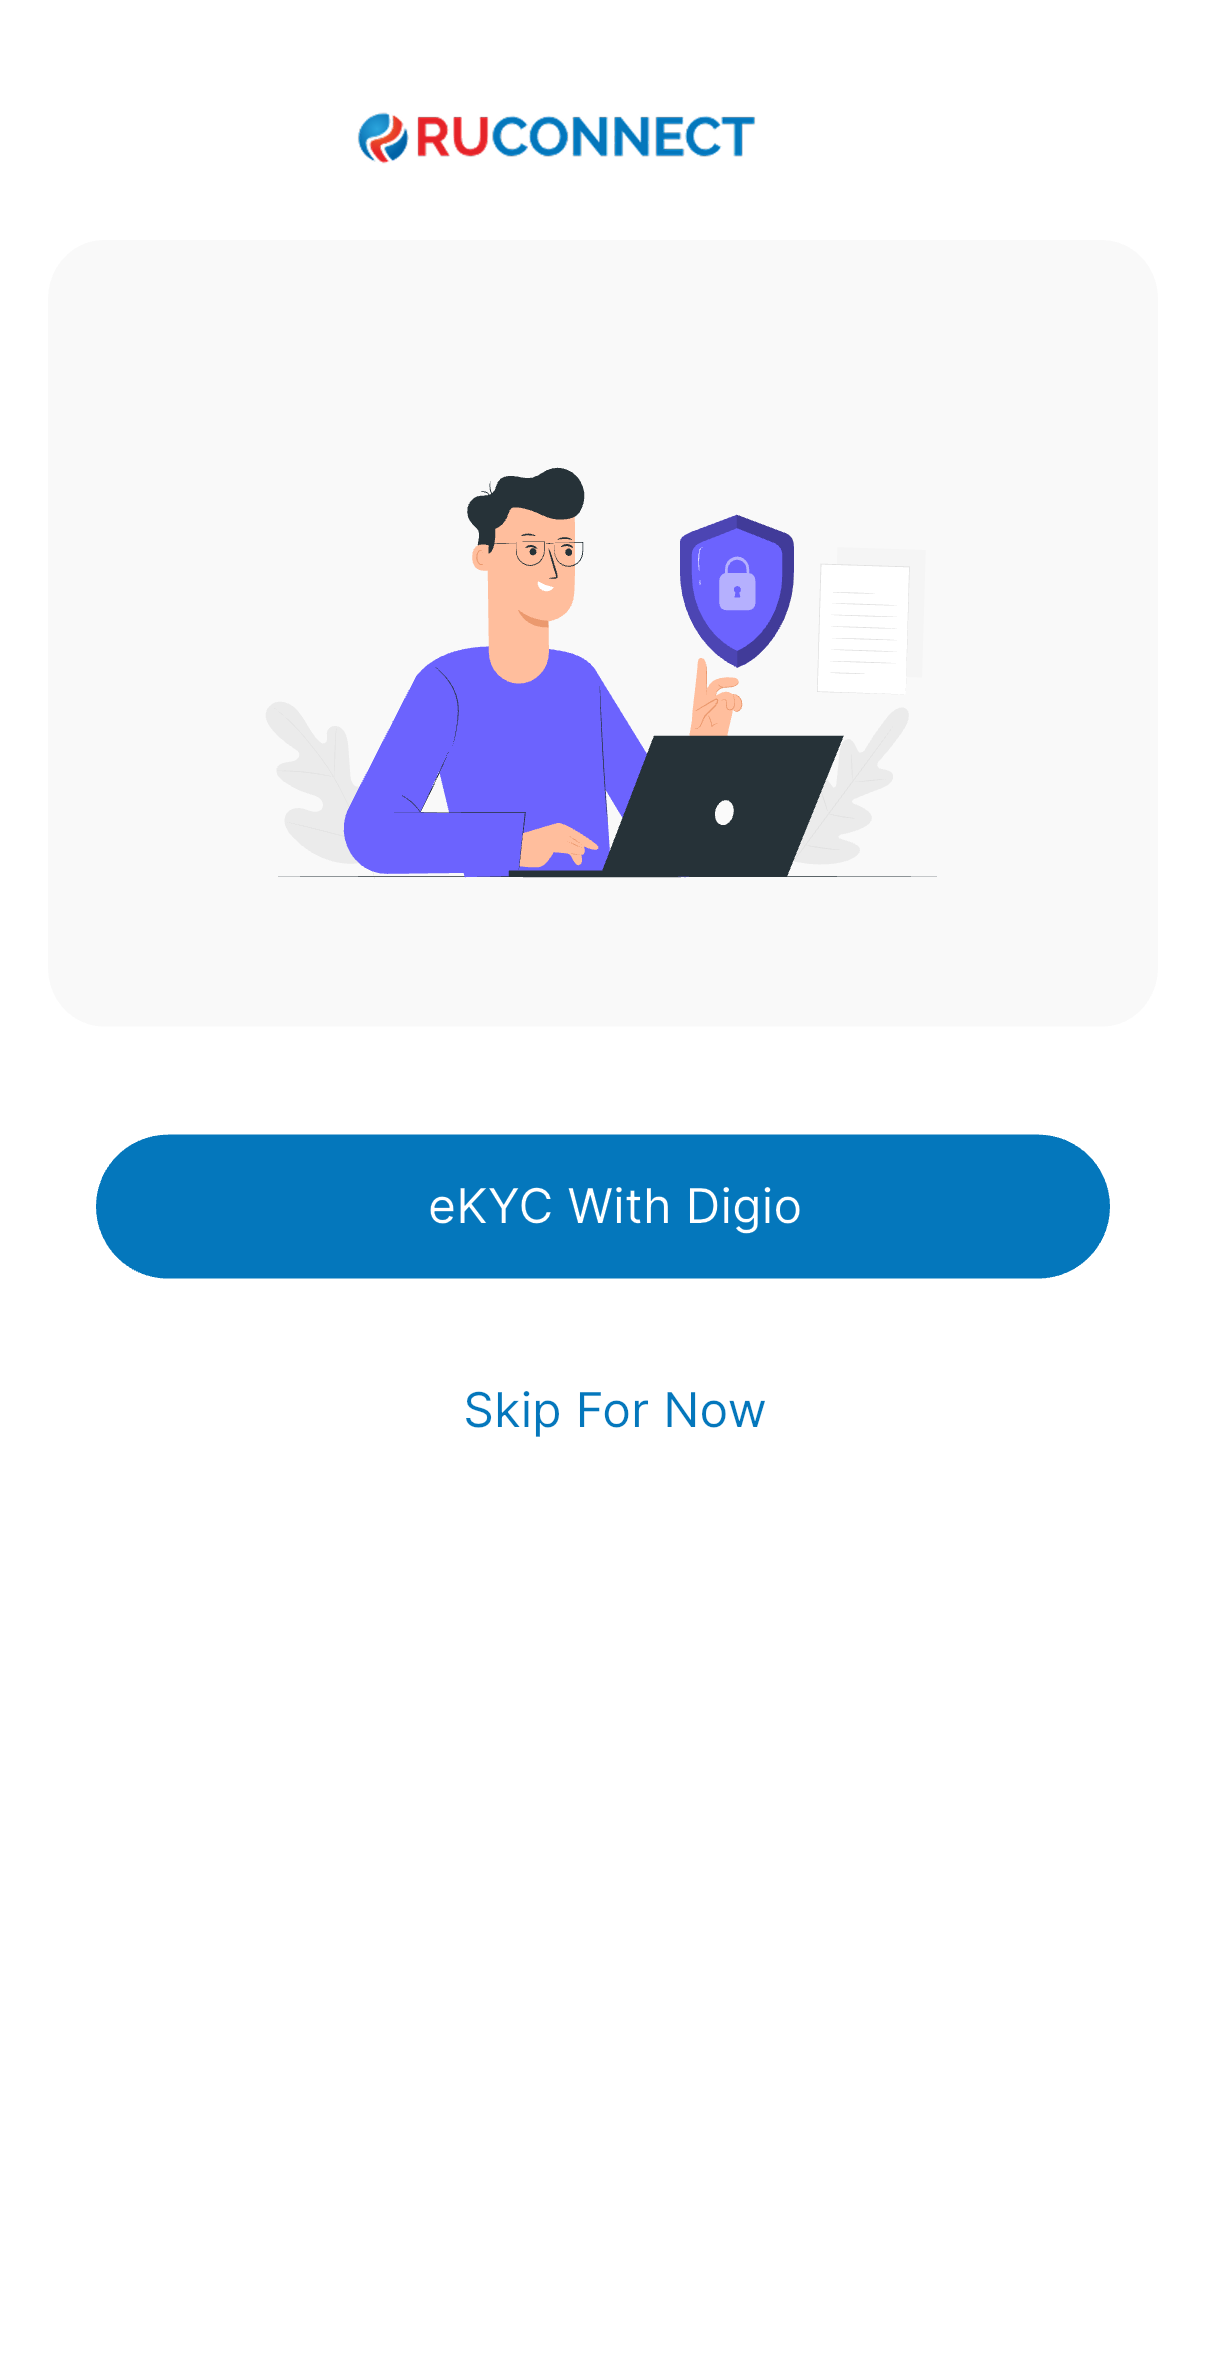 Note: When eKYC with digio is selected user is redirected to Digio for KYC verification.
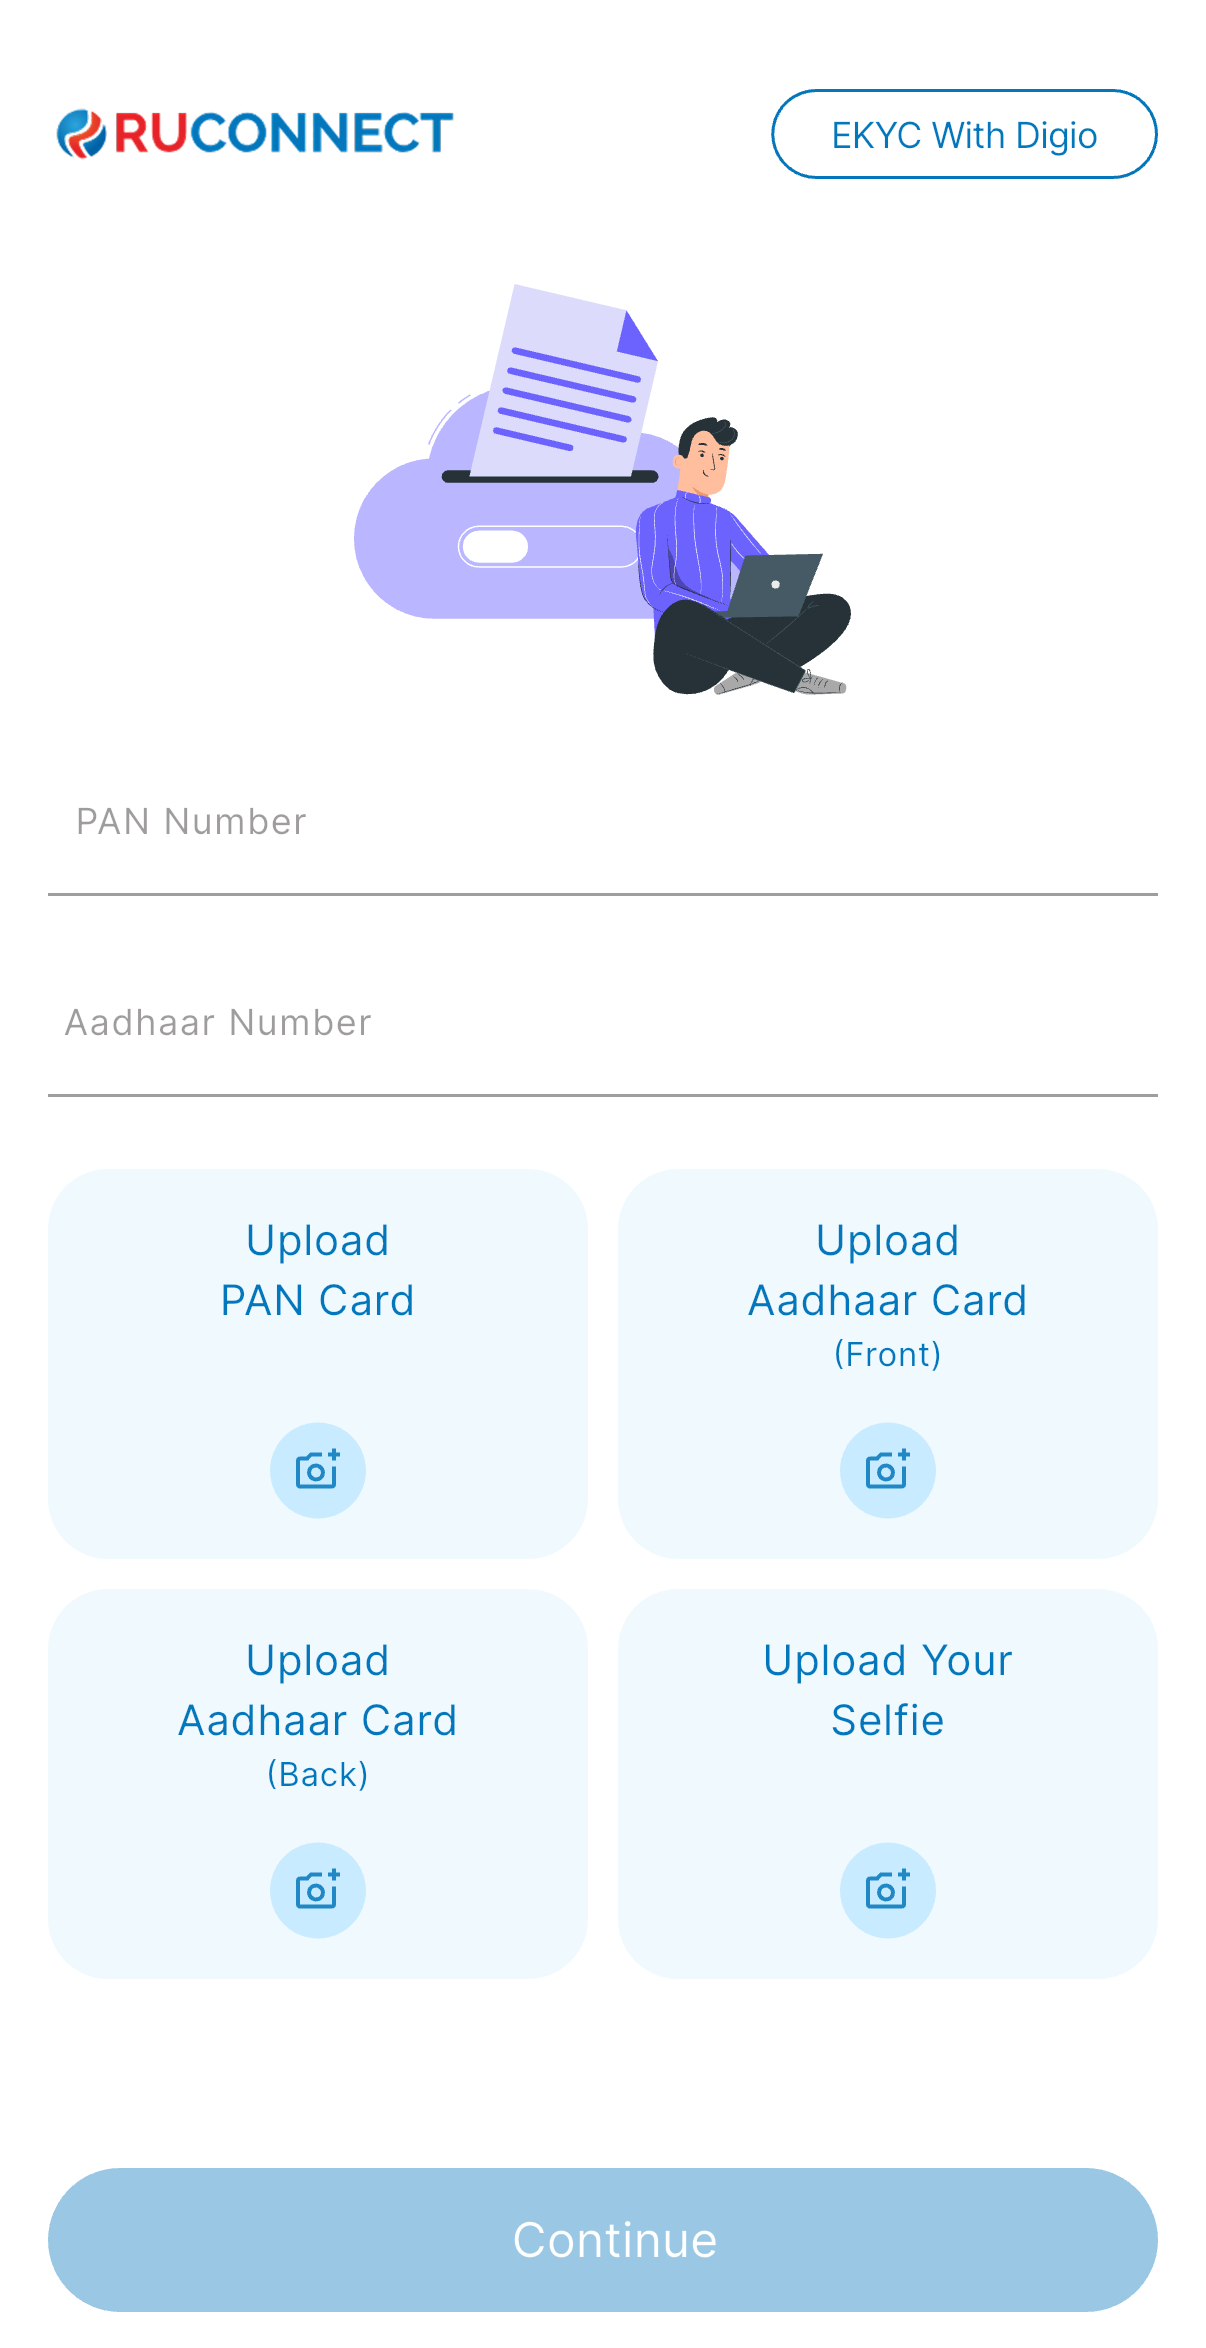
 When Manual KYC is Selected
Provide:
When Manual KYC is Selected
Provide:
- PAN Number
- Aadhar Number
- Upload:
- PAN Card
- Aadhar (Front & Back)
- A Selfie
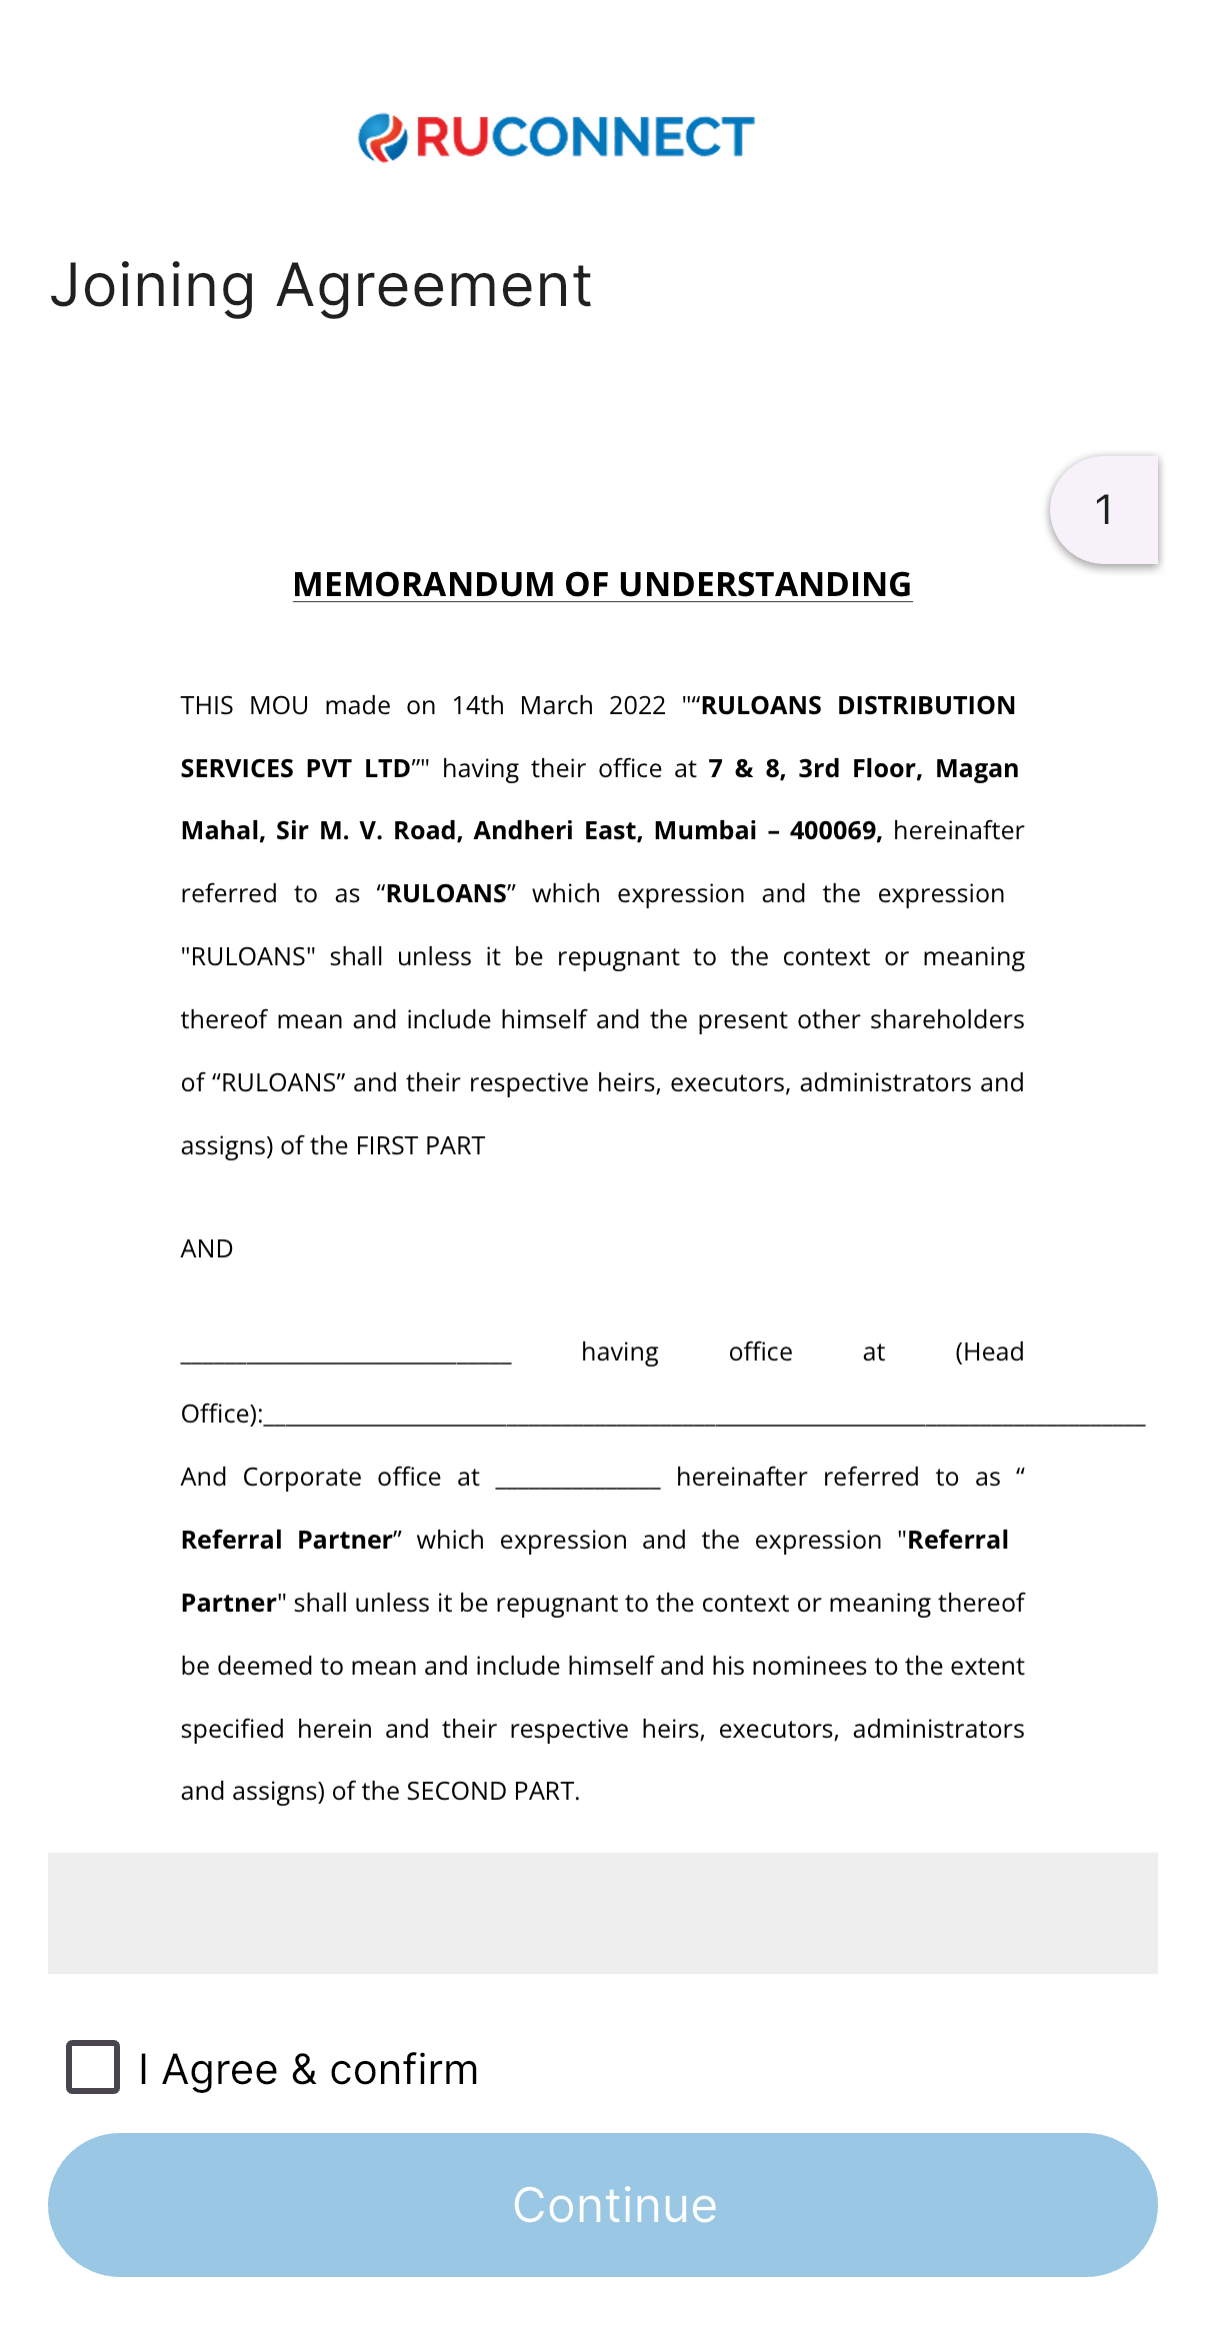
Step 9: Read & Accept Agreement
You’ll see a Joining Agreement (MoU).Read carefully and tick the “I Agree” checkbox.
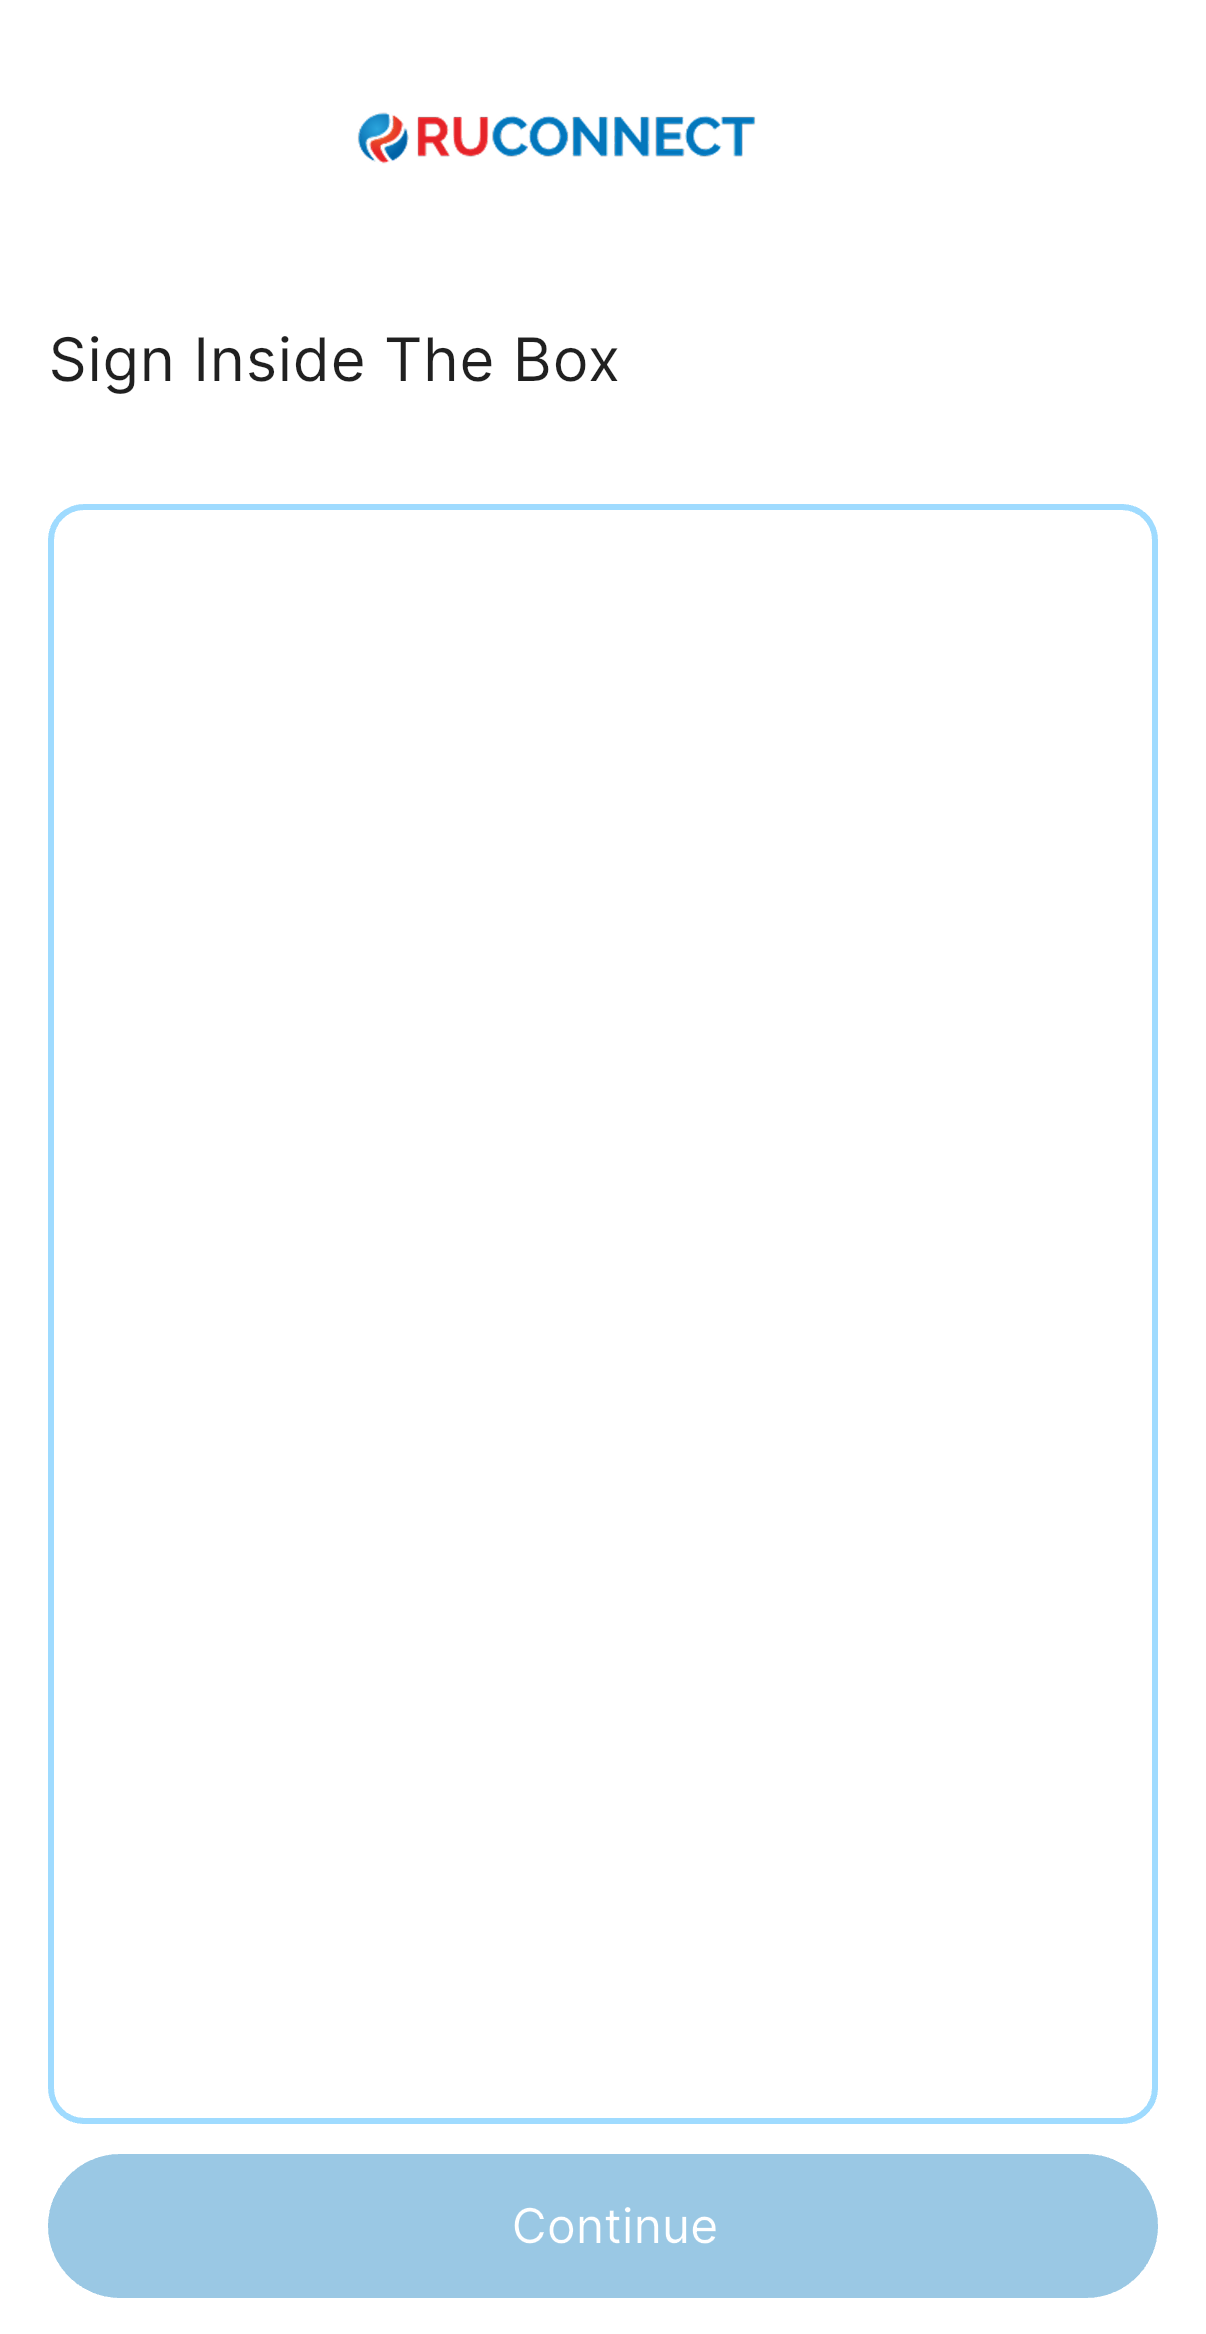
Step 10: Sign Digitally
Use your mouse to sign in the box.Once it’s clear and inside the box, hit Continue. You will se the sign inside the box and re-sign if you want to do it again.
Step 11: Review & Confirm Your Signature
Check the signature you just drew. Ensure it’s clear, accurate, and looks exactly the way you’d sign official documents. If you’re happy, click Confirm Signature to proceed. Want a redo? Click Re-sign or upload a different one.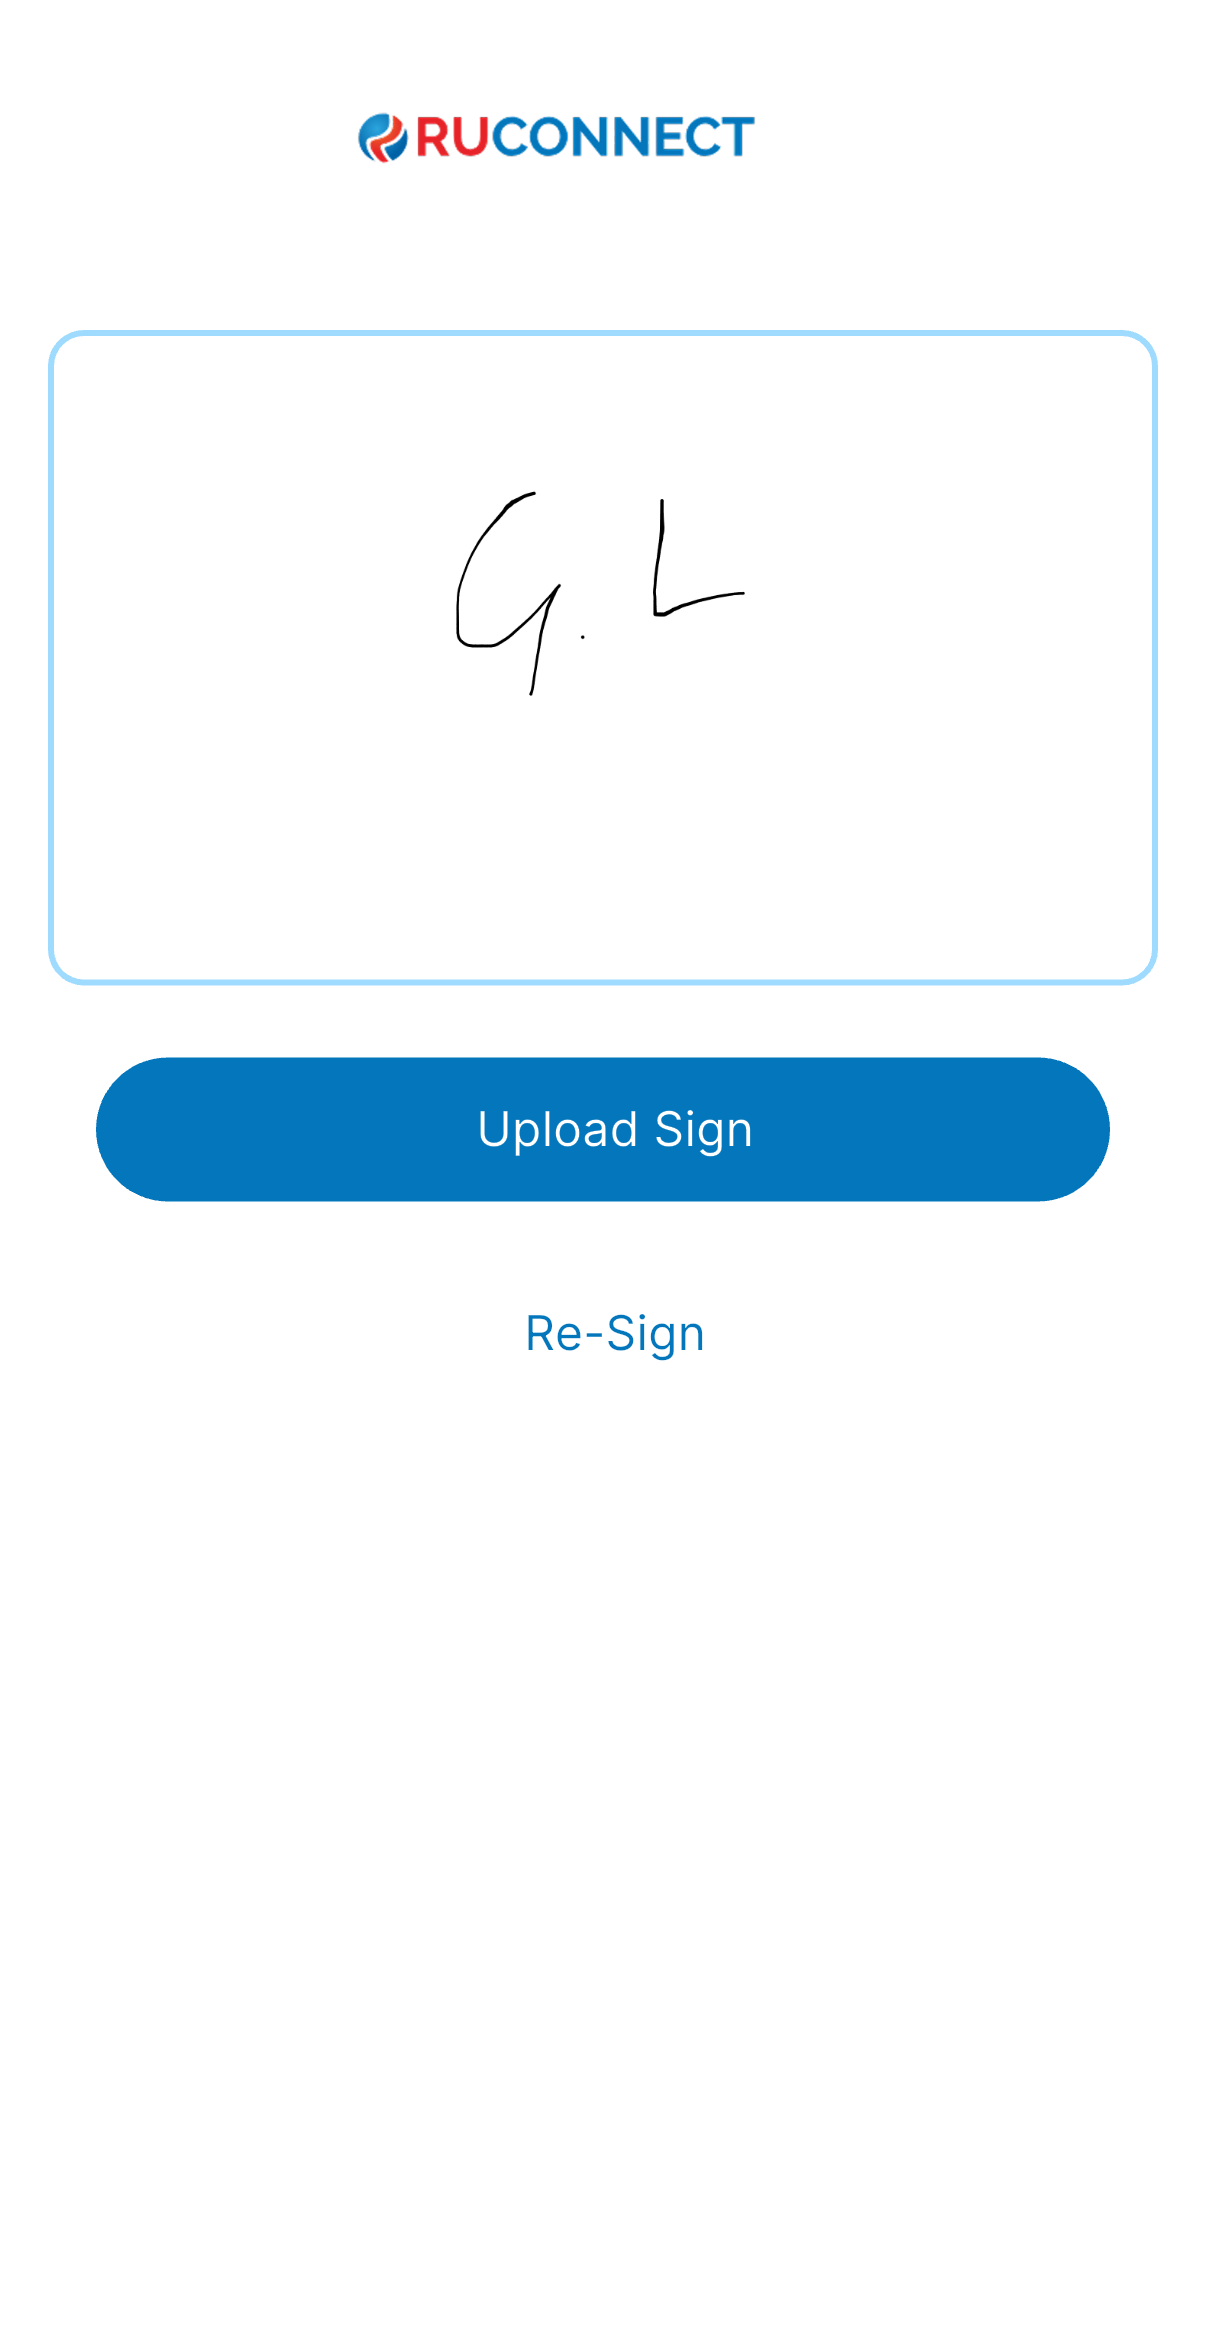
Step 12: Signup Complete!
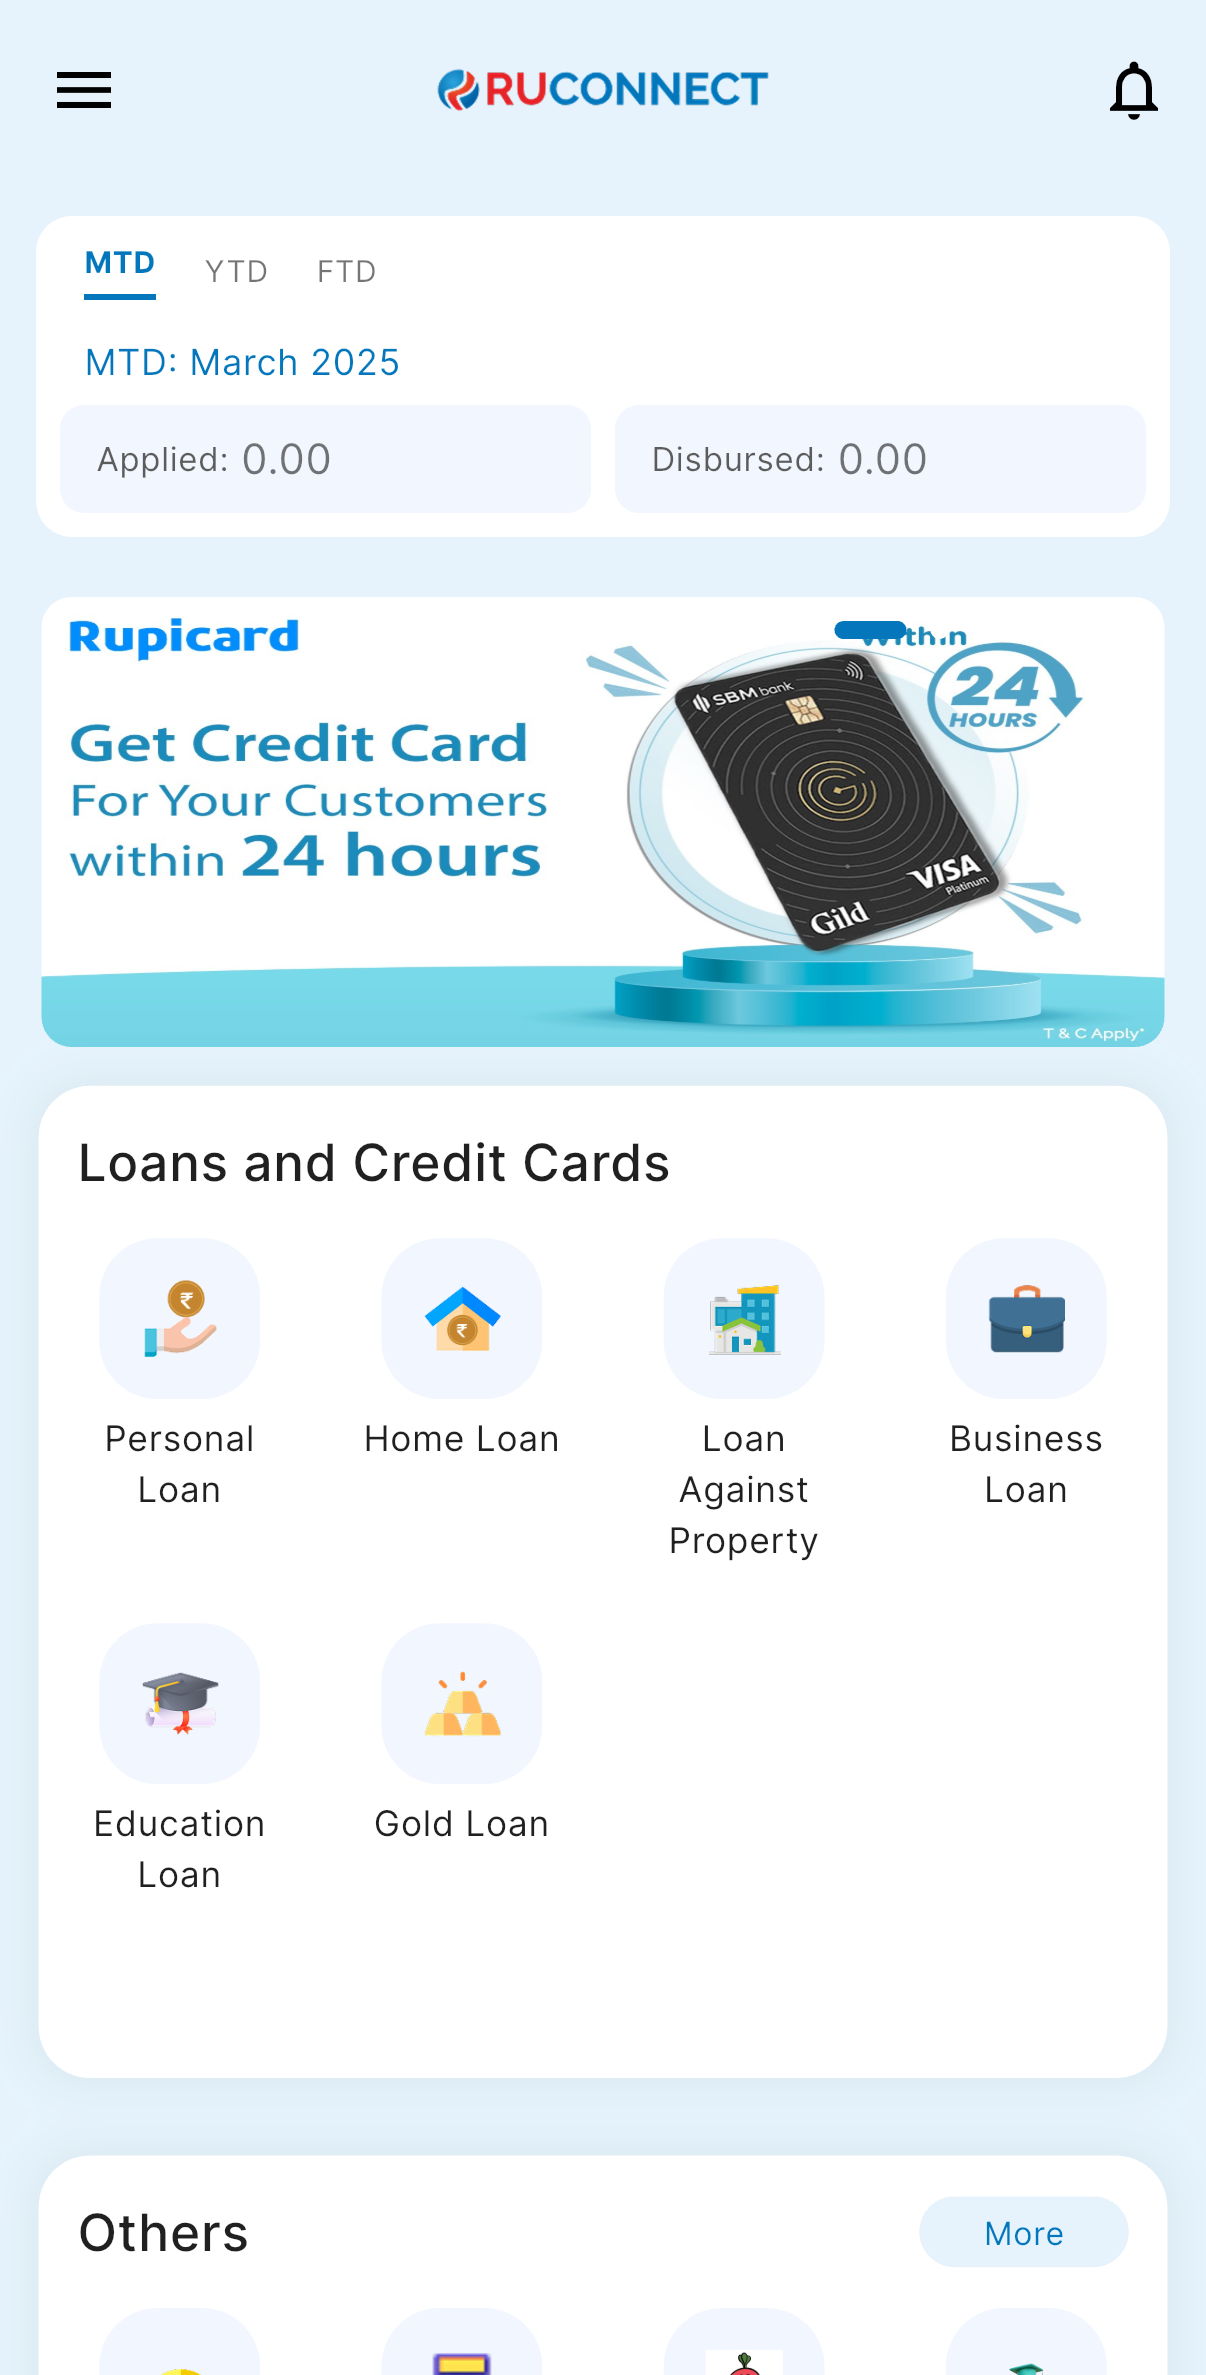
You’re done! Your registration is successful and the agreement is accepted. Click Download User Agreement if you’d like a copy for your records. Click Download Company Agreement if you’d like a copy for your records. CLick Start your DSA journey to begin using your account and explore all features.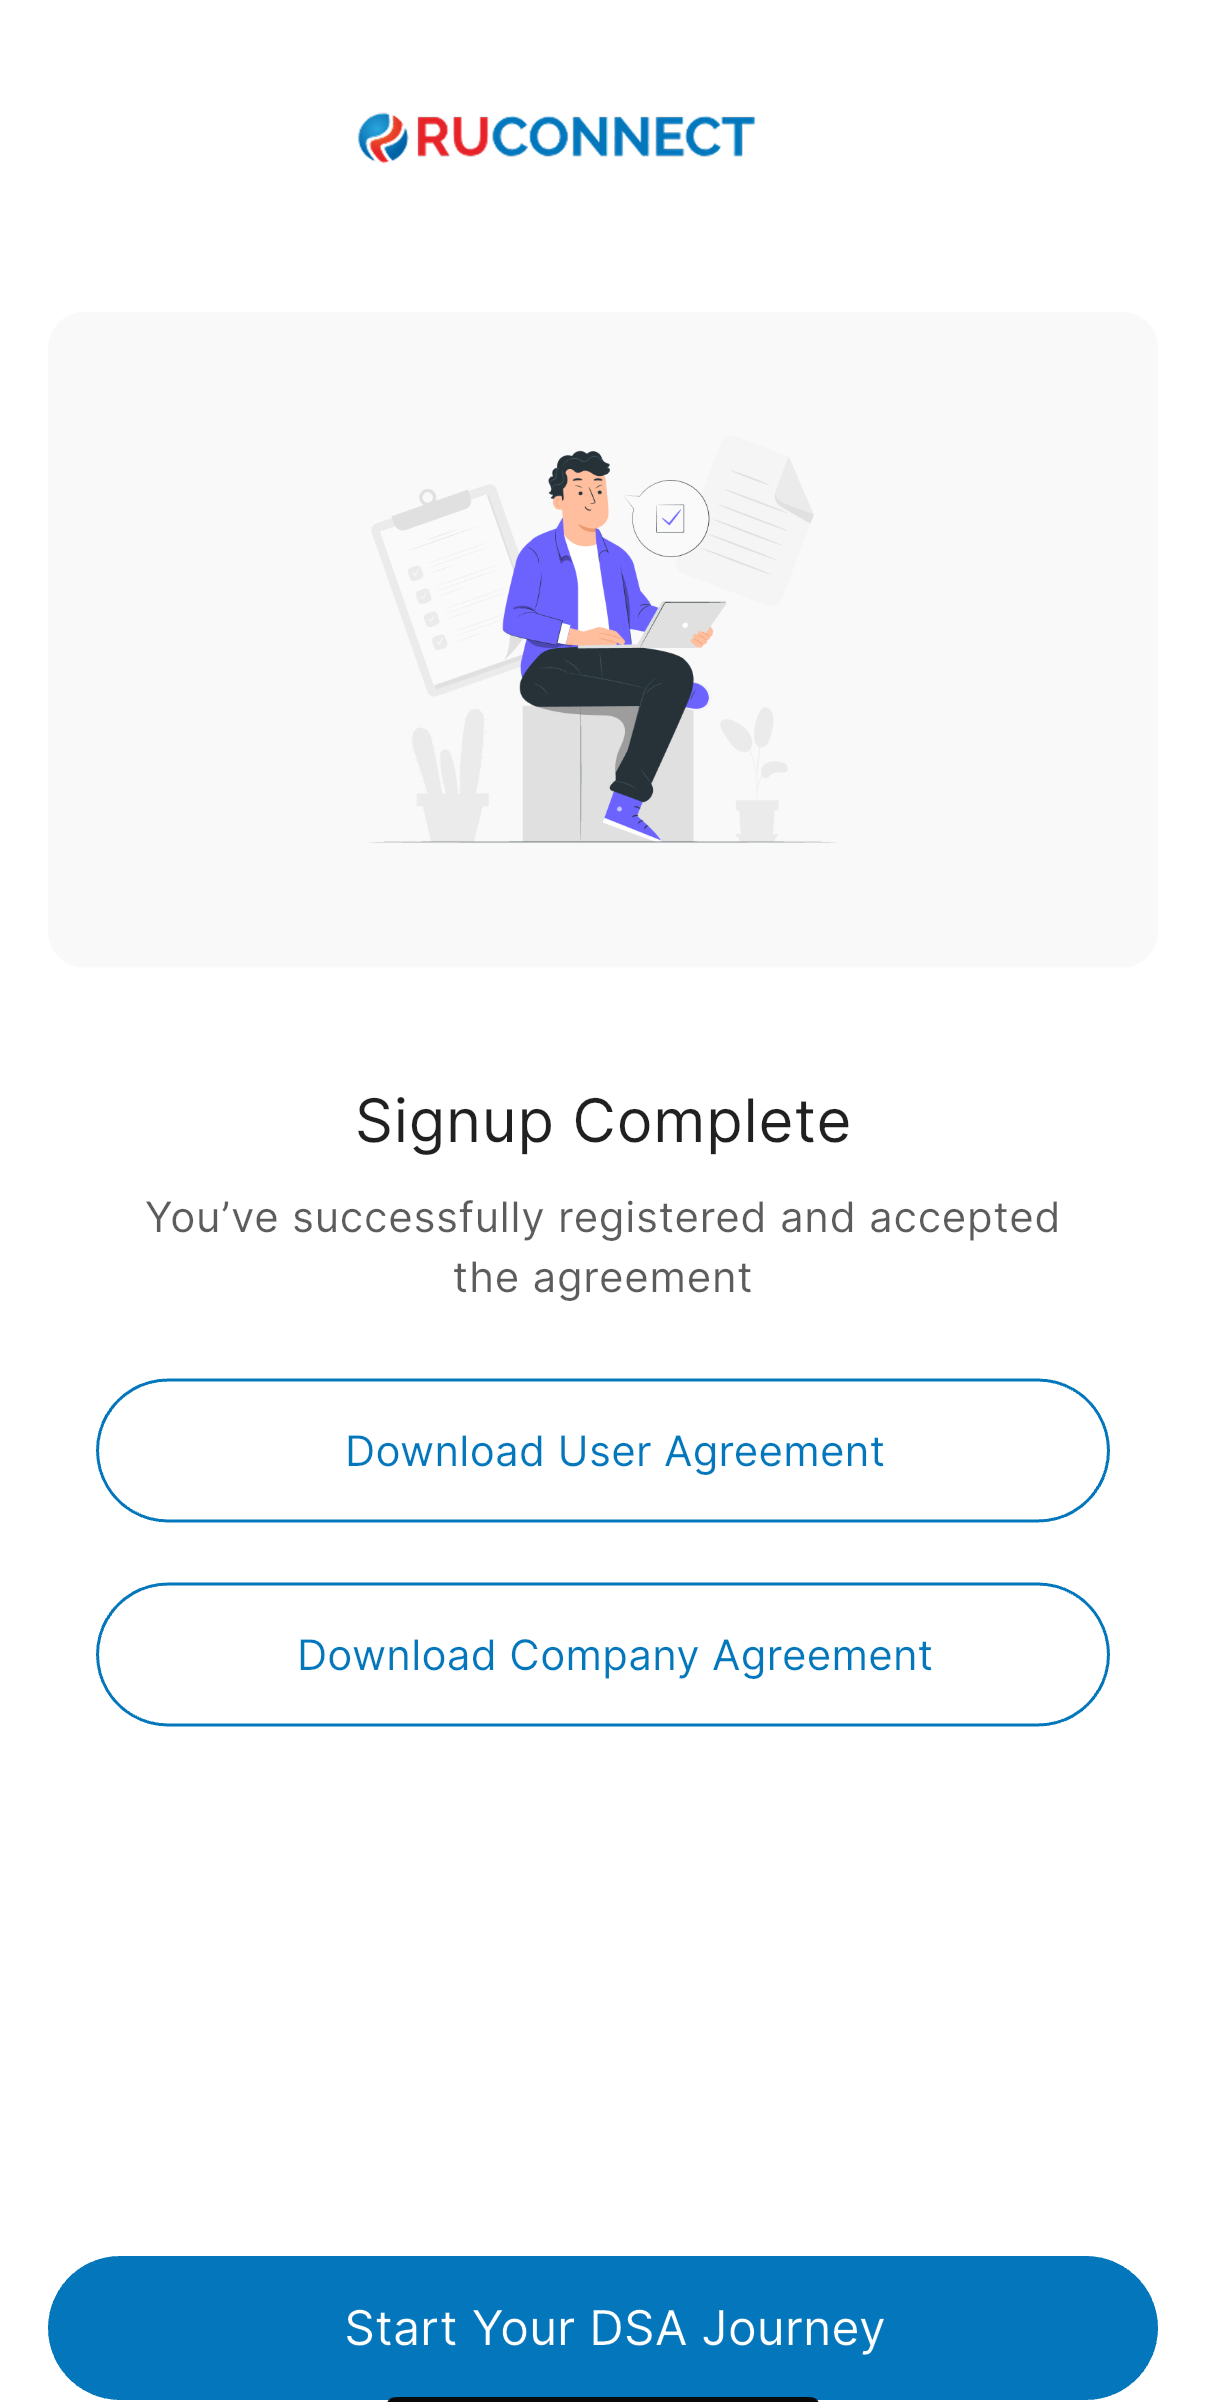 You’ll be redirected to your dashboard.
Your profile and settings will be available for customization.
Need help? Visit our Help Center or contact Support anytime.
You’ll be redirected to your dashboard.
Your profile and settings will be available for customization.
Need help? Visit our Help Center or contact Support anytime.
 Thank you for joining us! Let’s get started on this exciting DSA journey together.