Call Logs – DSA (CRM)
Overview
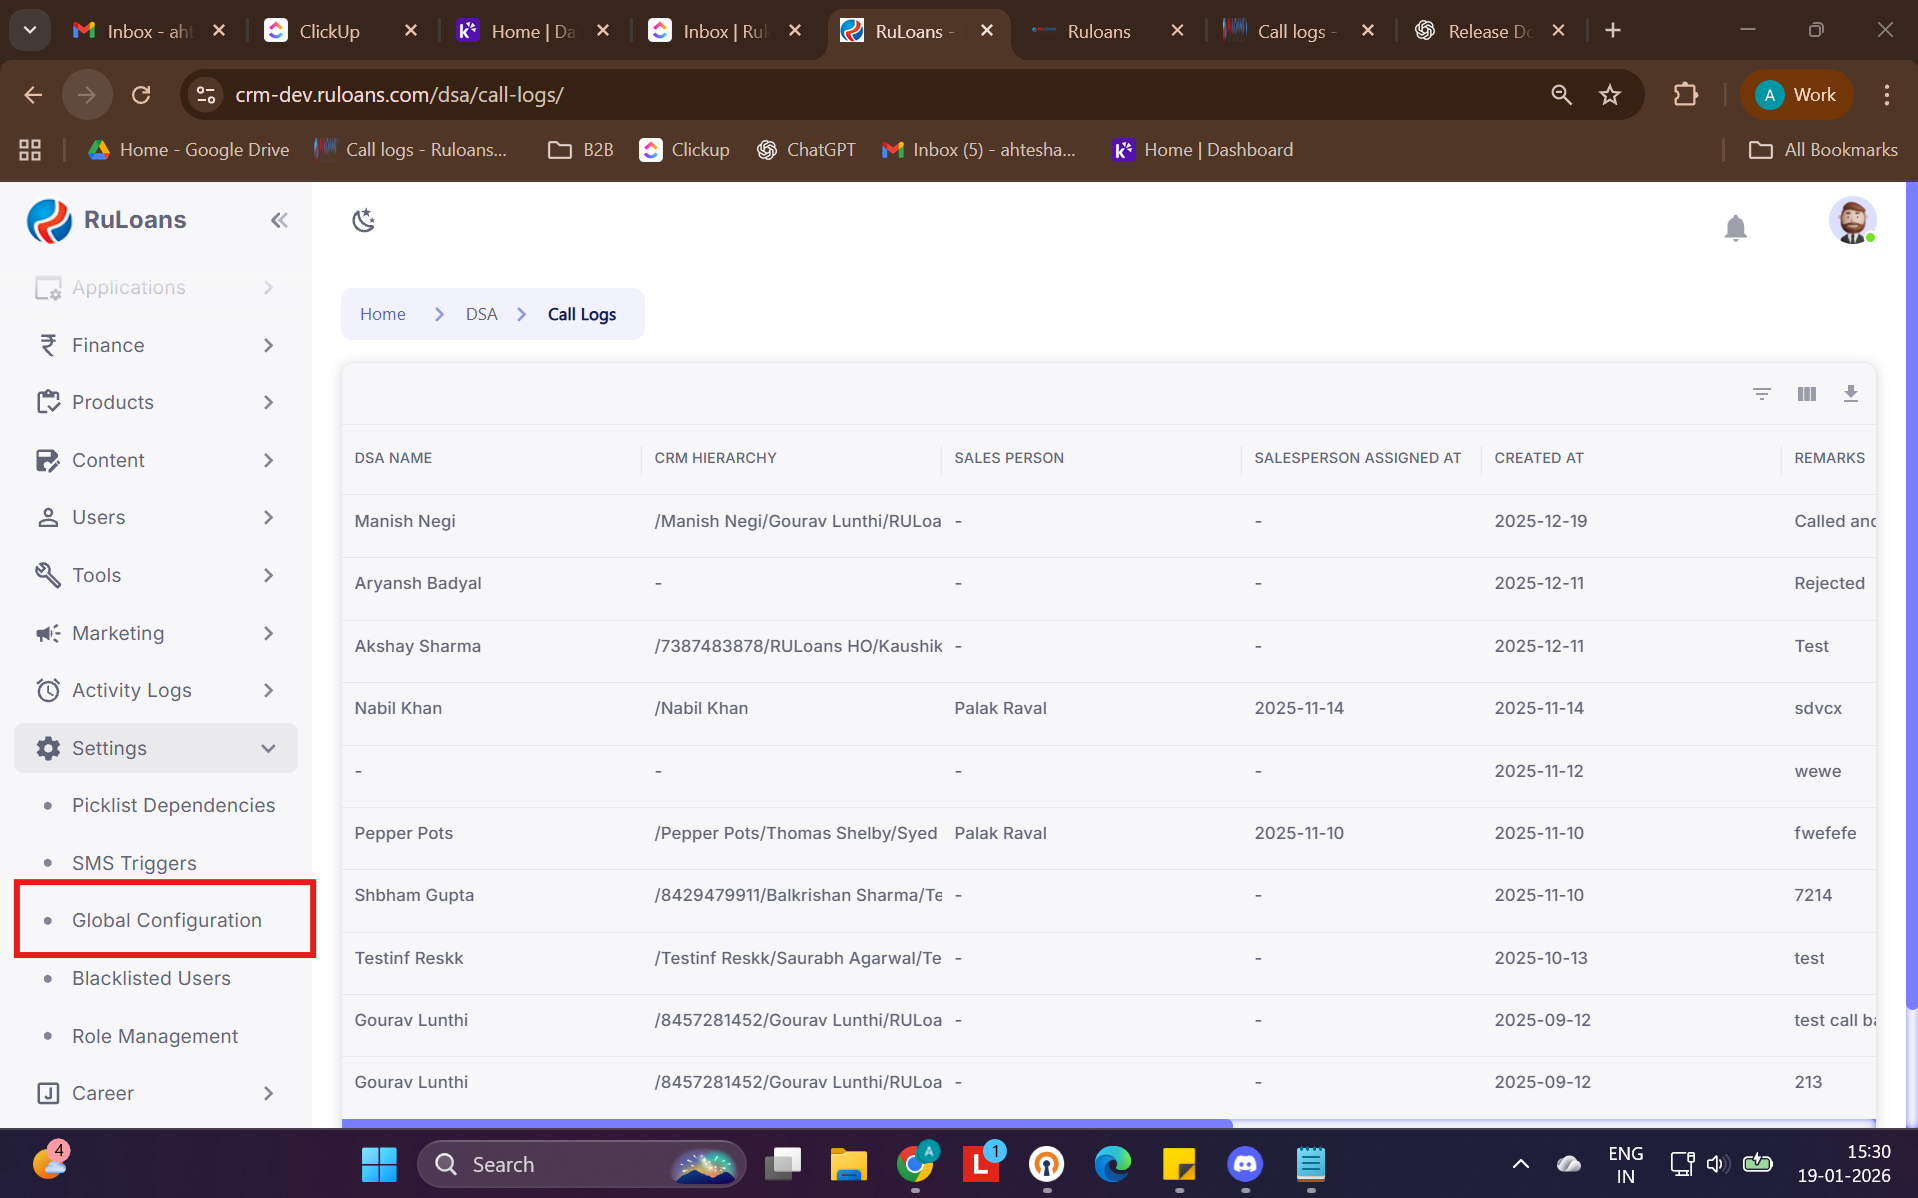
A new Call Logs module has been introduced under the DSA section in the Ruloans CRM. This module provides a centralized location where all caller-related data is visible in one place. It supports advanced filtering, column customization, efficient data navigation, and secure data export.Key Features
Centralized Data View
View complete call-related information for each DSA interaction. Designed to make searching and reviewing caller activity quick and easy.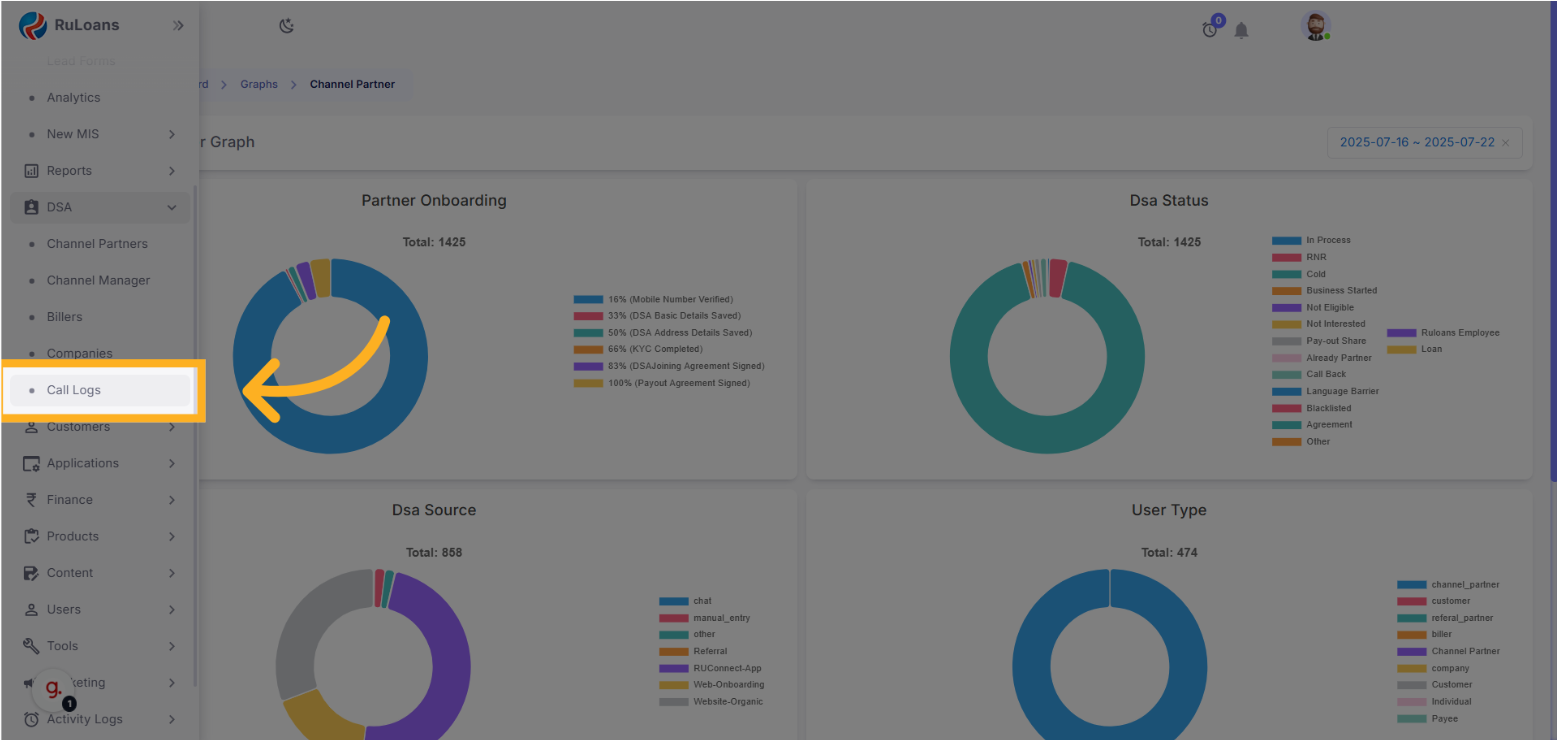
Call Logs Table – Column Details
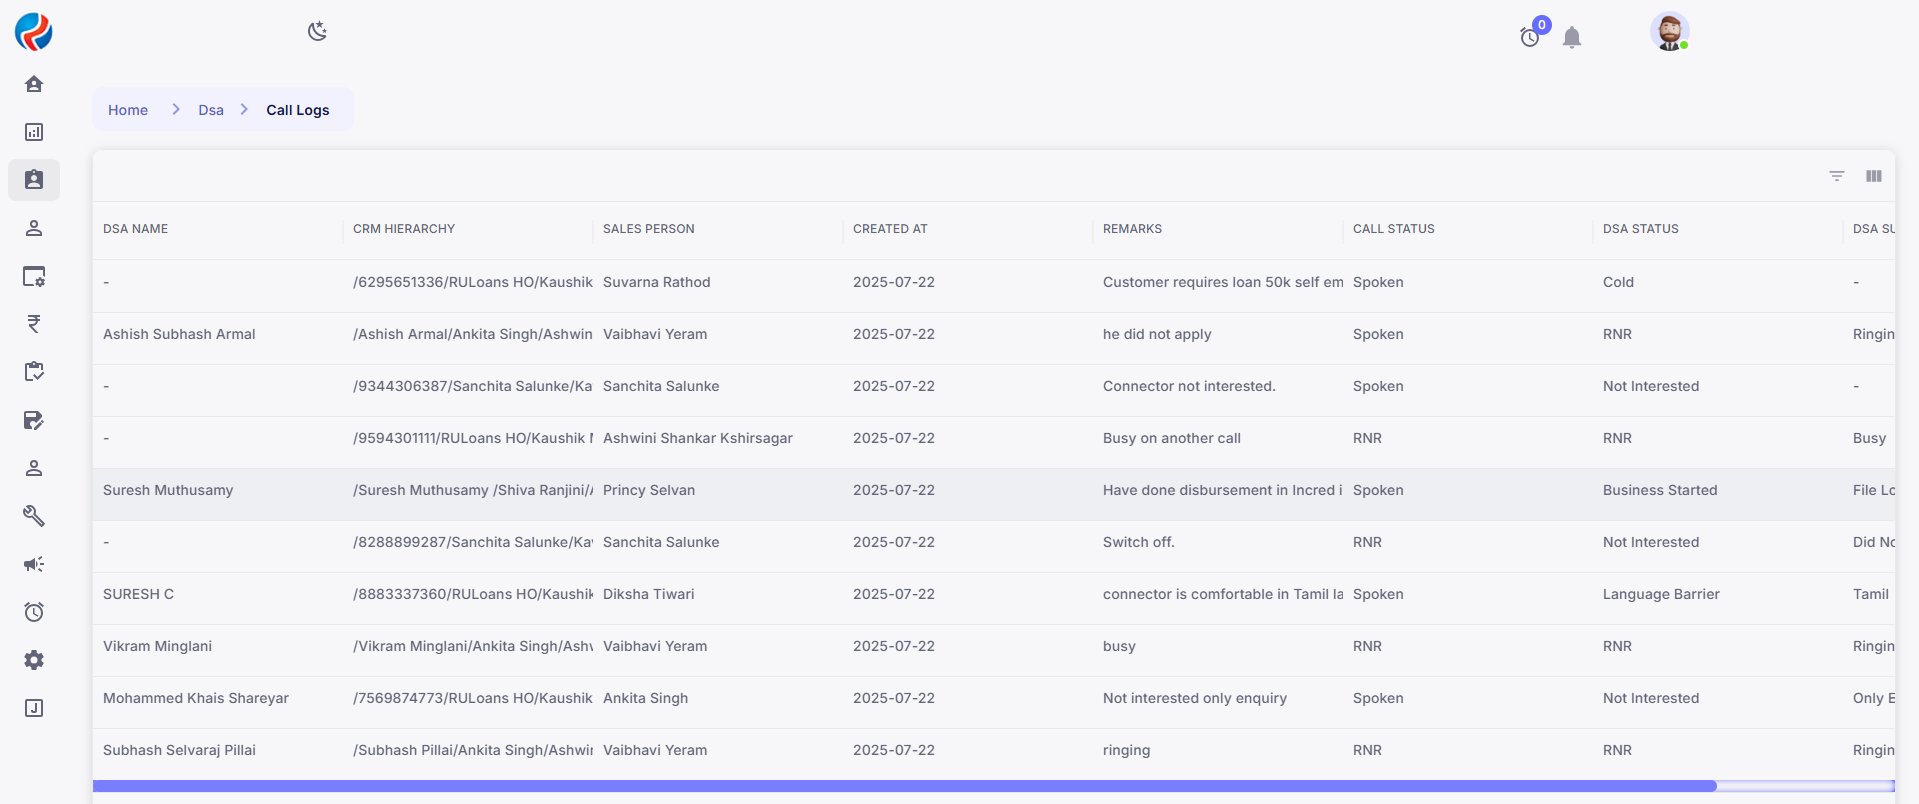 The table includes the following columns:
| Column Name | Description |
|---|---|
| DSA Name | Name of the DSA |
| CRM Hierarchy | CRM-level structure or reporting line |
| Sales Person | Assigned salesperson |
| Salesperson Assigned At | Date when salesperson was assigned |
| Created At | Date and time of entry creation |
| Remarks | Any remarks or notes for the call |
| Call Status | Status of the call (e.g., Completed, RNR, Spoken, Followup, Not Interested, Call Back, Interested, File Processed) |
| DSA Status | Overall DSA status |
| DSA Sub Status | Detailed sub-status of the DSA |
Column Customization Options

Hover & Three-Dot Menu (⋮)
When you hover over any column header, a three-dot menu appears. Clicking this opens the Column Options Menu with the following features:| Option | Description |
|---|---|
| 📌 Pin to Left | Locks the column to the left side of the table |
| 📌 Pin to Right | Locks the column to the right side |
| 🔍 Filter | Opens filter panel for that column |
| 👁️ Hide Column | Temporarily hides the selected column |
| 🗂️ Manage Columns | Opens the full column manager for further customization |
Manage Columns
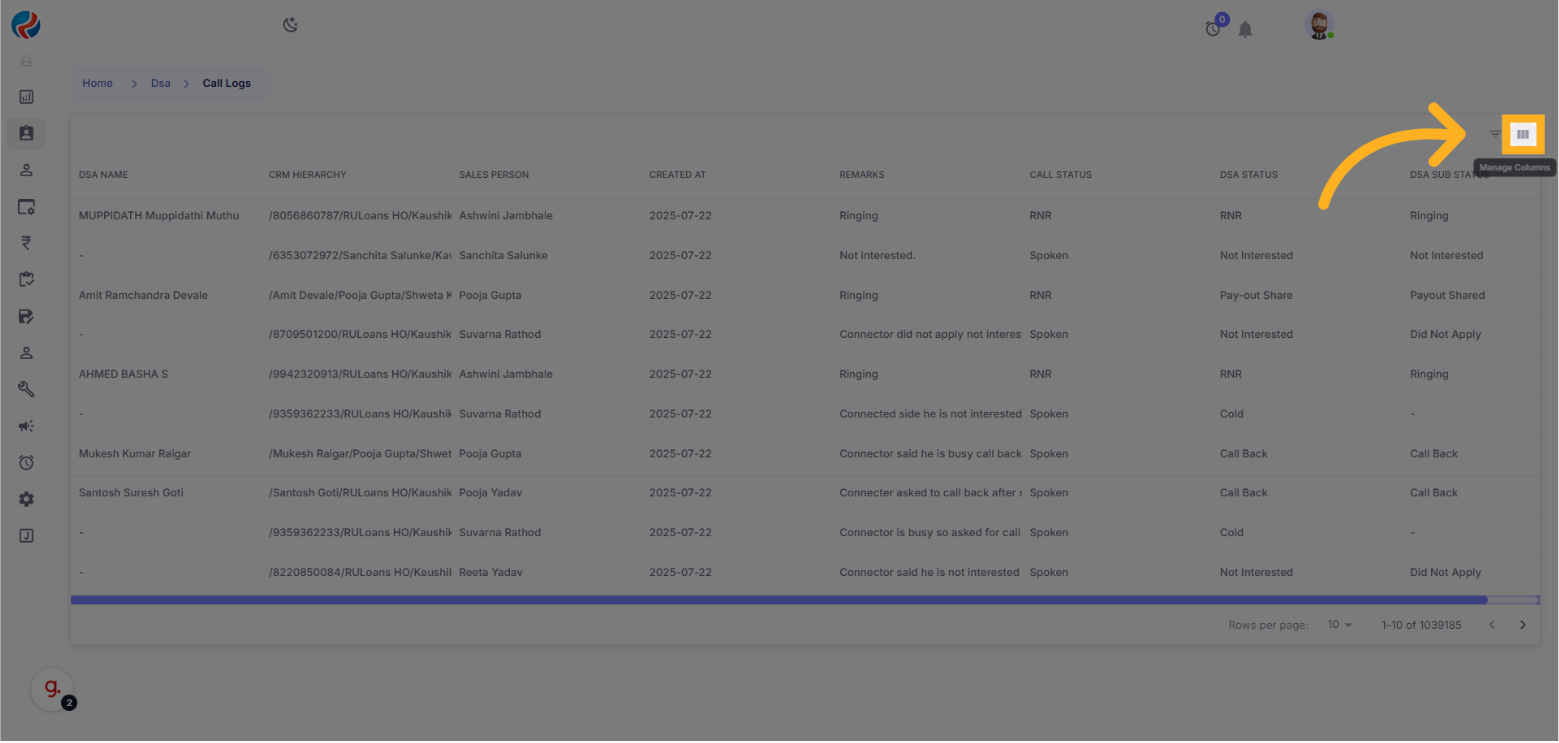 At the top-right corner, click on Manage Columns to open the column management panel.
Column Manager Features
✔️ Check/Uncheck Columns – Show or hide any column 📌 Show/Hide All – Quickly toggle all columns 🔄 Reset Button – Reverts to the default column viewFilters
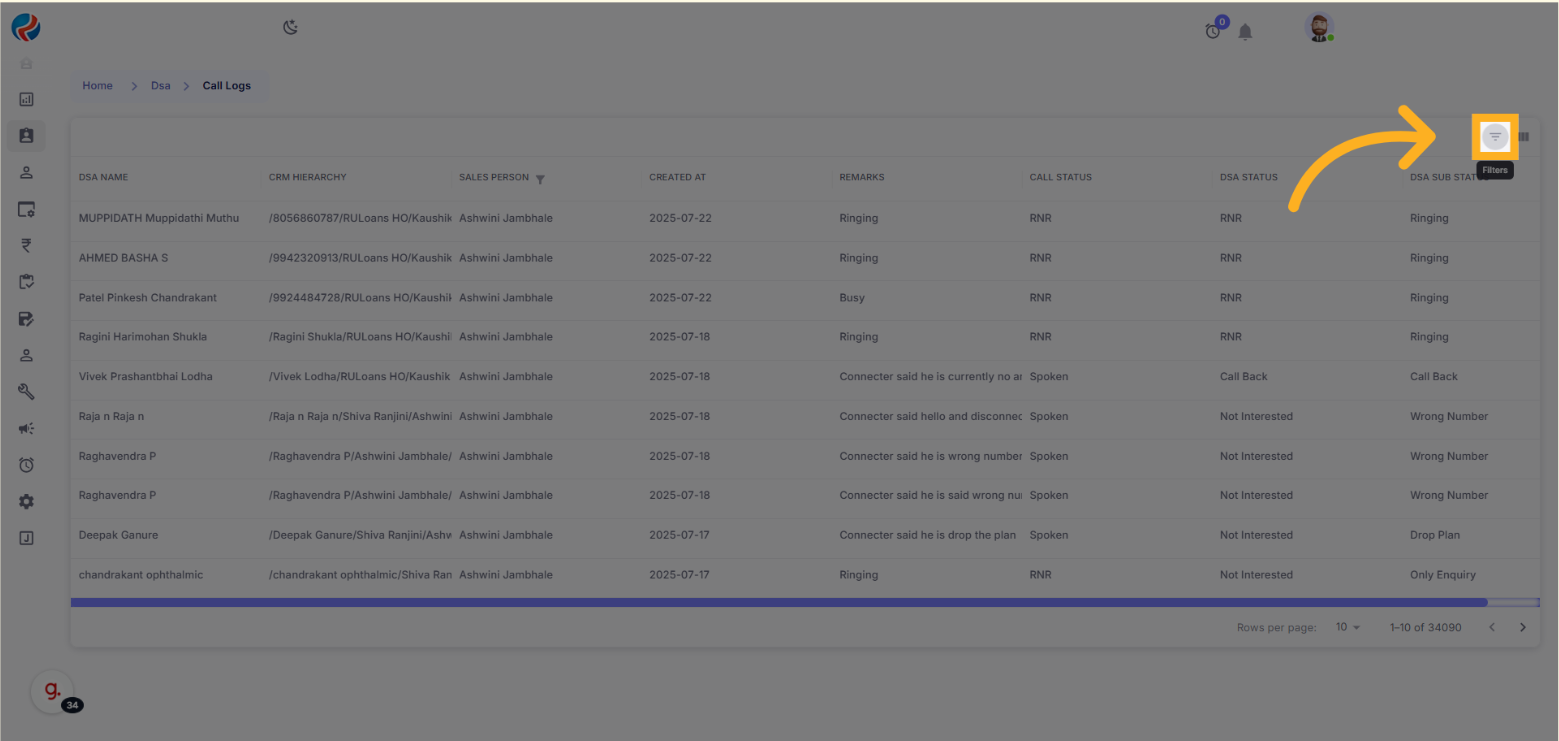 Click the Filters button on the top-right to apply data filters.
Filter Panel Includes
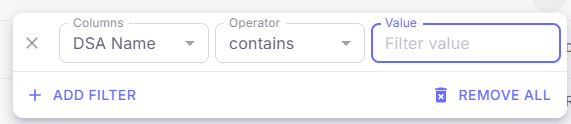 Column Selector – Choose the column to filter (multiple filters can be added)
Operator Selector – Choose the condition type
Value Input – Enter or select the value to match
Column Selector – Choose the column to filter (multiple filters can be added)
Operator Selector – Choose the condition type
Value Input – Enter or select the value to match
How to Use Call Log Filters
Example: Filter by Sales Person and Date
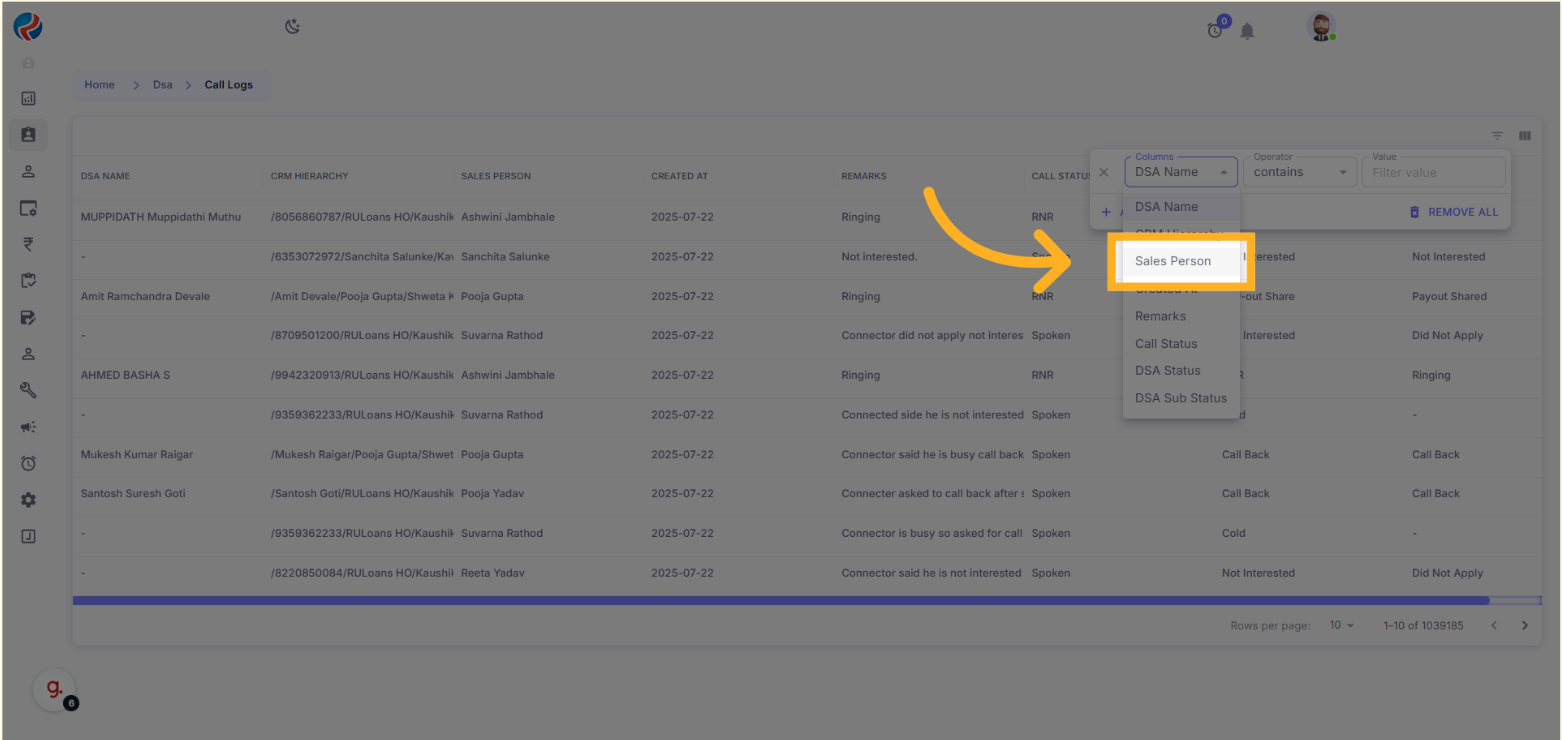
Step 1: Filter by Sales Person
- Click on the Filters button.
- Select Sales Person in the Columns dropdown.
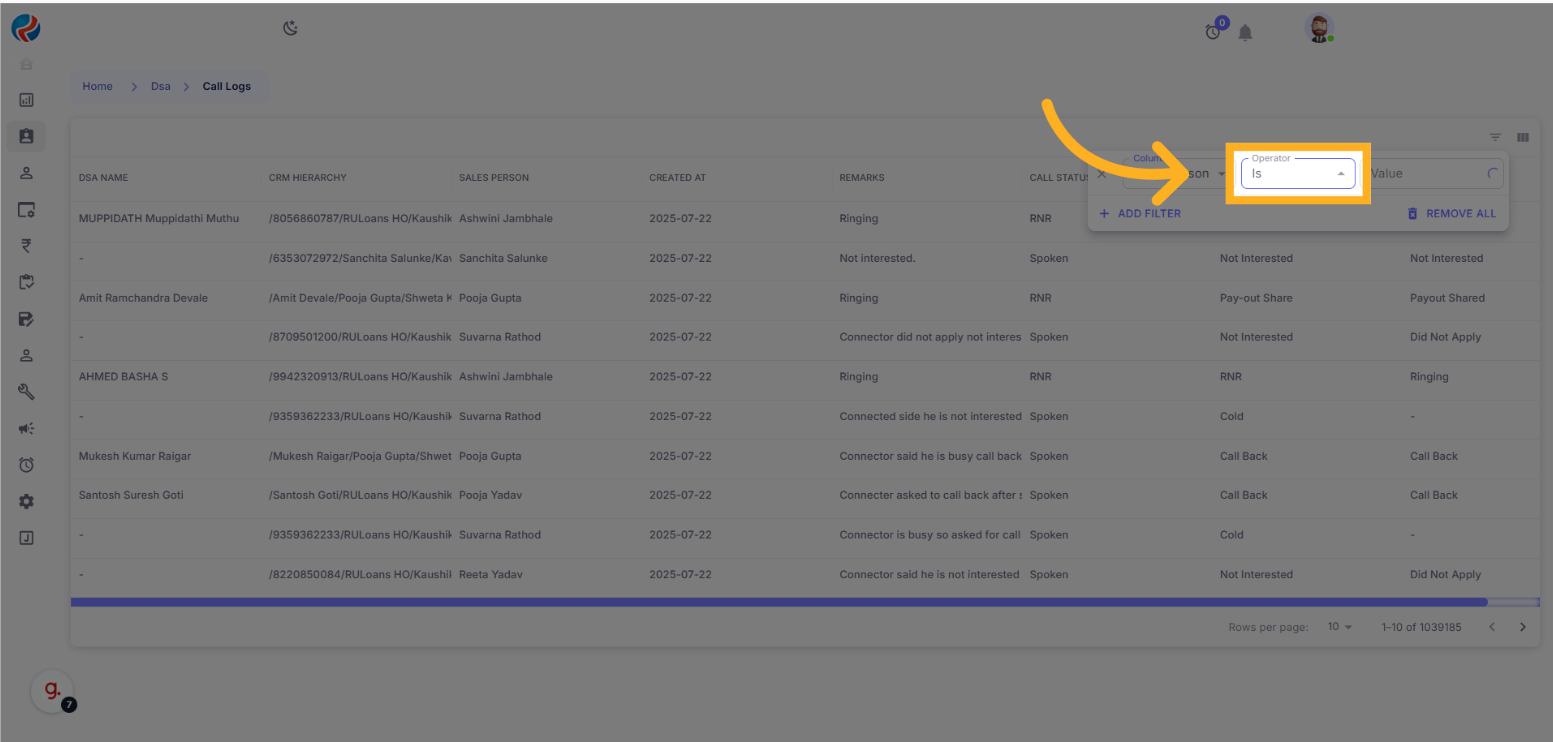
- Choose operator “is”.
- Enter and select Ashwini from the dropdown.
- You will see a dropdown with matching values. Select the appropriate Sales Person (Ashwini) from the list.
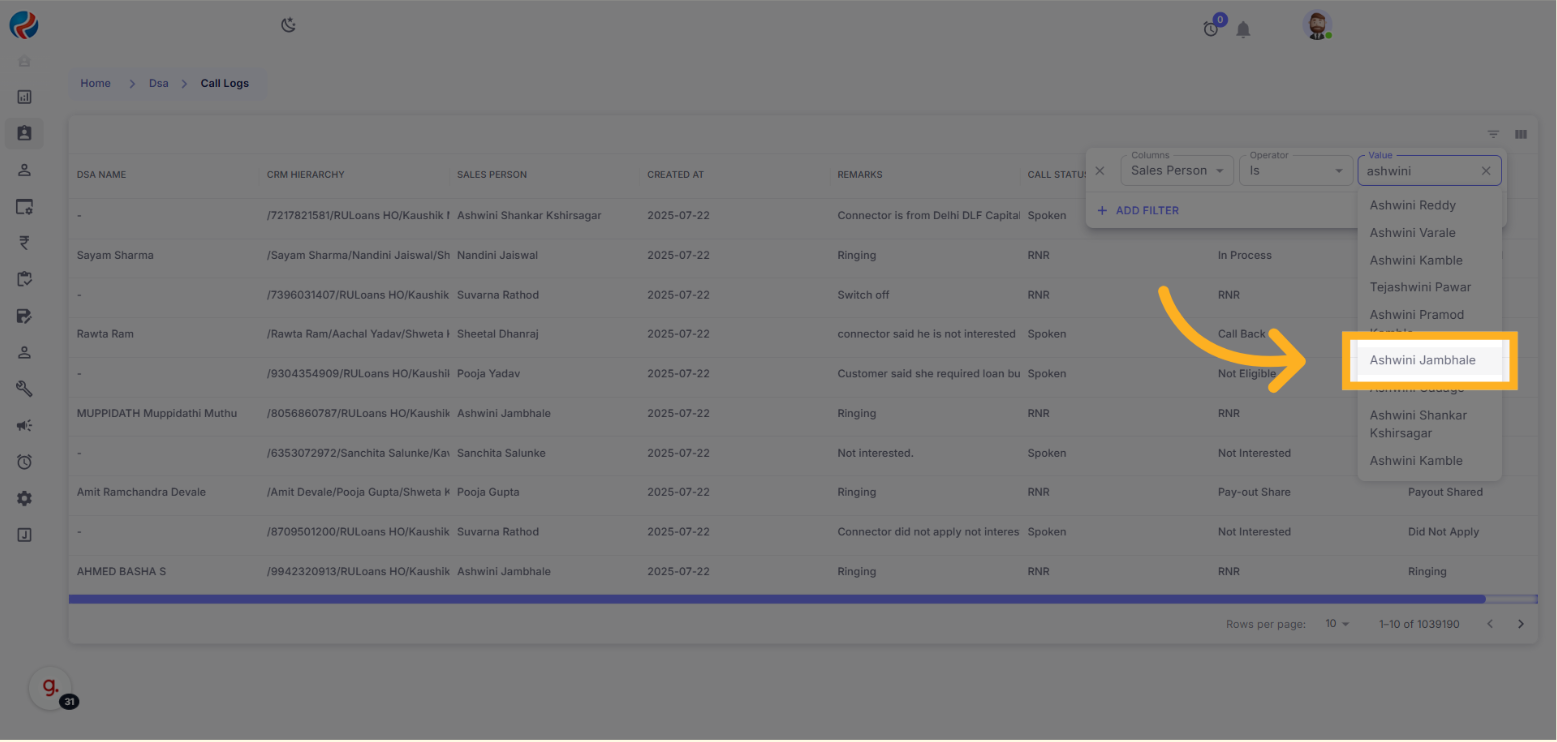
- The data will now be filtered to show only the records assigned to that Sales Person.
Step 2: Add a Date Filter
- Click + Add Filter.
- Select Created At as the column.

- Choose operator “is on or before”.
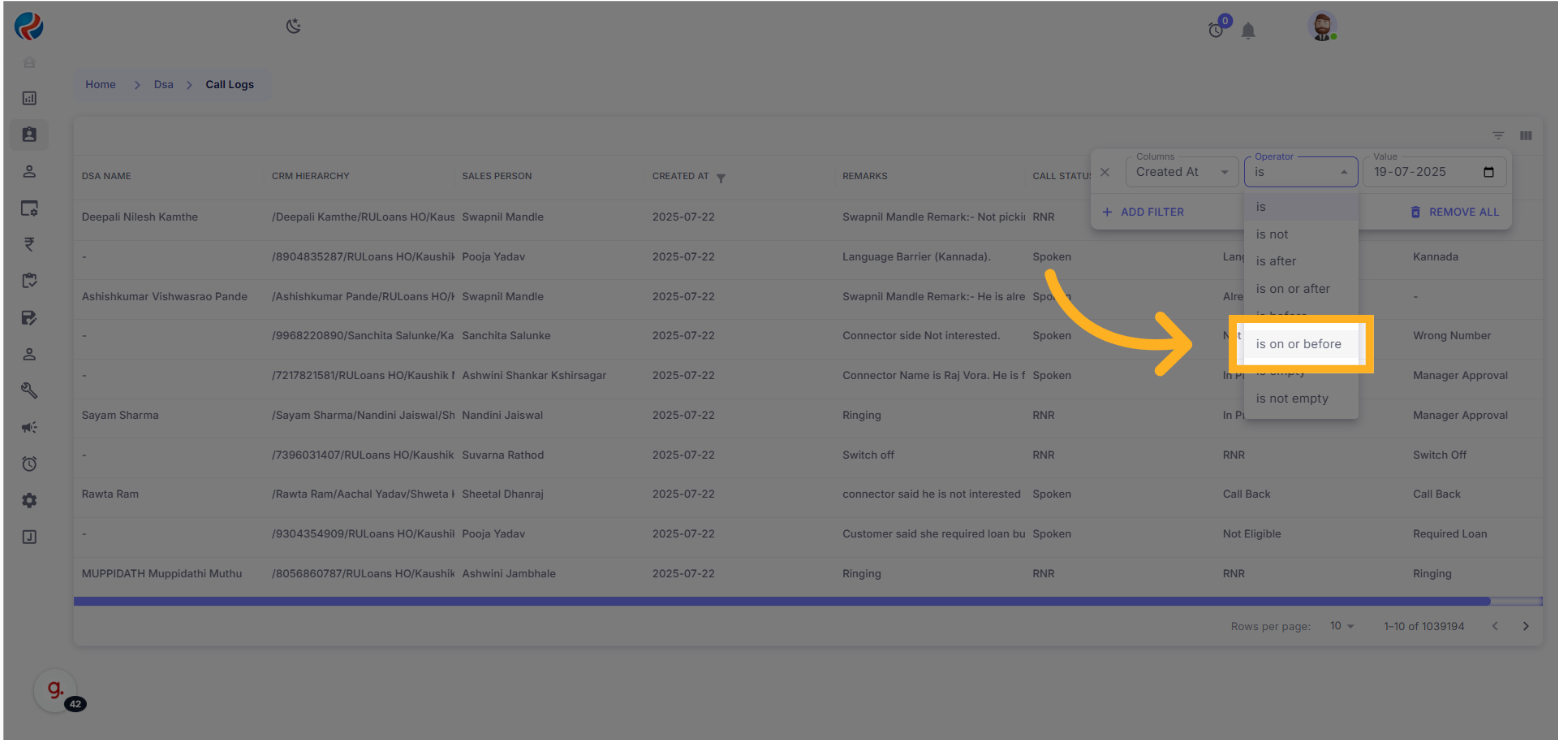
- Select the required date (e.g., 19-07-2025).
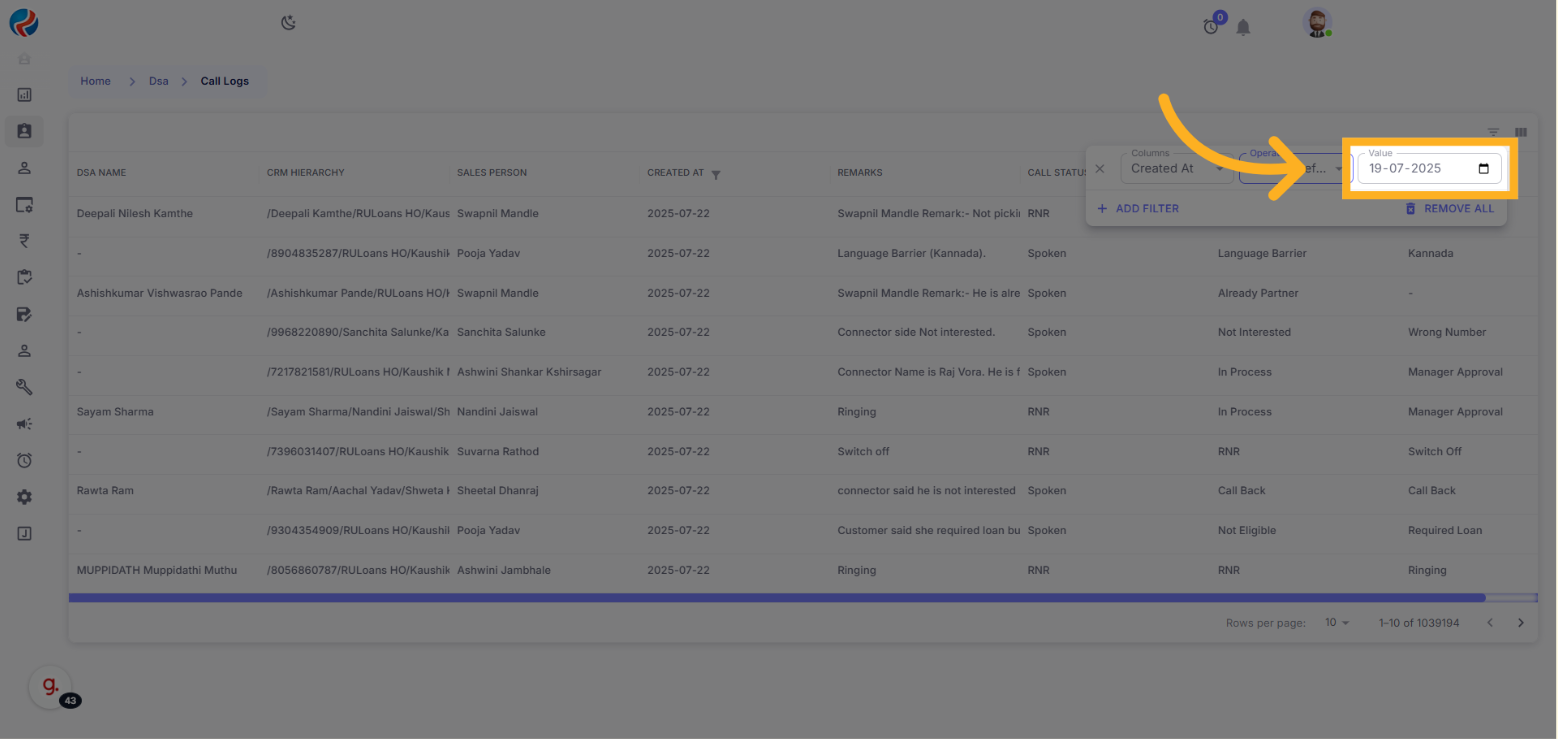 The data will now be filtered based on:
Sales Person = Ashwini
The data will now be filtered based on:
Sales Person = AshwiniCreated At on or before 19 July 2025
Supported Filter Operators by Column Type
Text Columns (e.g., DSA Name, City, Email)
| Operator | Description | Example |
|---|---|---|
| contains | Matches any part | Girish → GIRISH KUMAR |
| equals | Exact match | Delhi |
| starts with | Beginning text | Gu → Gaurav |
| ends with | Ending text | arma → Viswakarma |
| is empty | No text | – |
| is not empty | Has some text | Non-blank |
| is any of | One of many values | Delhi, Maharashtra |
Date Columns (e.g., Created At)
| Operator | Description |
|---|---|
| is | Matches exact date |
| before | Matches before a date |
| after | Matches after a date |
| on or after | From selected date onwards |
| on or before | Until selected date |
| is empty | No date entered |
| is not empty | Date is present |
Multiple Filters on the Same Column
You can combine multiple conditions on the same column. Example: starts with: GAND contains: Sharma This will match entries like “Gaurav Sharma”.
Clearing Filters
Remove a specific filter: Click the X icon next to that condition.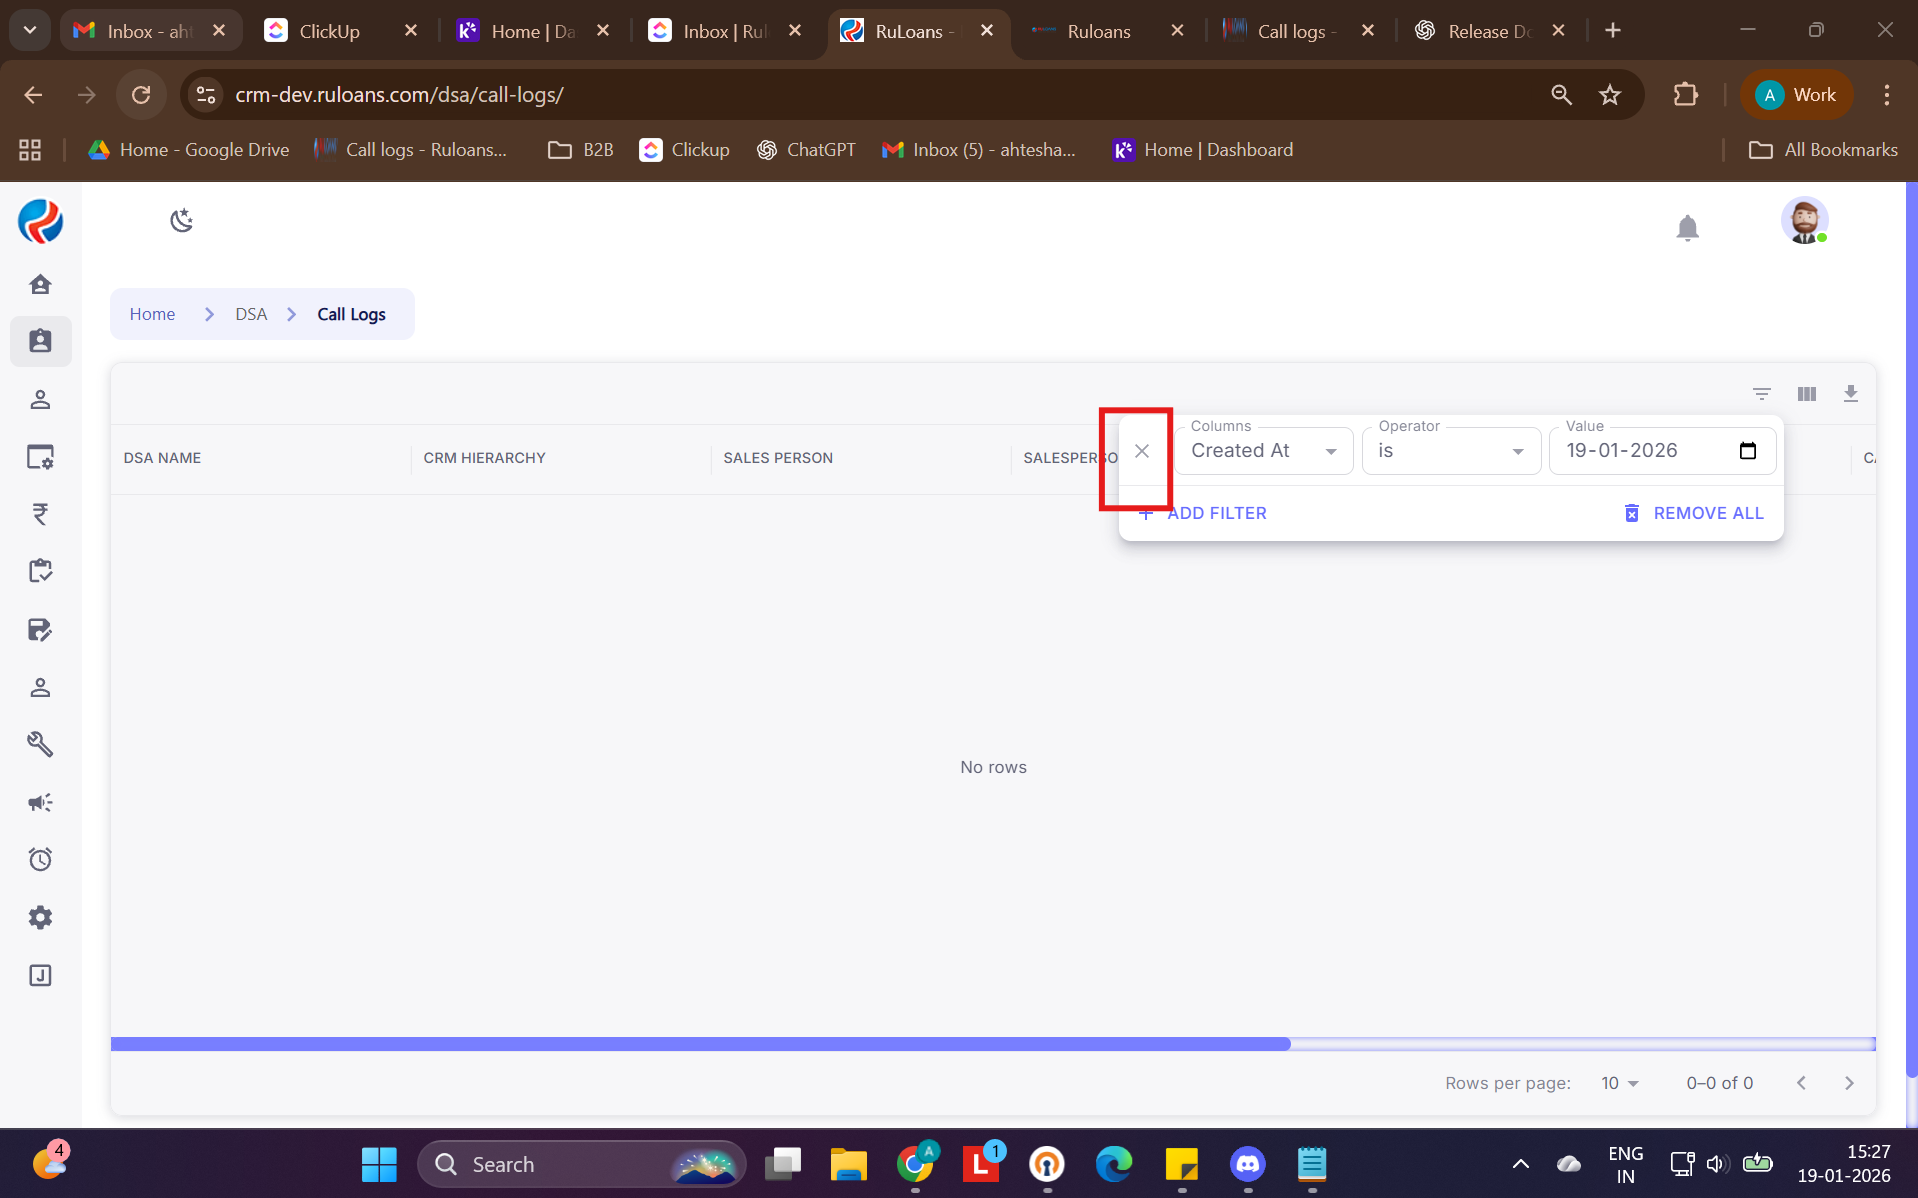 Reset all filters: Use the Reset Filters option.
🆕 New Enhancement: Call Logs Export Functionality
Export Call Logs
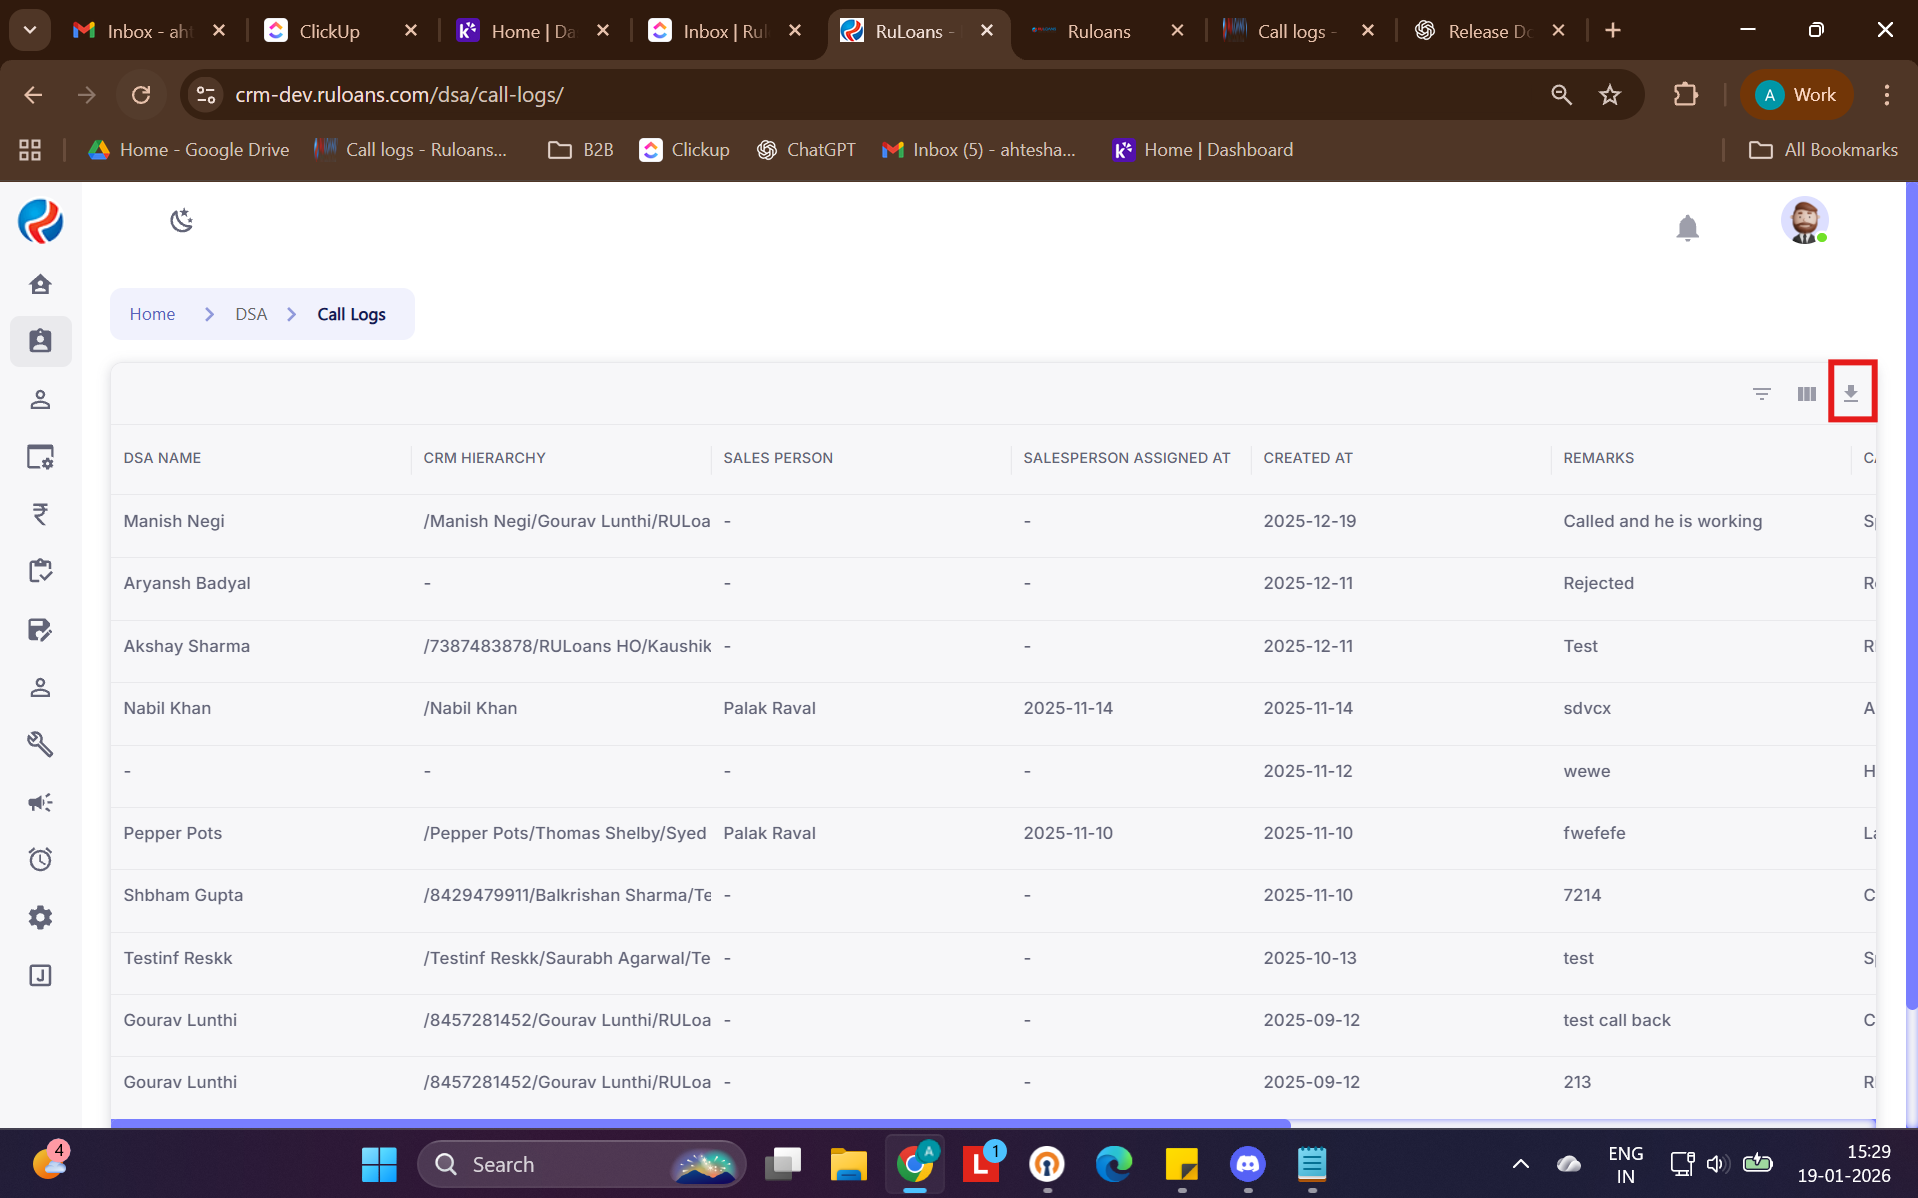 Users can now export Call Logs data directly from the Call Logs module.
An Export (Download) icon is available on the top-right corner of the Call Logs table.
This allows users to download call logs for reporting and offline analysis.
Users can now export Call Logs data directly from the Call Logs module.
An Export (Download) icon is available on the top-right corner of the Call Logs table.
This allows users to download call logs for reporting and offline analysis.
🔐 Export Access Control (Mandatory)
Export functionality is permission-based and available only to authorized users.How to Grant Export Permission
- Navigate to Settings from the side menu.
- Click on Global Configuration.
- Locate the configuration key:
download_permission
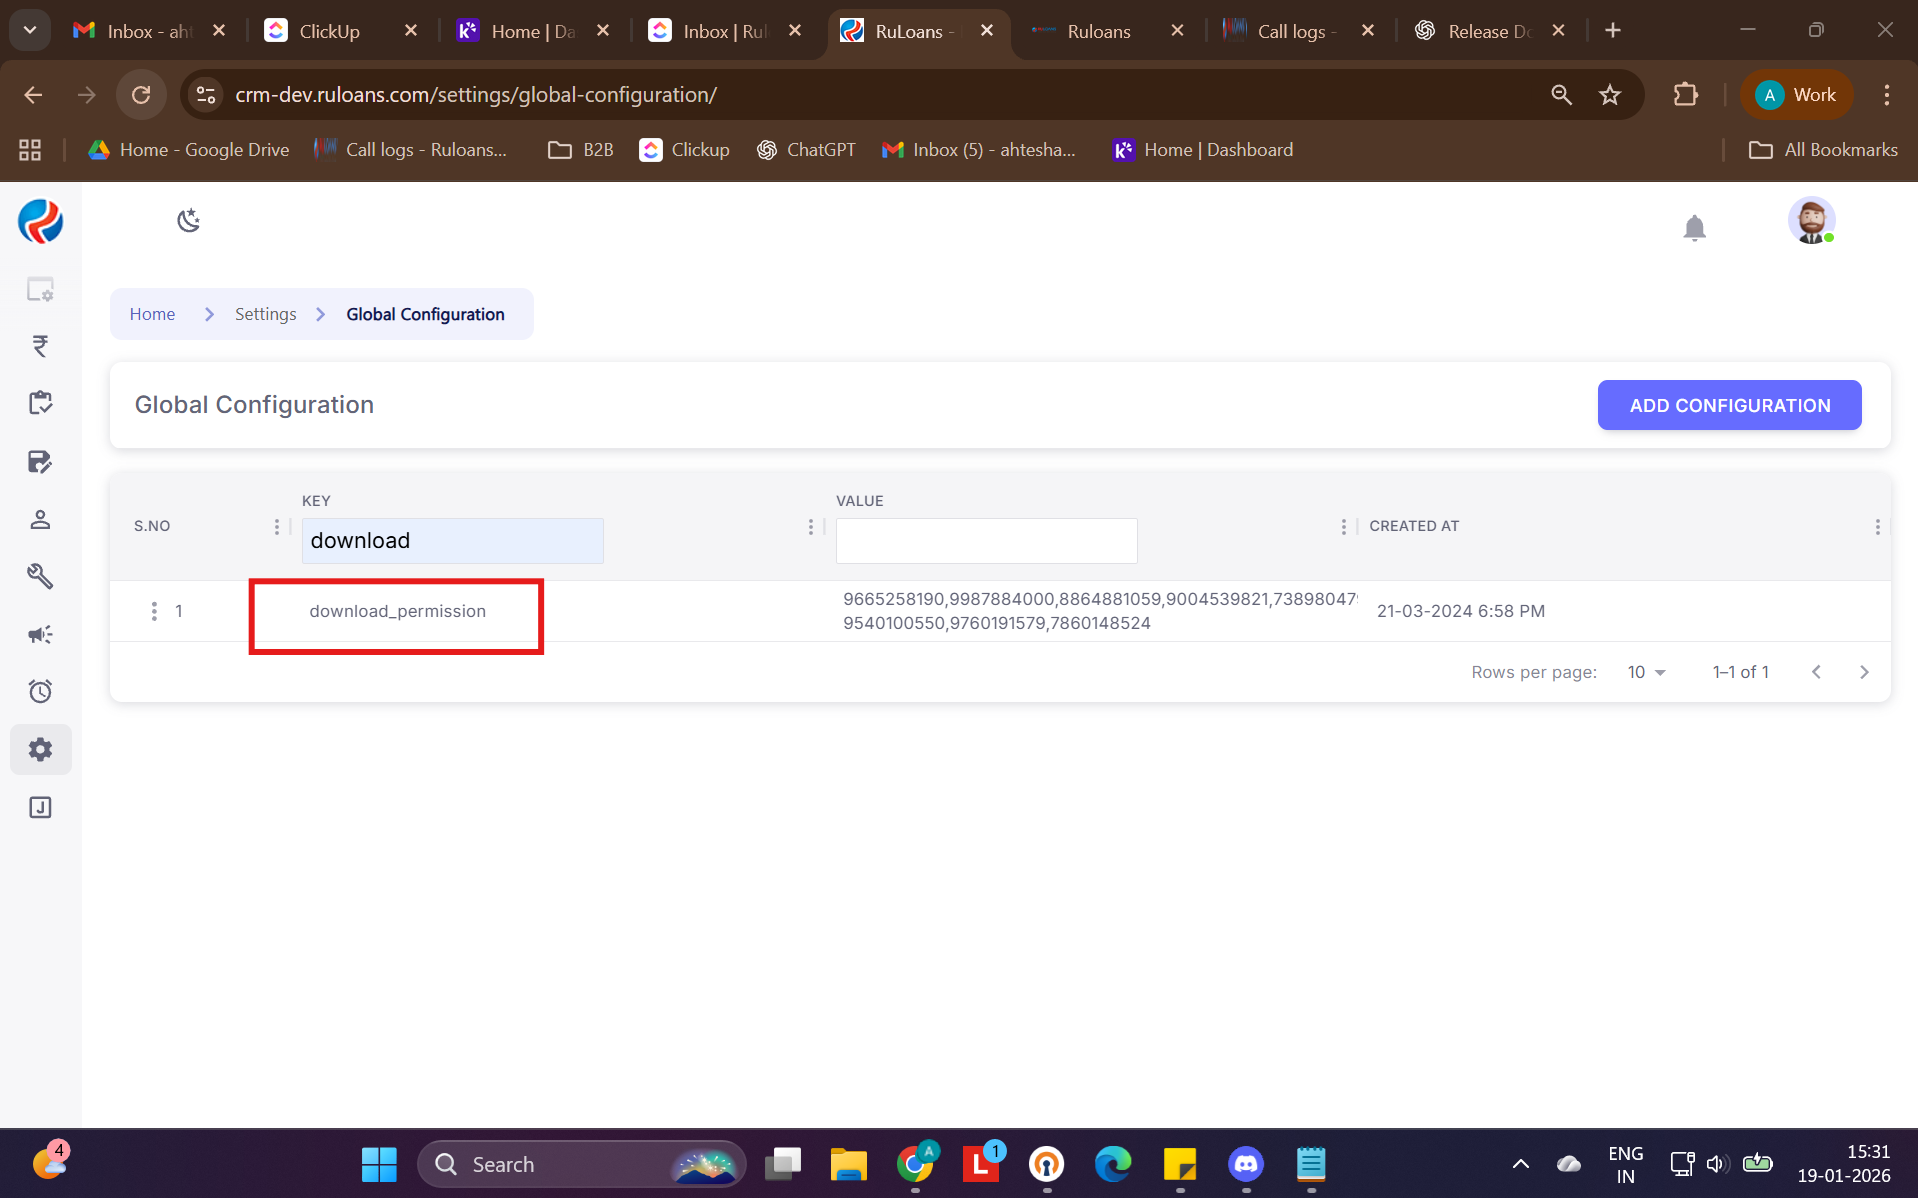
- Add the logged-in user’s contact number in the value field.
- Multiple contact numbers can be added.
- Separate each contact number using a comma (,).
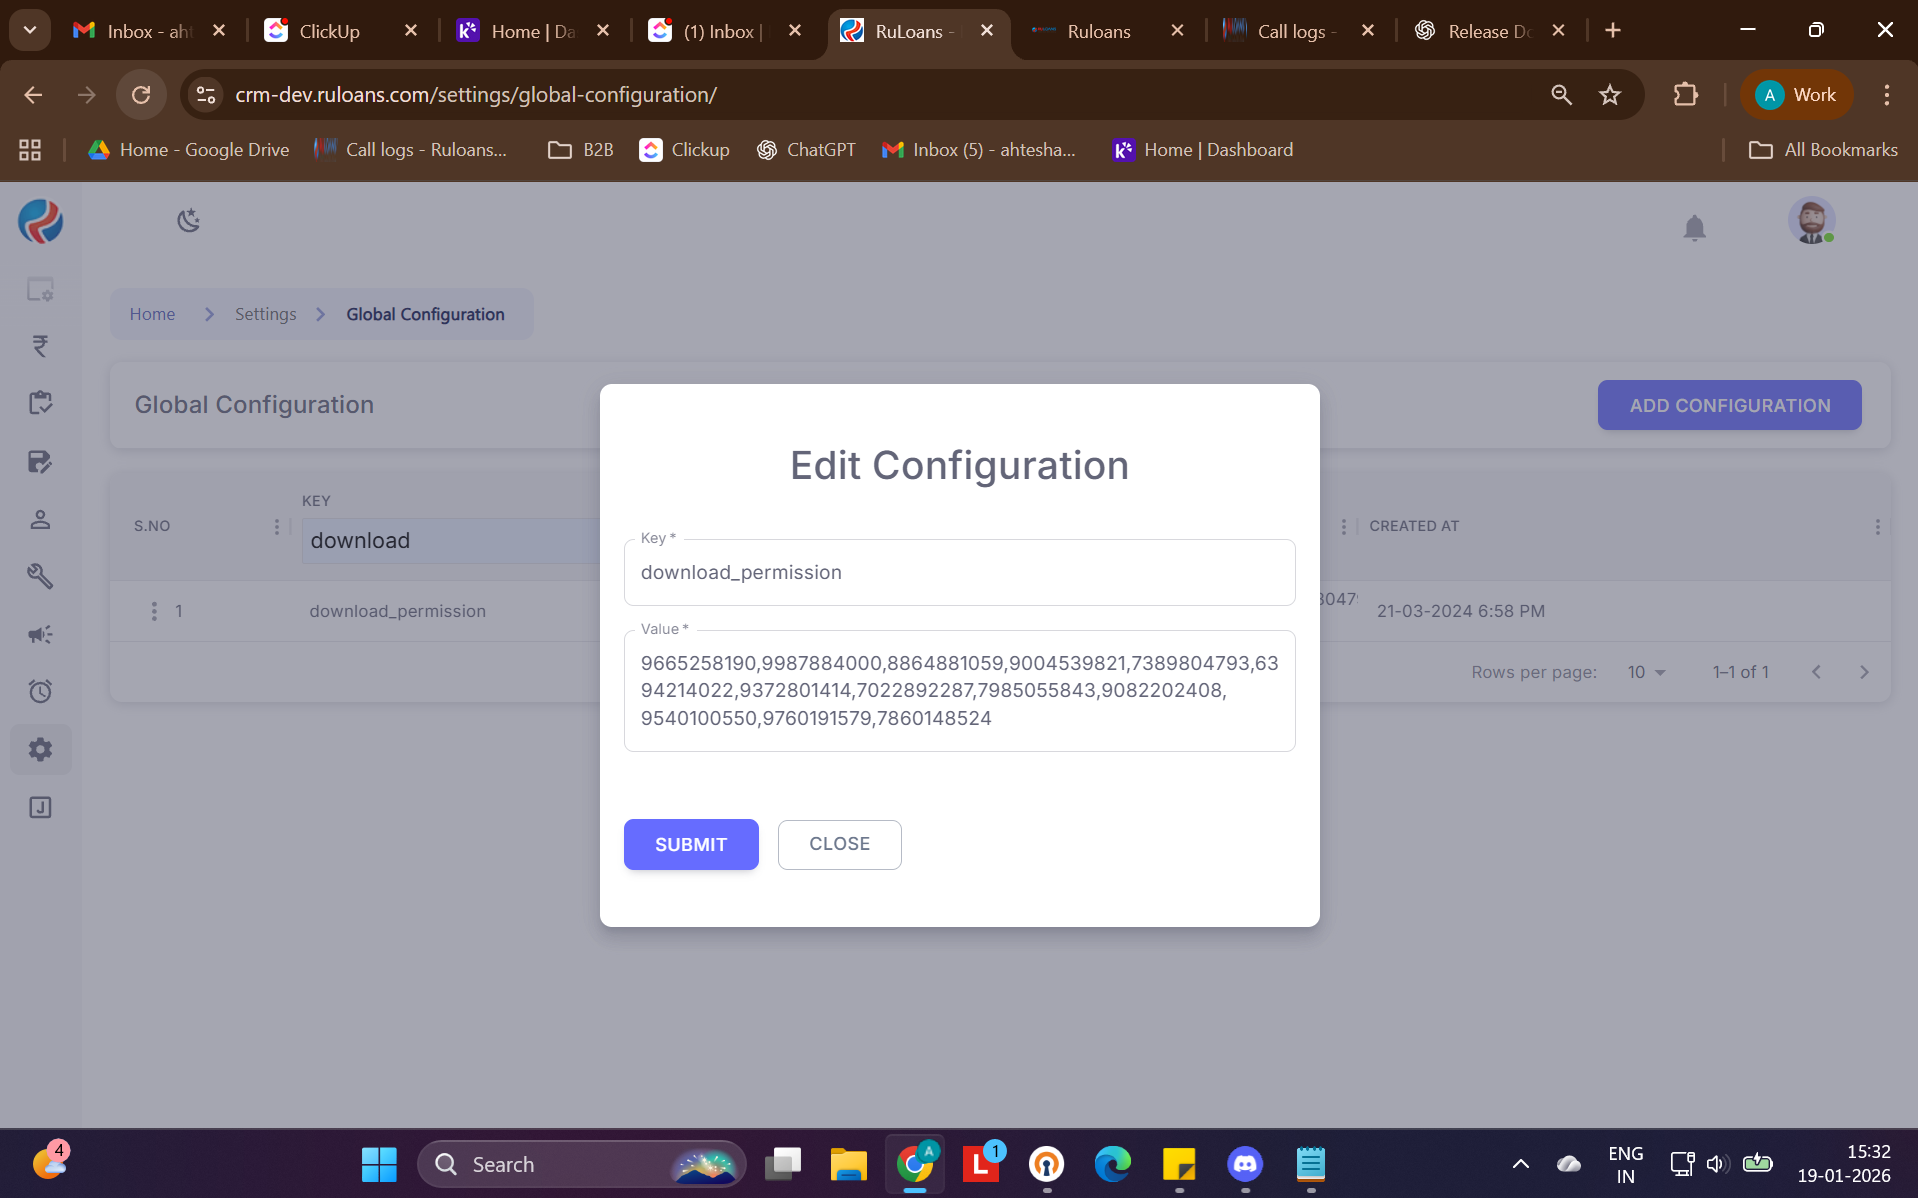
- Click Submit to save the configuration.
Important Notes
- Only users whose contact numbers are listed under download_permission will be able to export Call Logs.
- Users without permission will not see or be able to use the export option.
Summary of Benefits
- Centralized view for all call activities
- Easy-to-use column visibility and pinning options
- Advanced filtering tailored by data type
- Secure and controlled export functionality
- Improved reporting while maintaining data security
Prepared By:
Aparmita Srivastav
Ahtesham Ahmad