Overview
The CRM system provides a comprehensive way to manage and organize content effectively. This documentation serves as a guide to navigating the Content Manager, adding new configuration entries, editing existing entries, and managing media files within the system.Accessing the Content Manager
To manage content, users must first navigate to the Content Manager section of the CRM:- Go to the CRM Hamburger Menu.
- Click on Content.
- Select Content Manager.
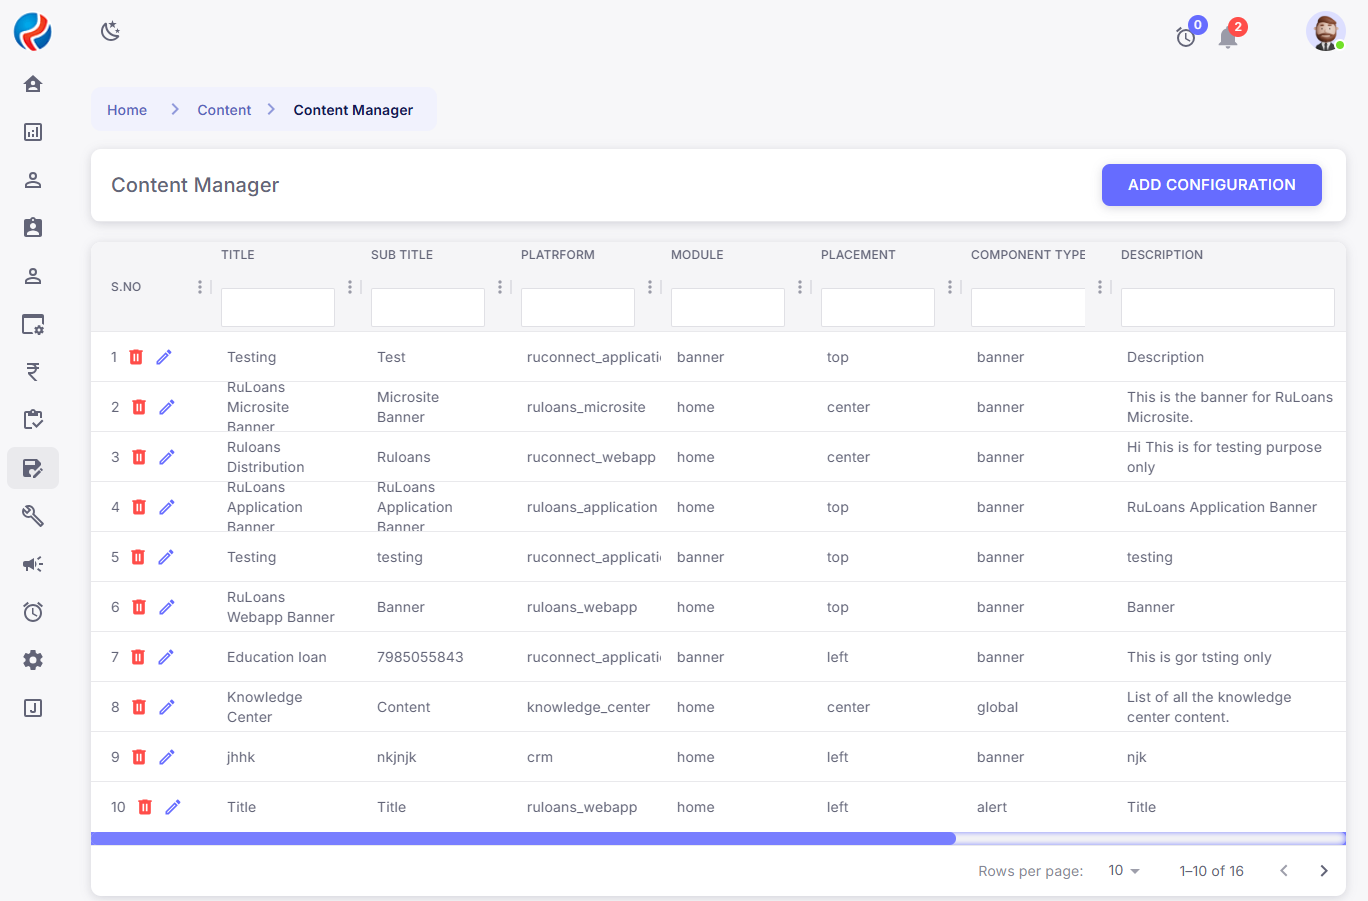
- The Content Manager interface displays all previously saved entries, offering options to Add, Edit, or Delete entries as needed.

Adding a New Configuration Entry
A new configuration entry can be added to the system by following these steps:- Click on the Add Configuration button.
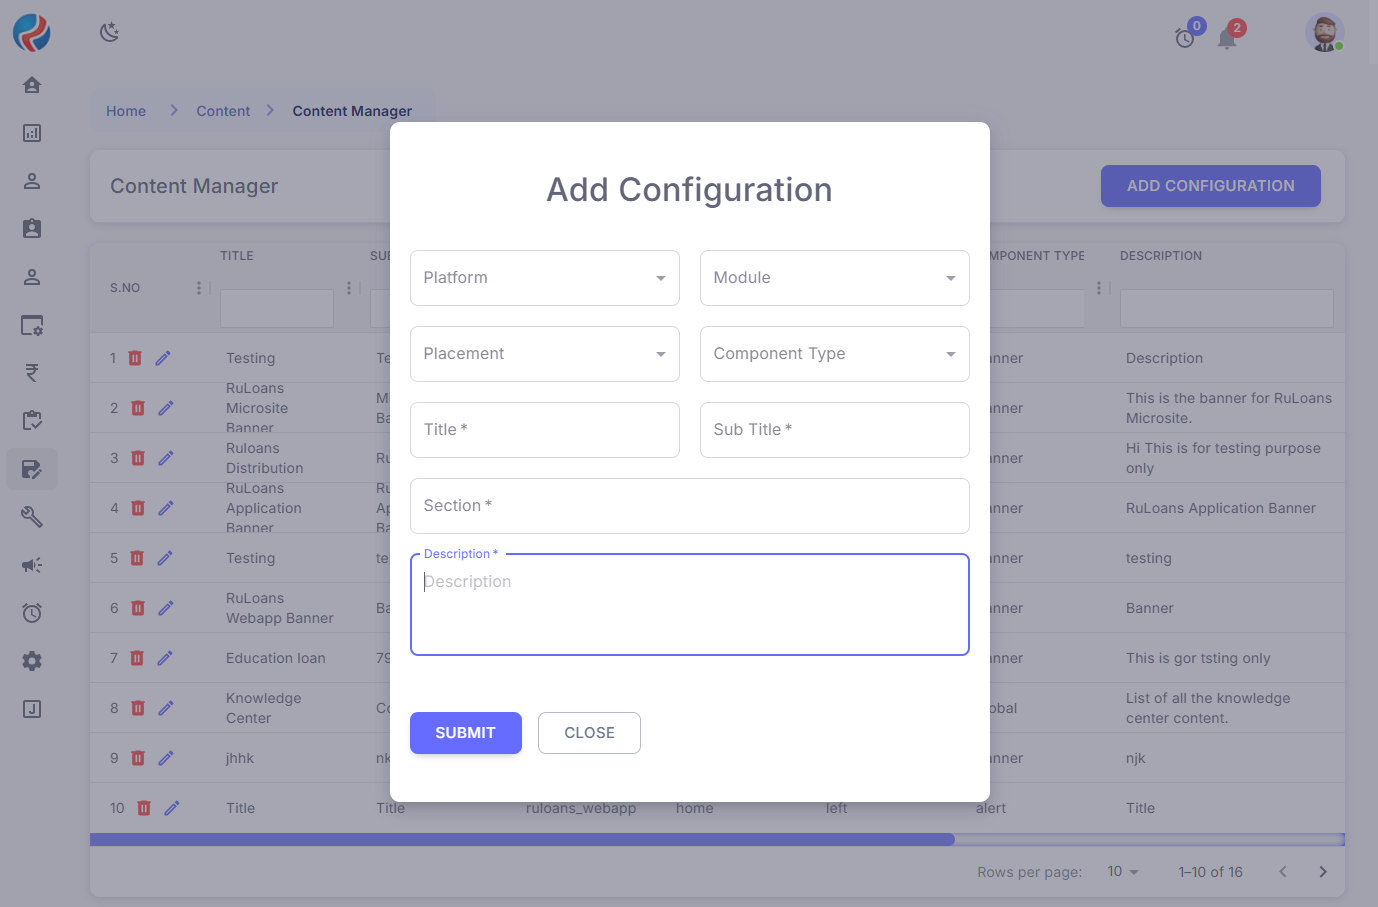
- Enter the required details, including:
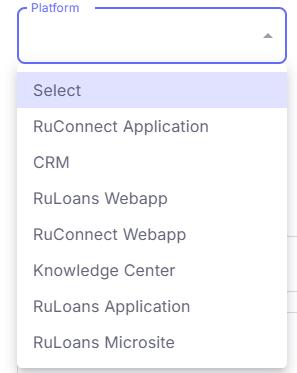
- Platform (Dropdown selection for specifying the relevant platform i.e. RuConnect App, CRM, RuLoans Webapp, RuConnect Webapp, Knowledge Center, RuLoans Application, RuLoans Microsite etc )
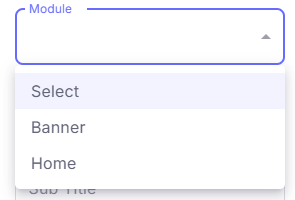
- Module (Dropdown for selecting the module related to the content i.e. Banner , Home )
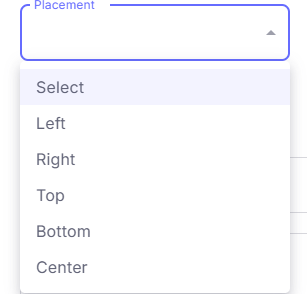
- Placement (Dropdown to define where the content will appear i.e. Left, Right, Top, Bottom, Center etc)
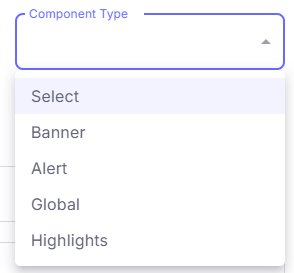
- Component Type (Dropdown for selecting the type of component being added i.e. Banner, Alert, Global, Highlights etc )
- Title and Subtitle (Text fields for specifying the content’s main heading and subheading)
- Section (Defines the section under which the content falls)
- Description (A brief summary of the content’s purpose)
- Click Submit to save the new configuration.
Editing an Existing Configuration Entry
Editing an already saved entry allows users to update and modify existing content:- Identify the entry to be modified.
- Click on the Pencil Icon next to the entry to initiate editing.

- Modify the required details and click Save to apply the changes.
Managing Media Files
Content entries often include media files such as images or videos. To manage media files:- Click on the Entry Column corresponding to the content you wish to edit.
- The Media Page opens, displaying existing media attachments.
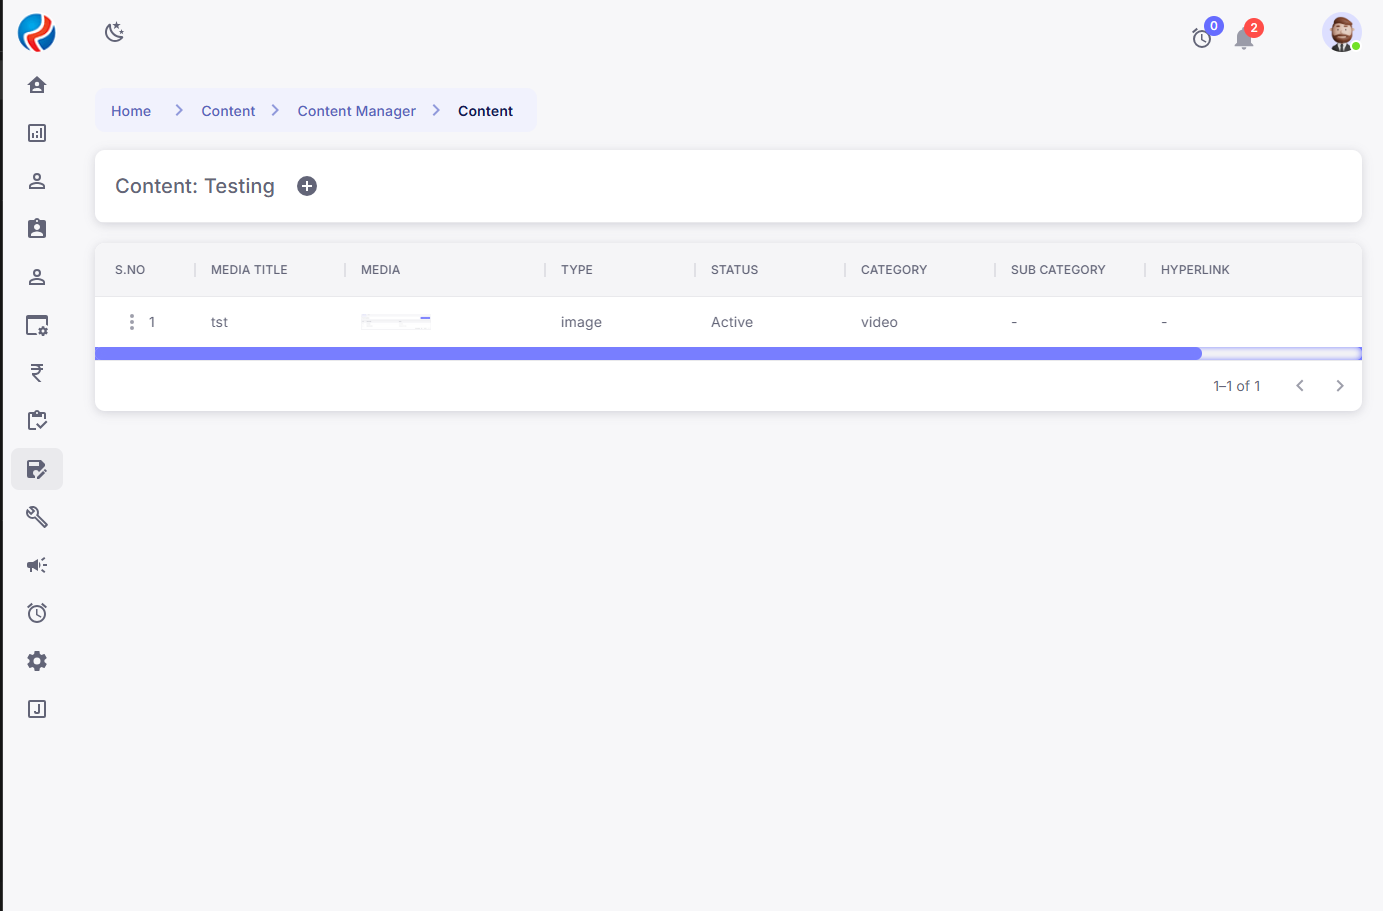
- To add new media, click on the ‘+’ Icon at the top left of the page.

Adding Media Content
When adding media content, users must fill in specific details to ensure proper categorization and display: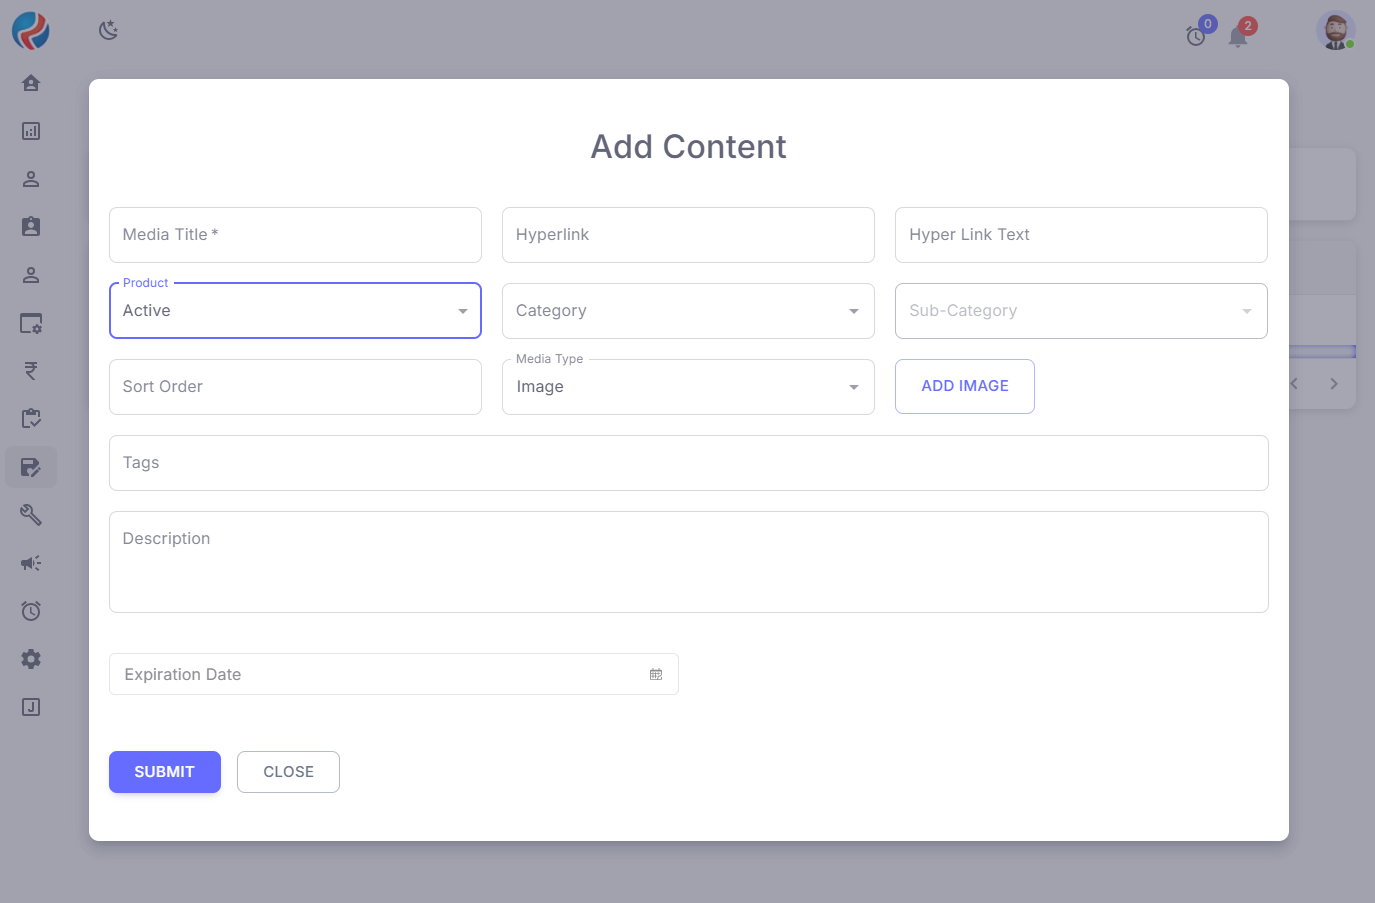
- The Add Content Pop-Up appears, prompting users to provide essential information:
- Media Title (A descriptive title for the media file)
- Hyperlink and Hyperlink Text (Optional fields for linking the media to a webpage)
- Product Selection (Dropdown to determine if the content is active or inactive)
- Category and Sub-Category (Classification of the media file)
- Sort Order (Defines the sequence in which the media appears)
- Media Type (Dropdown to specify whether the file is an image or video)
- Upload Image (Option to select and upload an image file)
- Tags (Keywords to improve searchability within the system)
- Description (A brief description of the media content)
- Expiration Date (Date field to set content expiration if applicable)
- Click Submit to finalize the media upload.
- The media content is successfully saved within the system and displayed on the corresponding platform screen or page.
Conclusion
The CRM Content Manager provides a structured approach to handling content efficiently. By following these guidelines, users can create, modify, and manage both textual and media-based content seamlessly, ensuring an organized and dynamic digital environment.Prepared By: Aparmita Srivastav