Steps to Enable Instant Claim for a Product
Step 1: Access the CRM Dashboard
- Log in to the CRM Dashboard.
- Click on the hamburger menu (☰) to expand the navigation panel.
- Navigate to Products and click to open the Products Page.
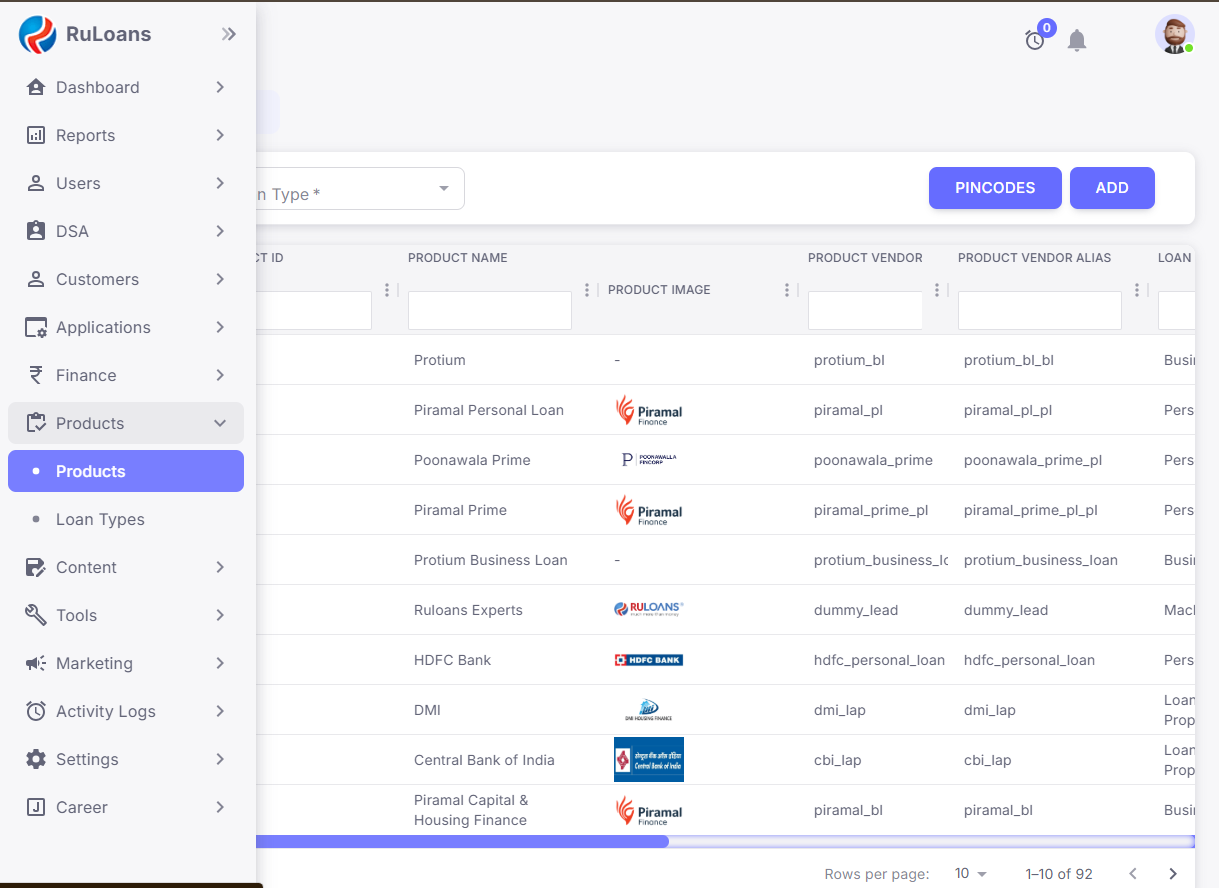
Step 2: Locate or Add the Product
- If adding a new product, click on Add and fill in the necessary details.
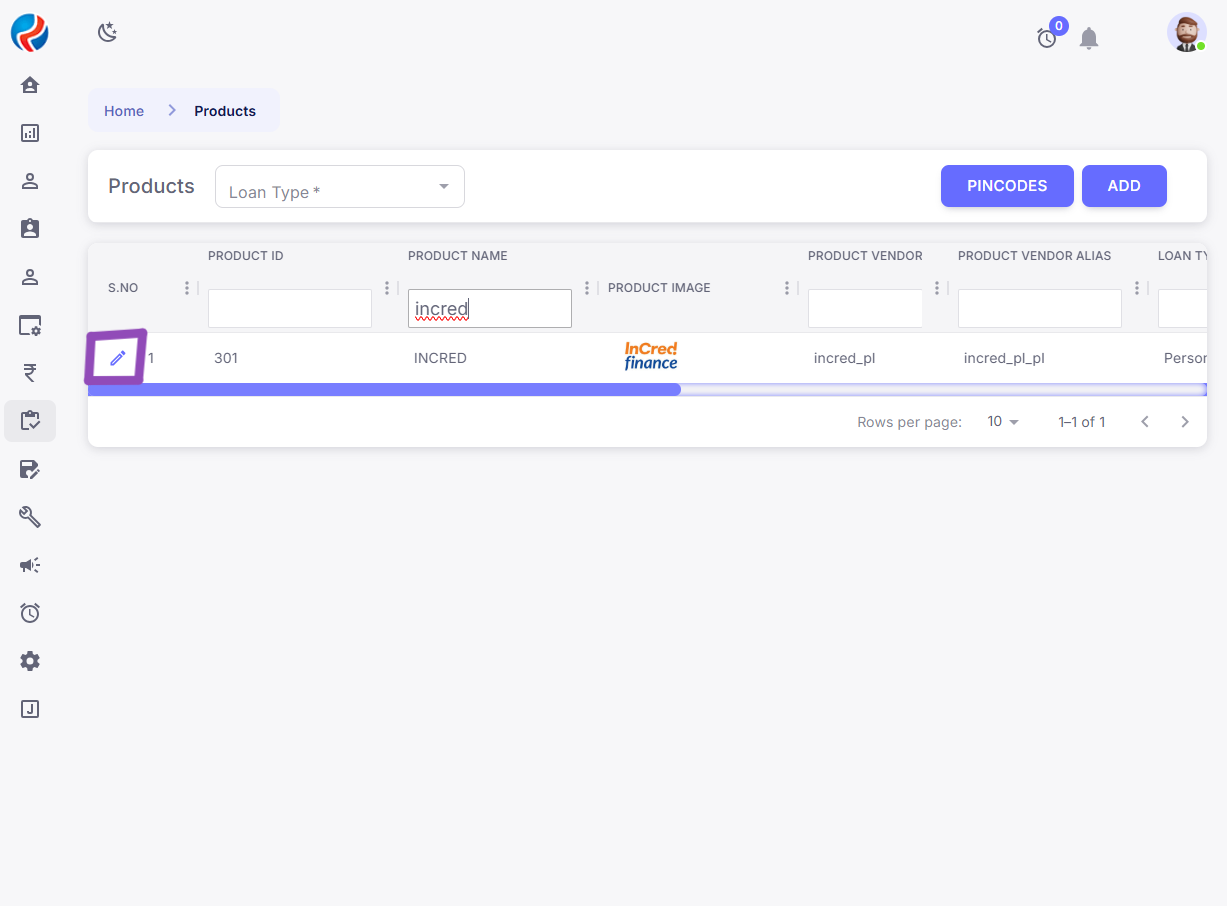
- If modifying an existing product, use the search bar, enter the Product Name, and click the search button.
- Locate the product and click the Pencil Icon (✏️) to edit.
Step 3: Enable Instant Claim
- In the Edit Product page, ensure the following key fields are filled:
- Product Name
- Product Vendor
- Loan Type
- Product Vendor Alias
- Status (Active)
- B2C & B2B Status
- Journey Type
- Sort Order
- Netsuite Product
- Pincode Product Alias
- Product ID
- Promo Code (if applicable)
- Product Description

- Locate the Enable Instant Claim toggle button (new feature).

- Turn the toggle ON to enable Instant Claim for this product.
Step 4: Save Changes
- Click on Submit to save the updated product details.
- The product is now eligible for Instant Claim processing by DSAs.
Prepared By: Aparmita Srivastav