How to Onboard an individual from CRM
This document outlines the step-by-step process for onboarding an individual as a Direct Selling Agent (DSA) using the CRM platform.1. Accessing the CRM Portal
- Navigate to the CRM Home Page using your browser.
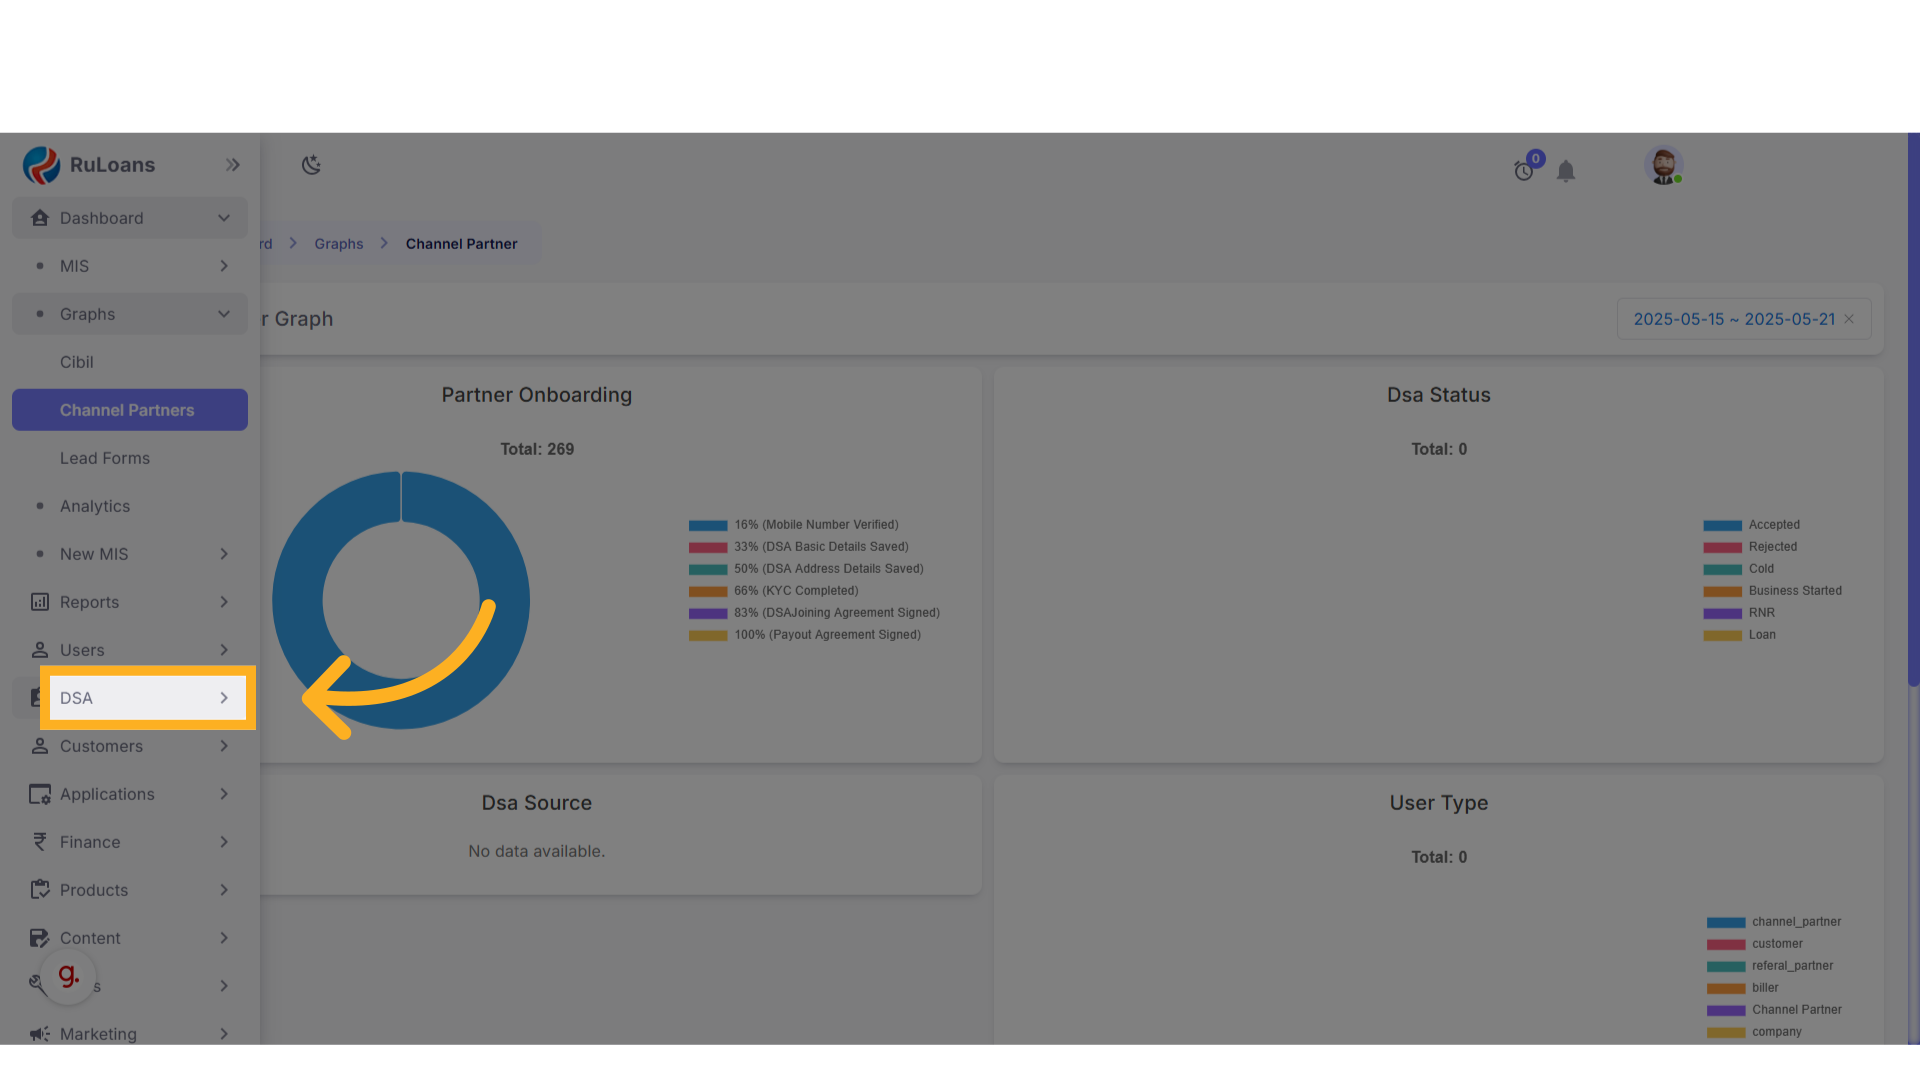
2. Navigating to the DSA Section
- From the side menu, click on DSA.
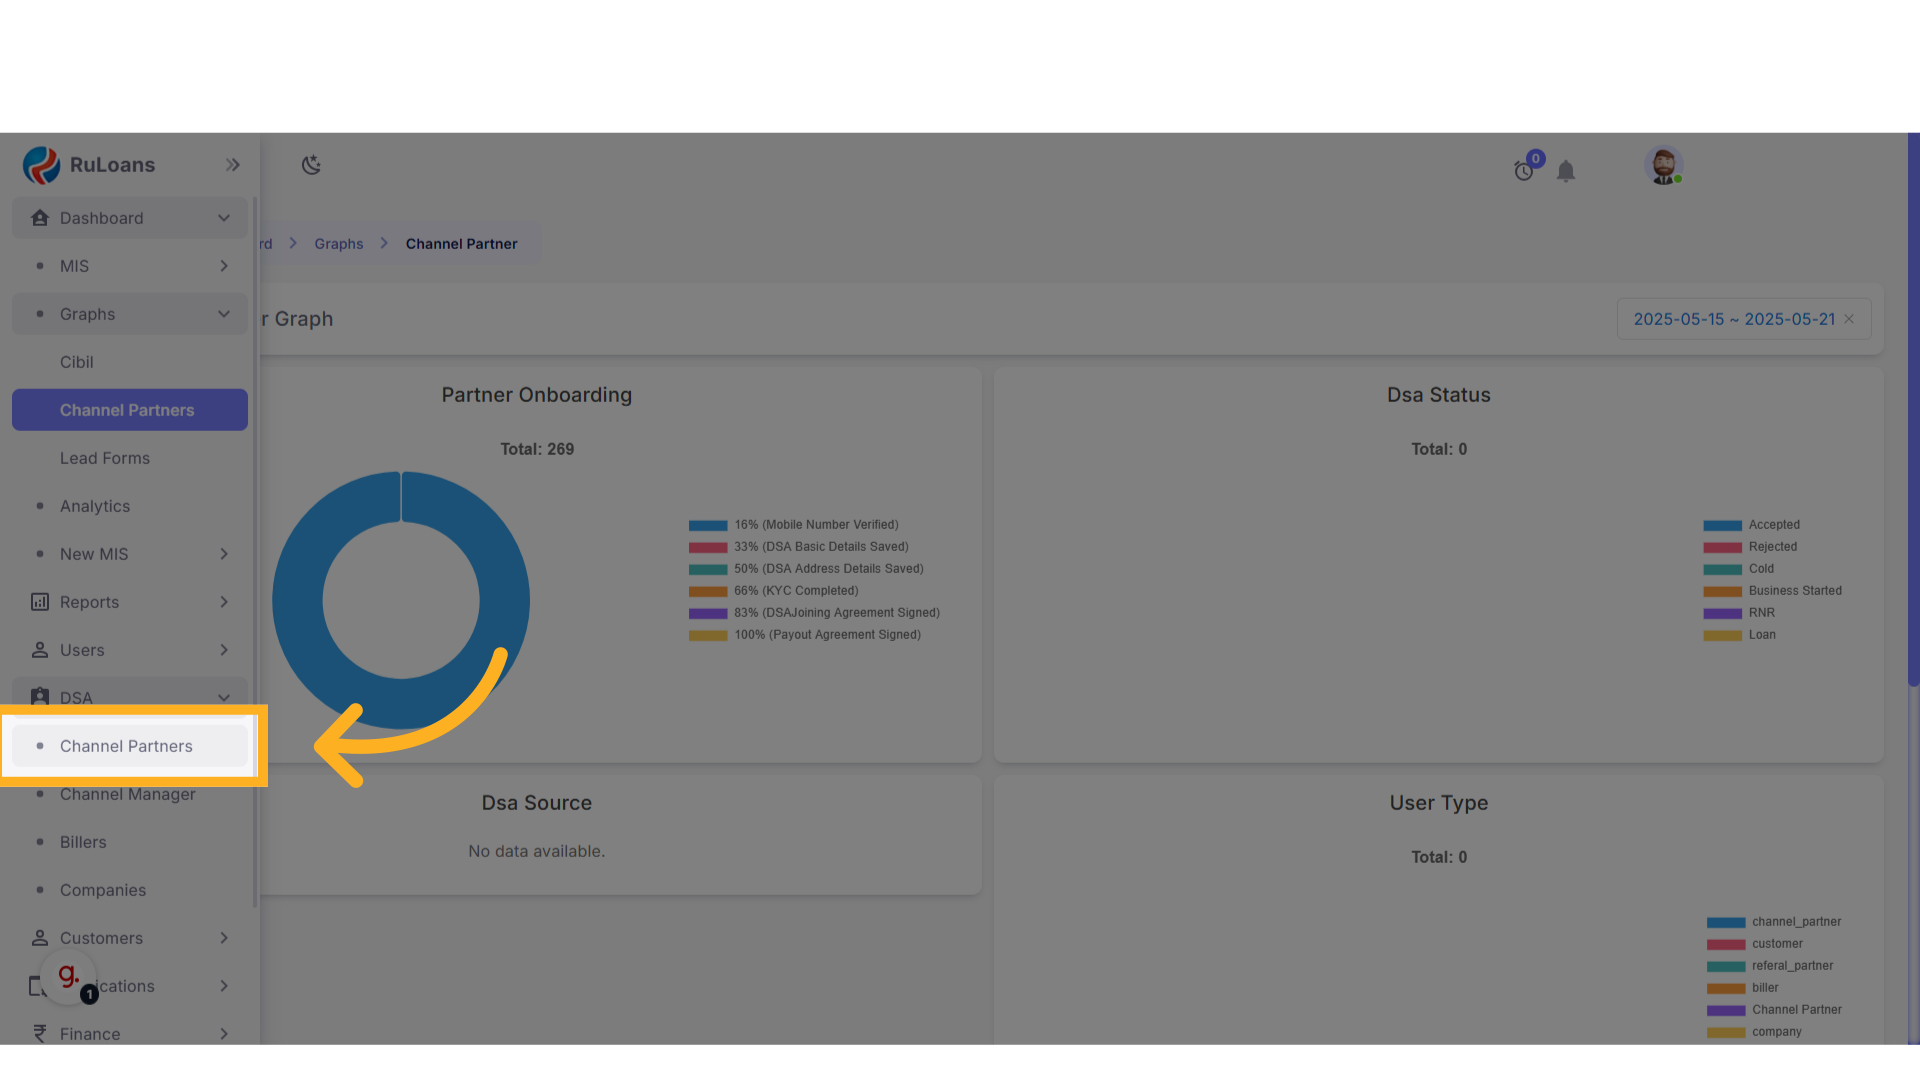
- Under DSA, select Channel Partners.
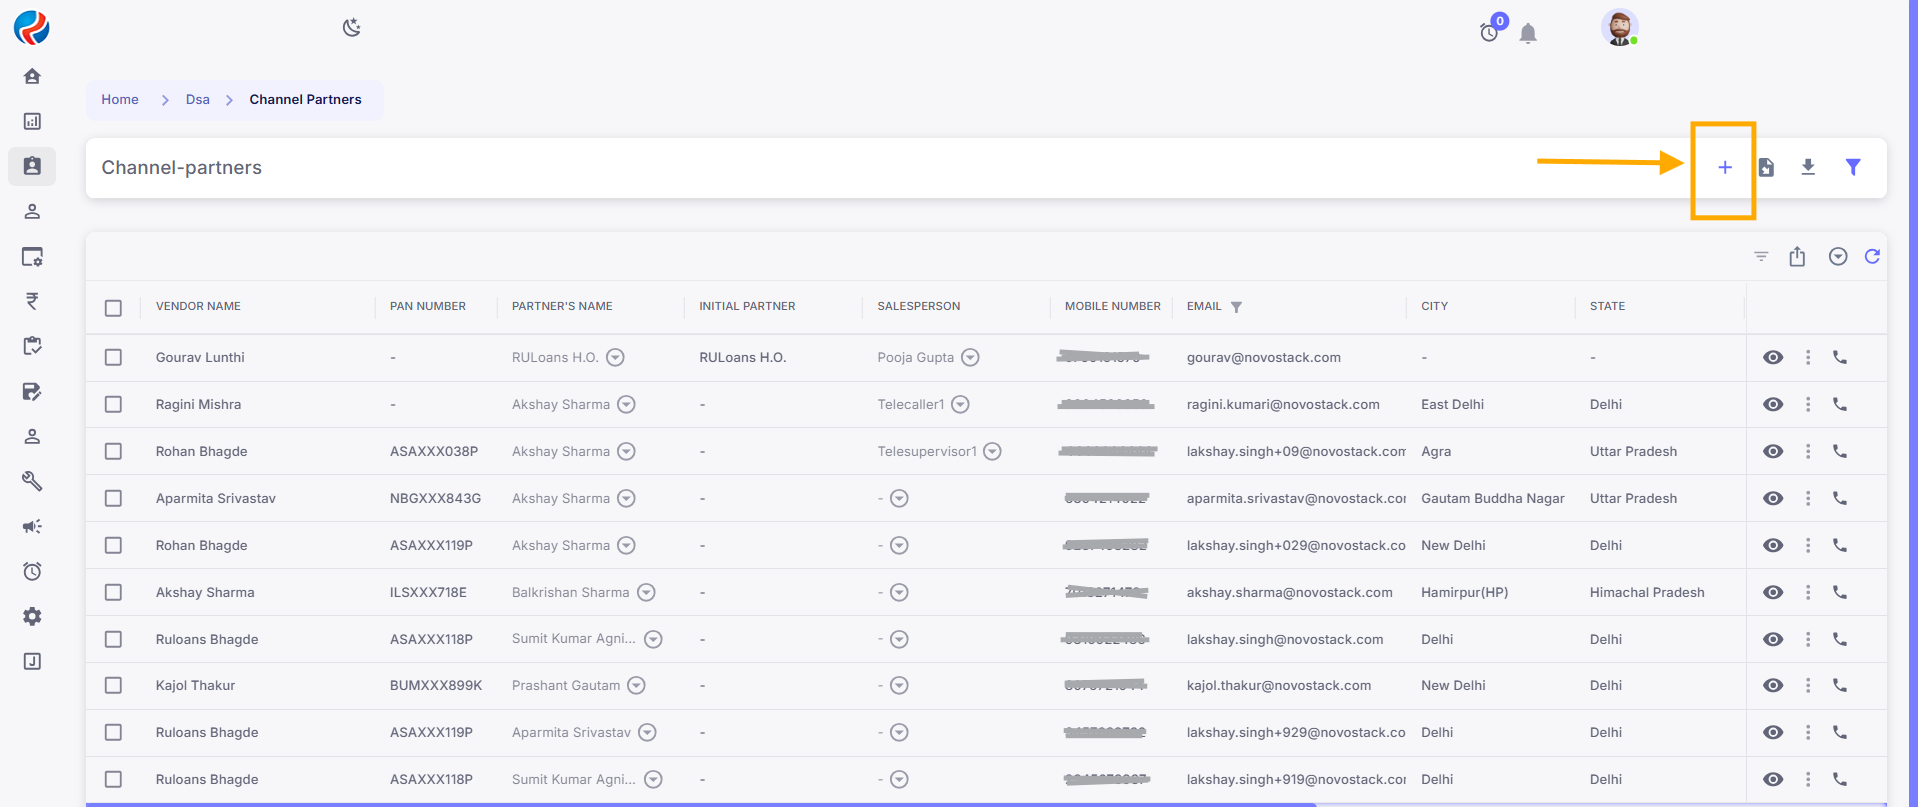
3. Adding a New DSA
- On the Channel Partners page, click the ”+” button located at the top-right corner.
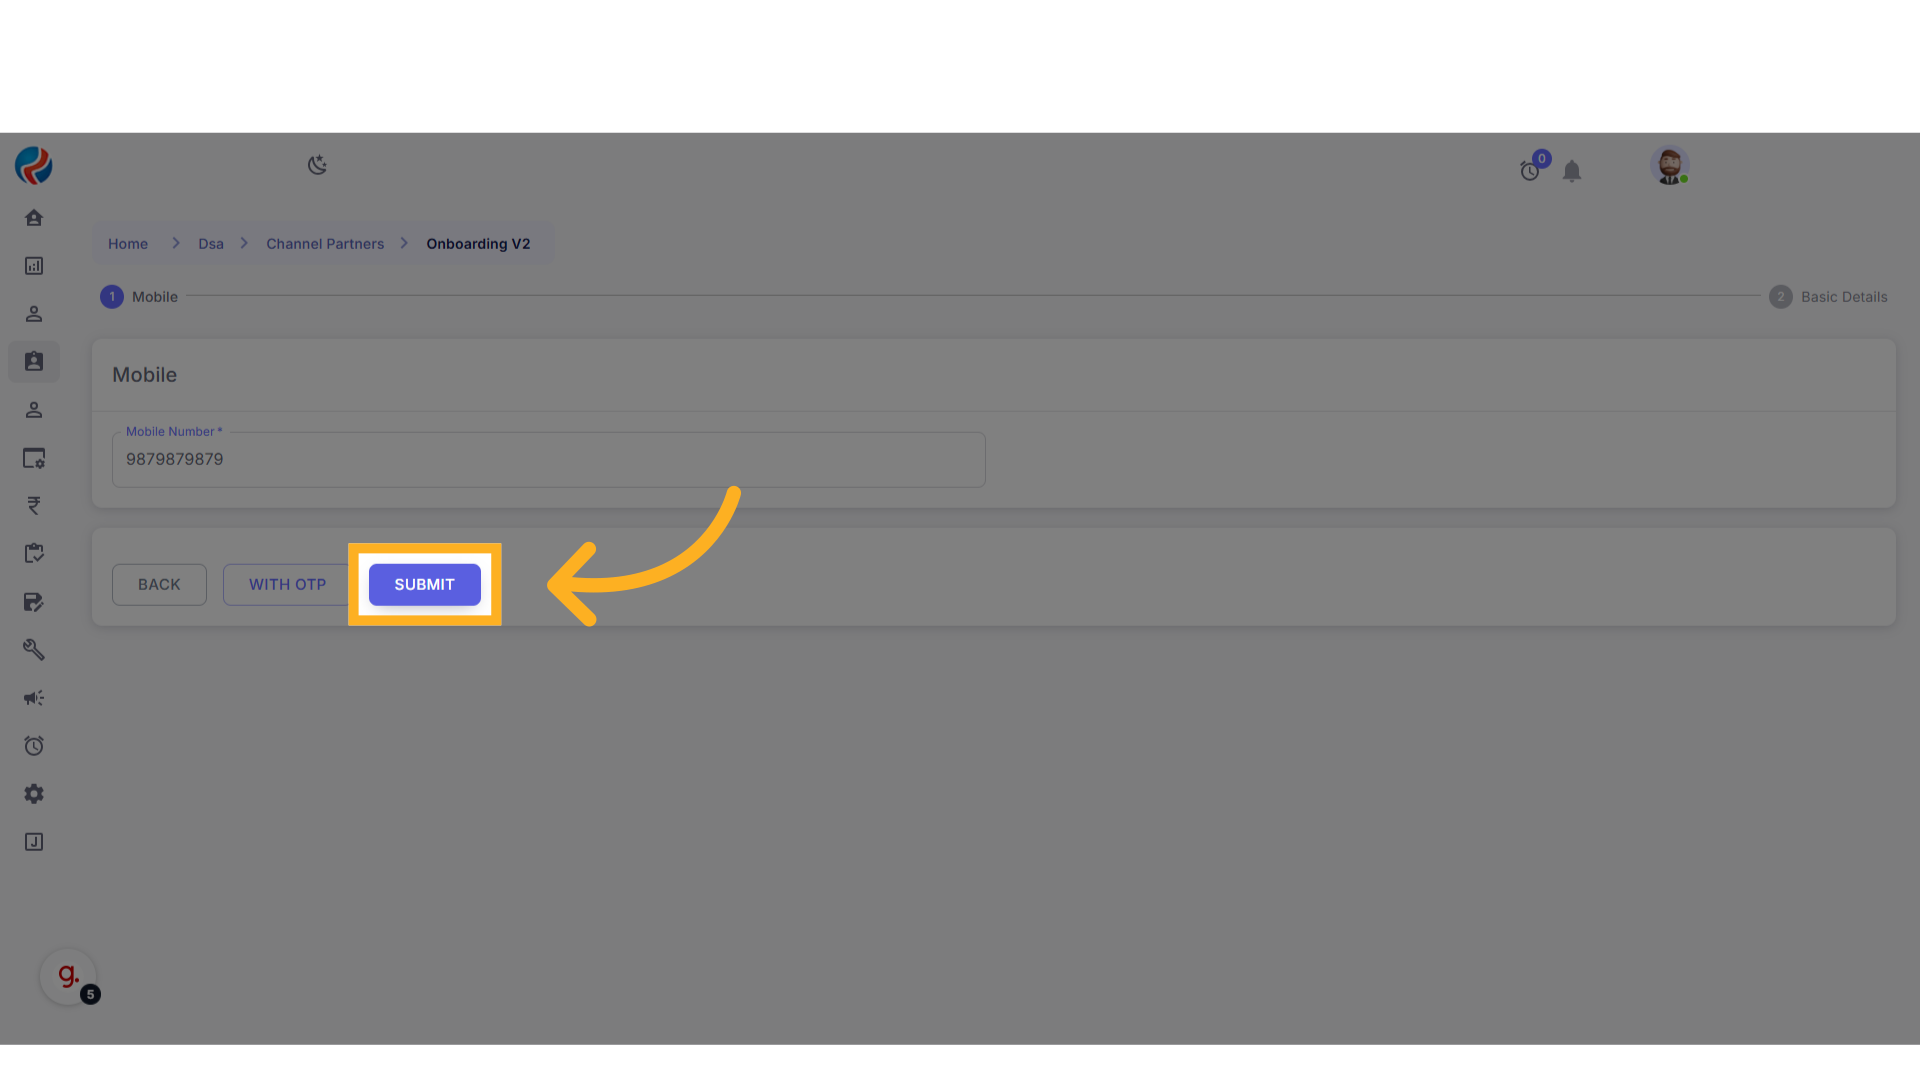
4. Mobile Number Verification
- The Mobile Verification page will appear.
- Enter a valid 10-digit mobile number.
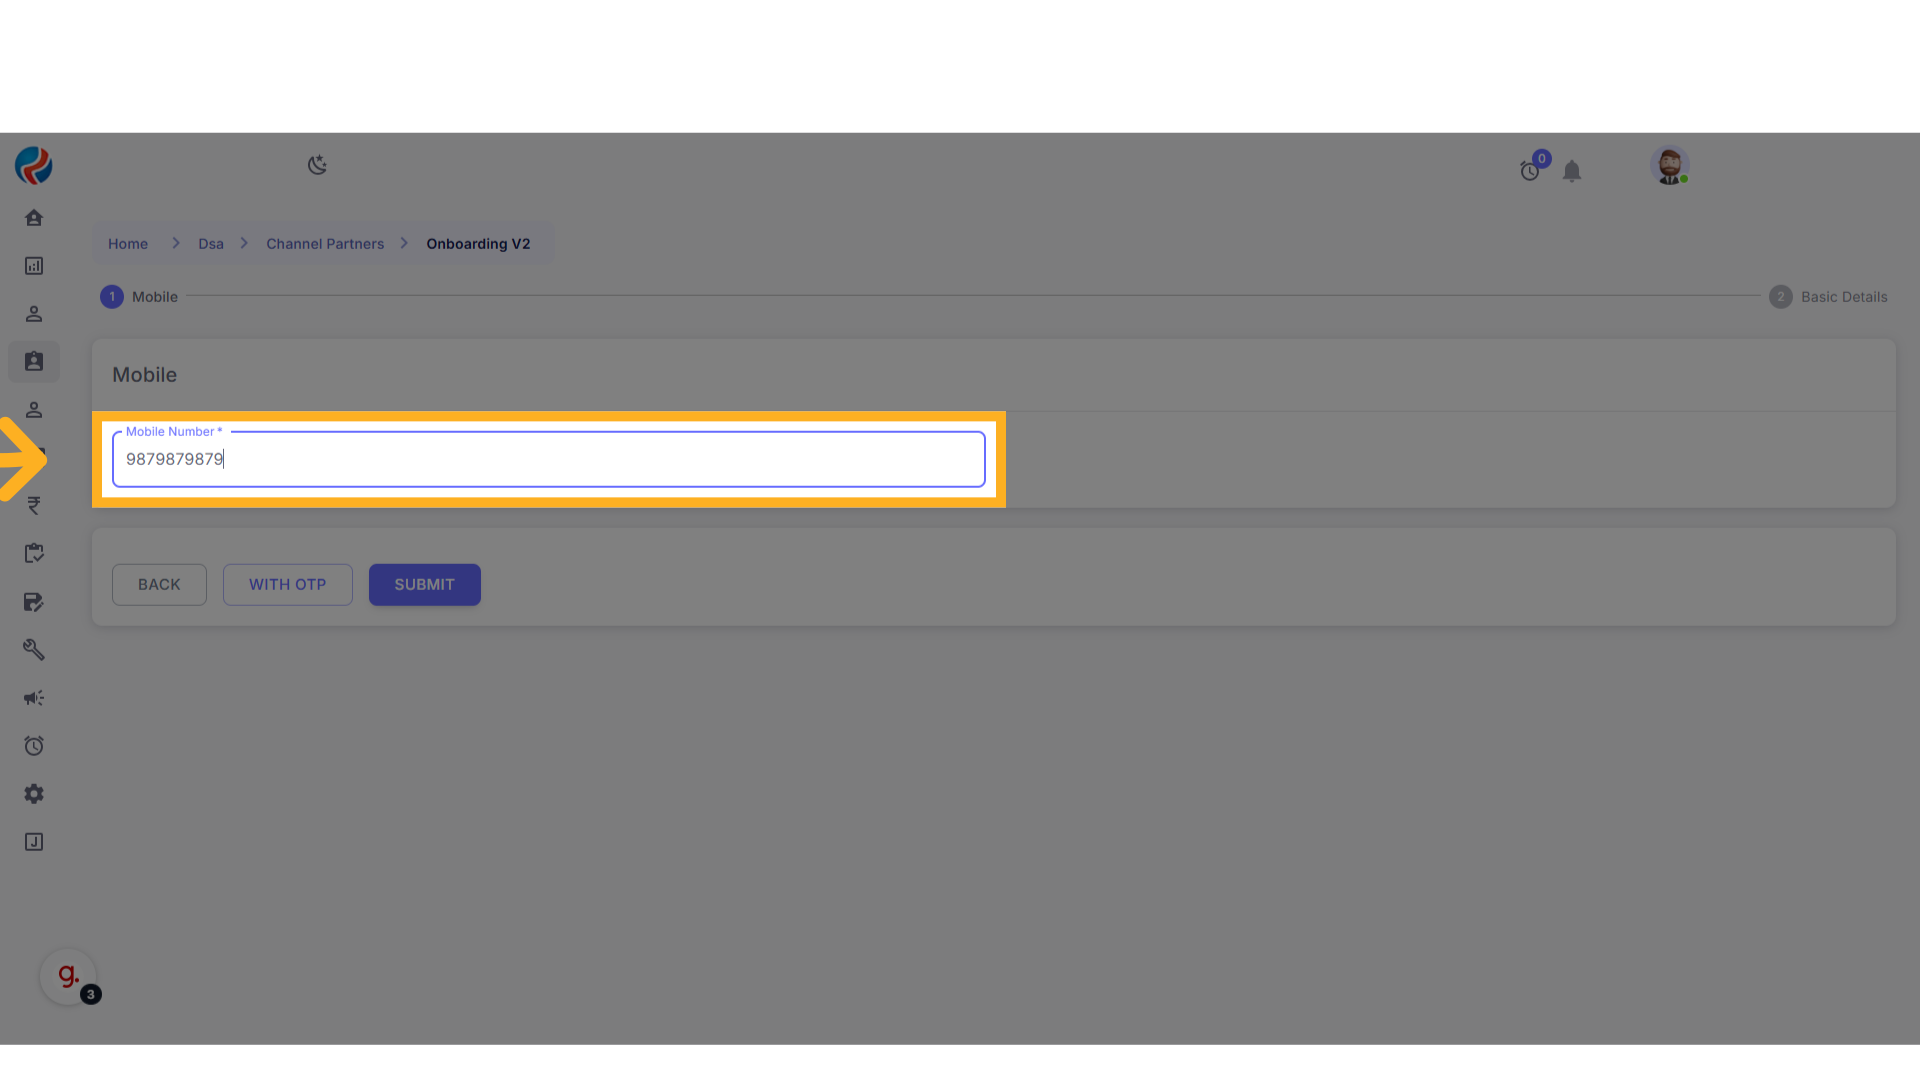
- Click on Submit. OR click on “Send OTP” to verify the number.
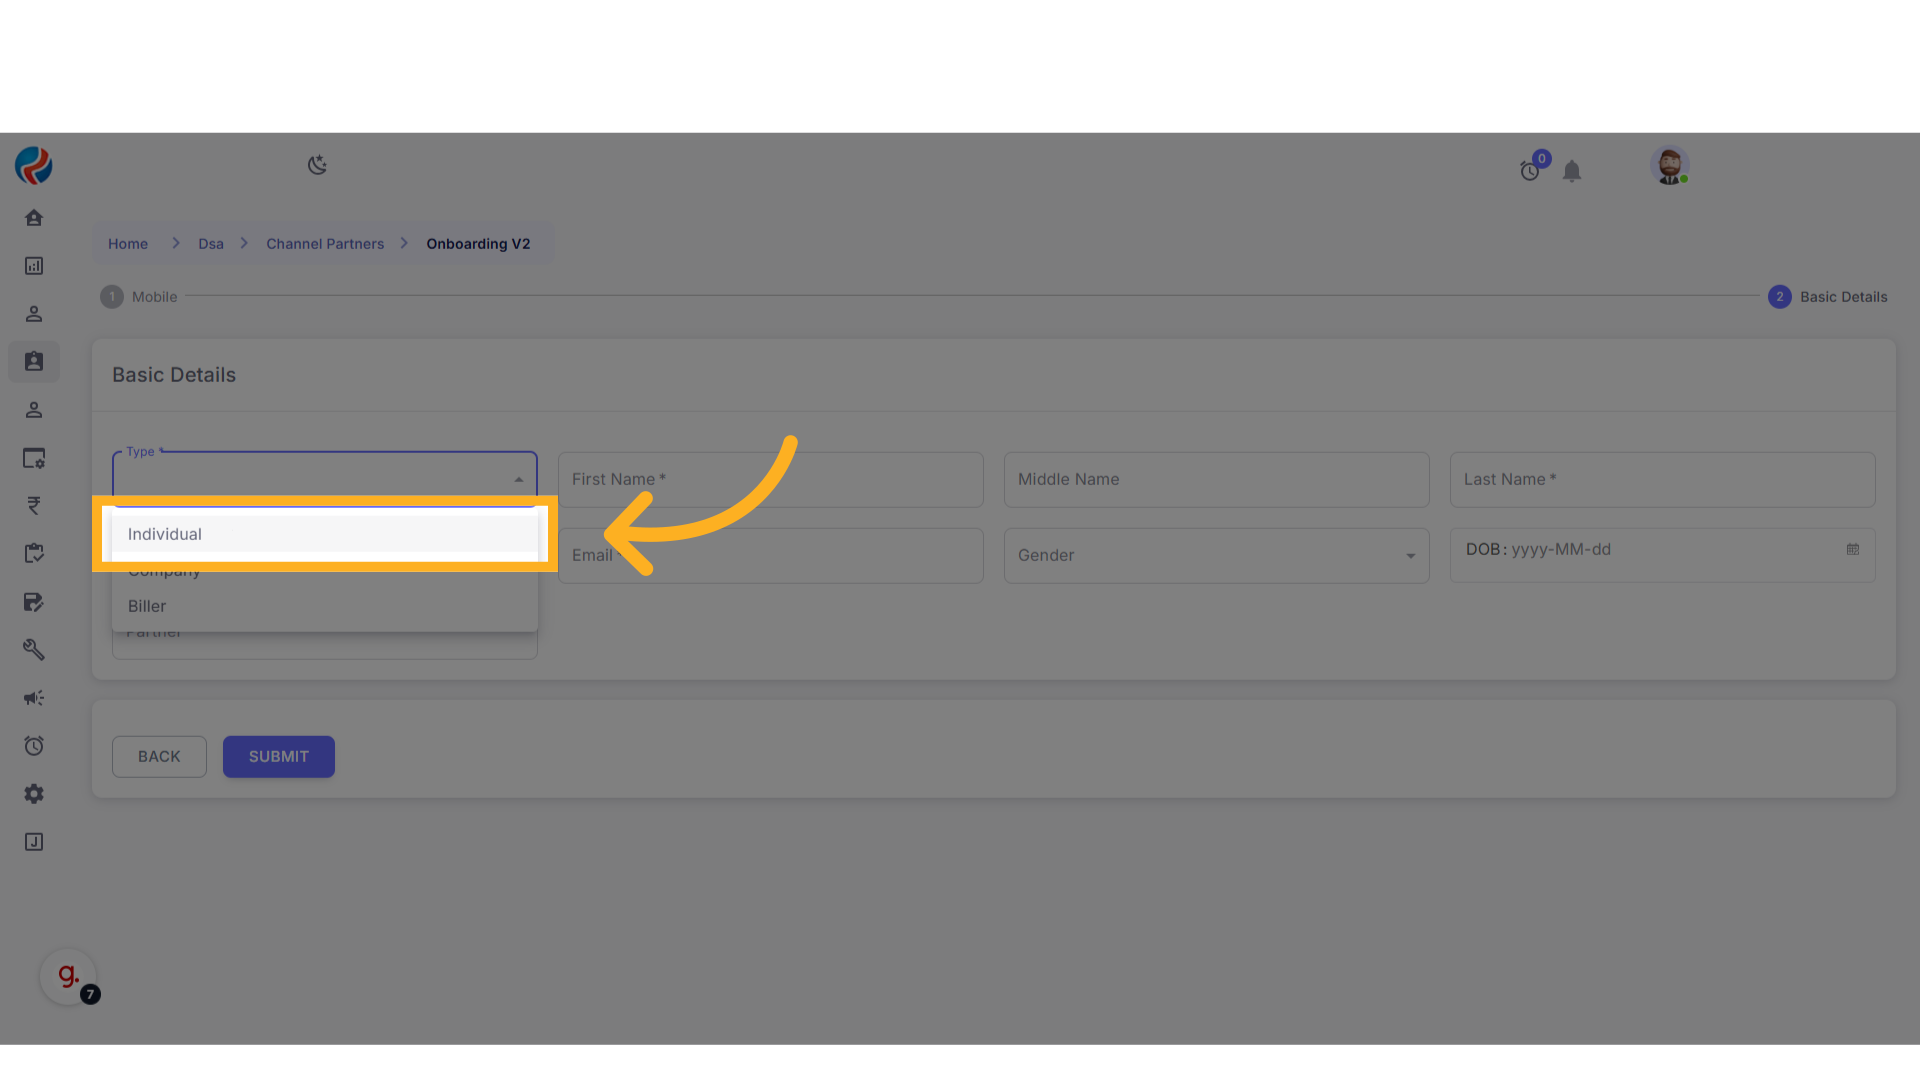
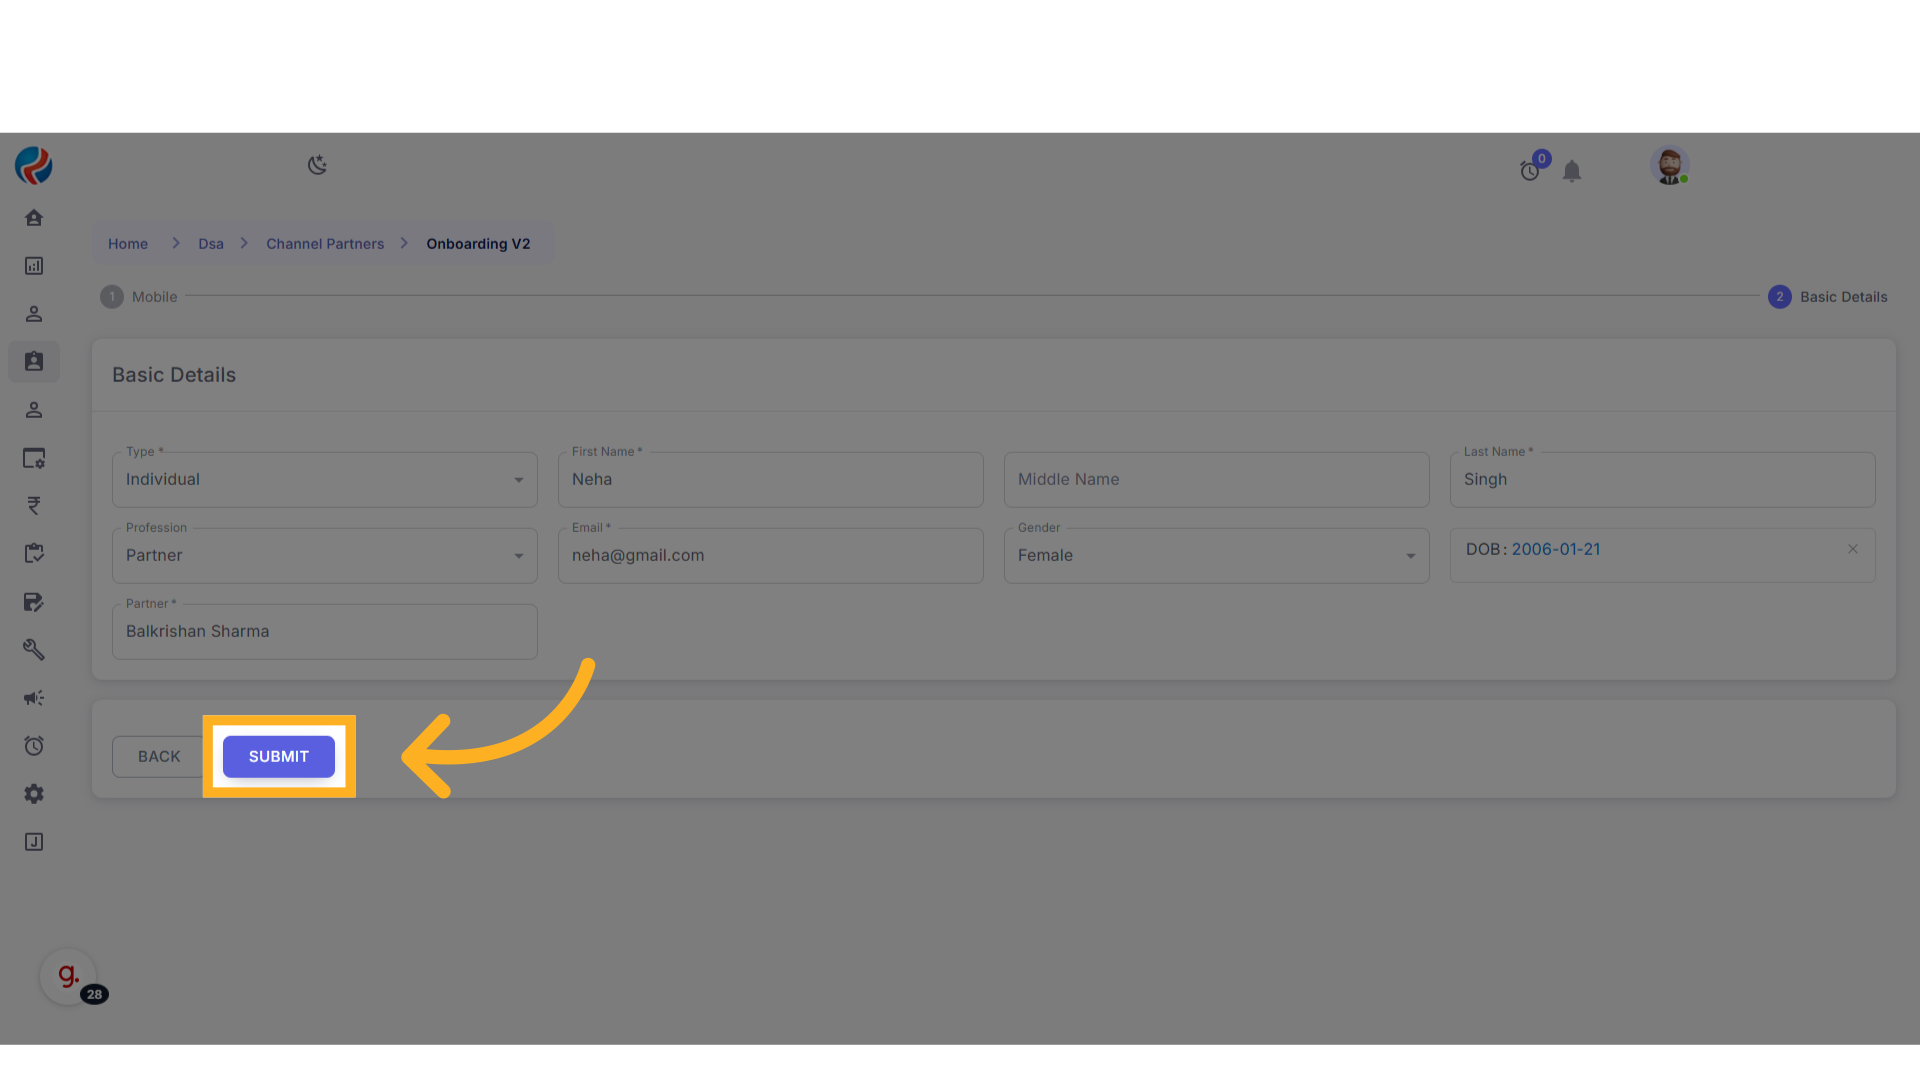
5. Enter Basic Details
- The Basic Details page will open.
-
Perform the following steps:
- Click on the first dropdown (Type) and select Individual.
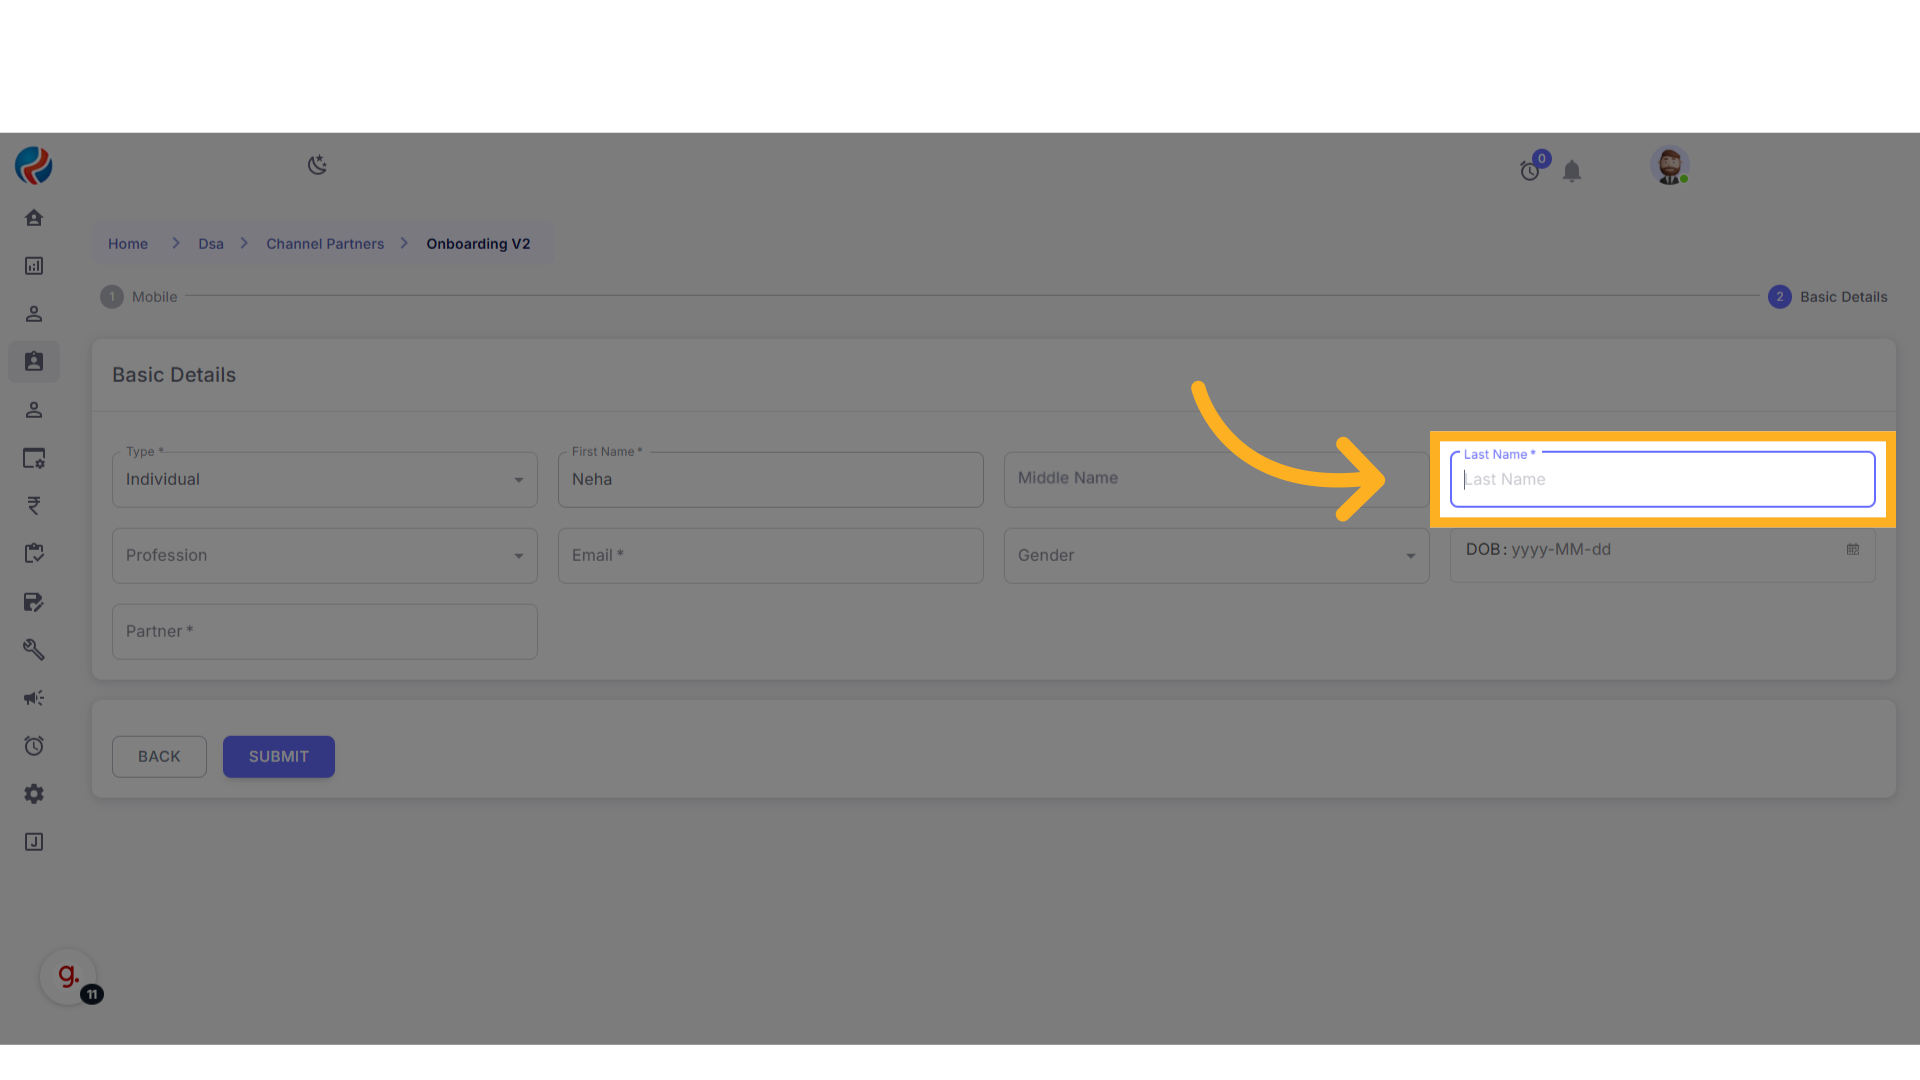
- Enter First Name and Last Name.

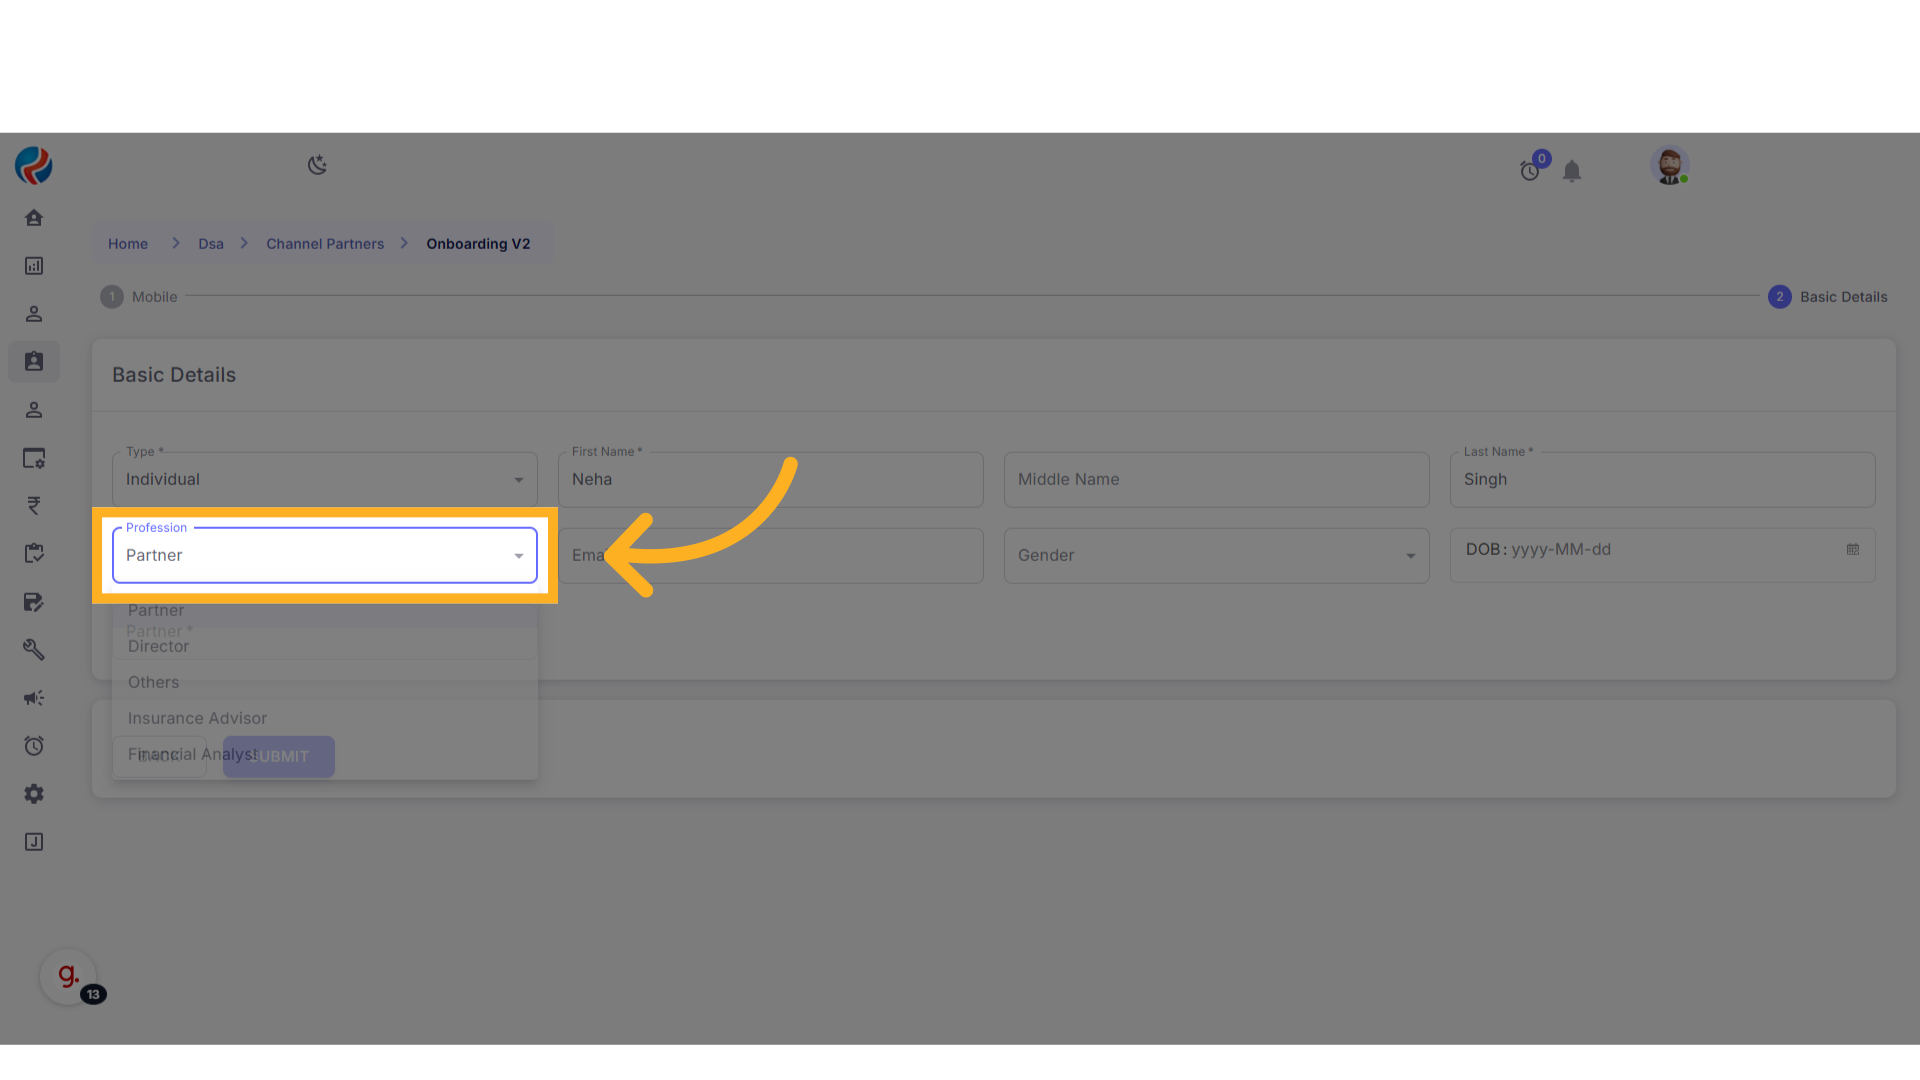
- Select the Profession.
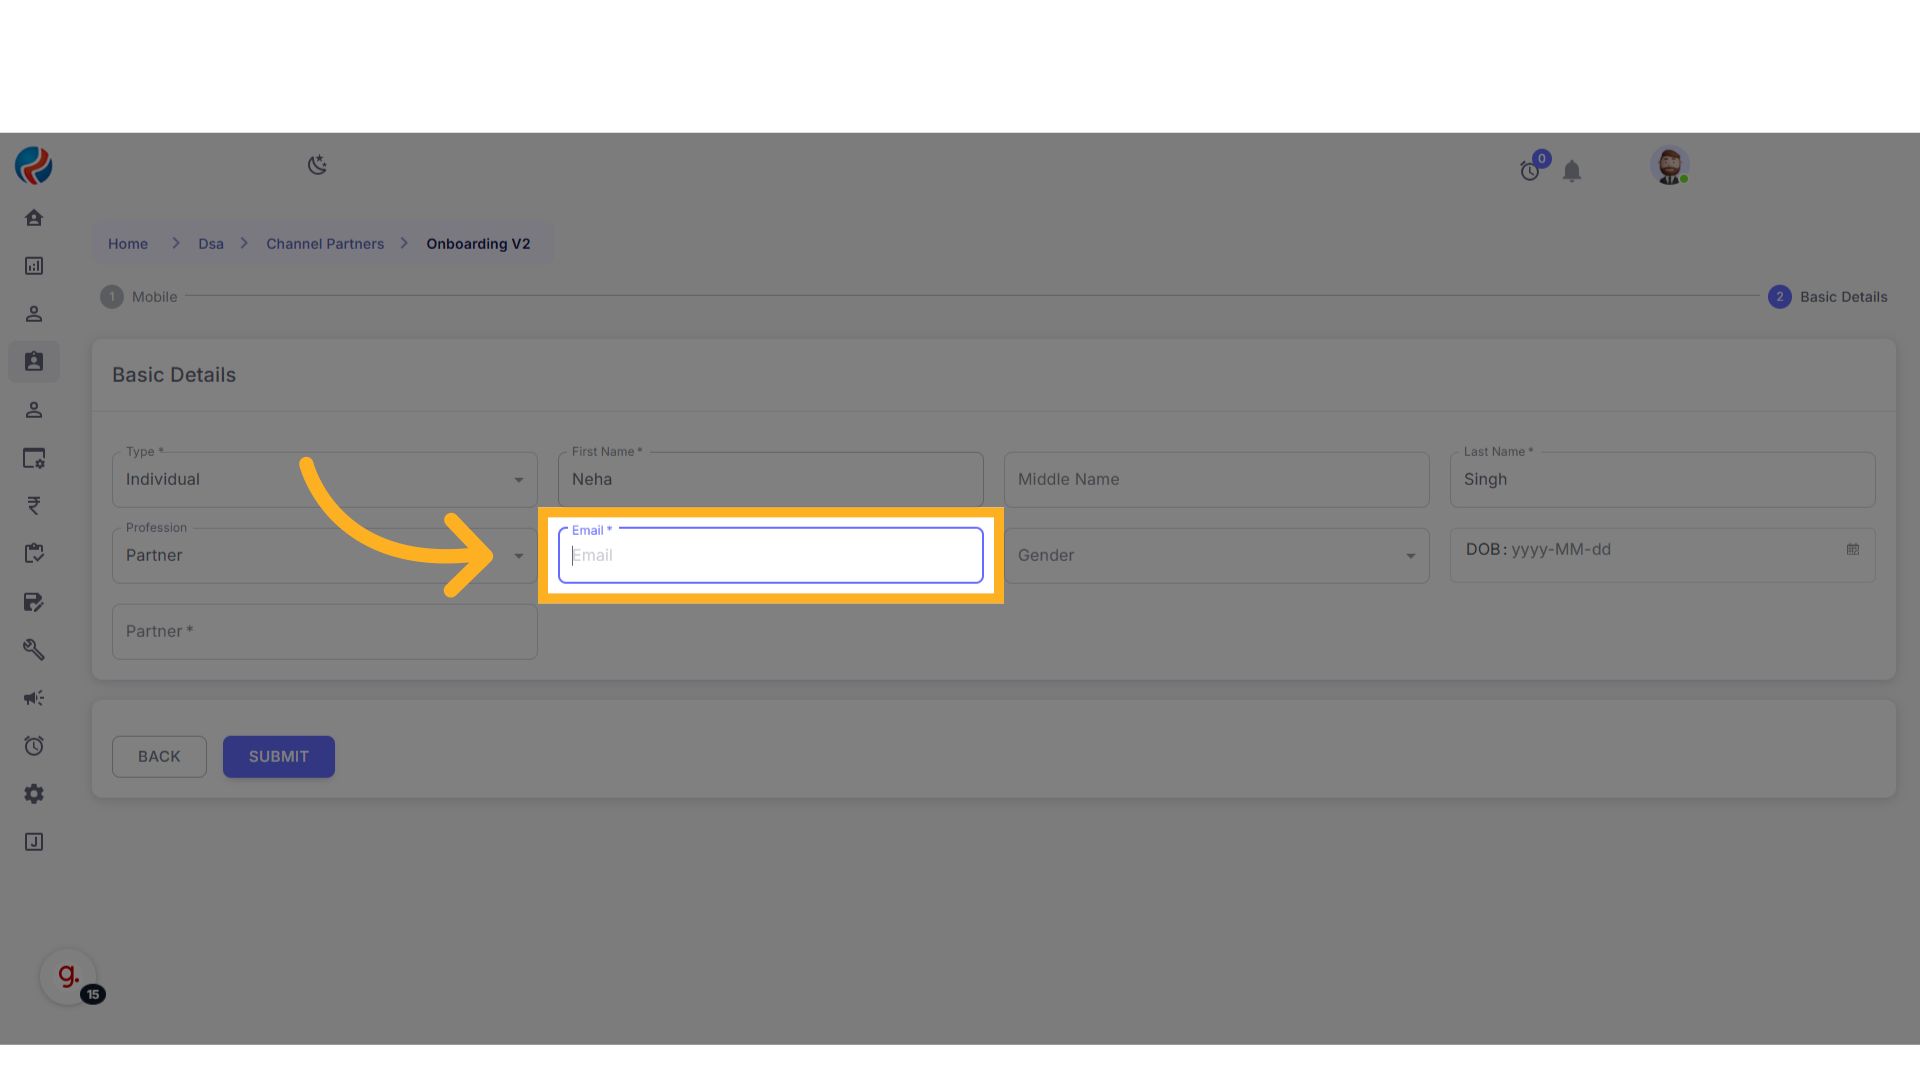
- Enter a valid Email Address.
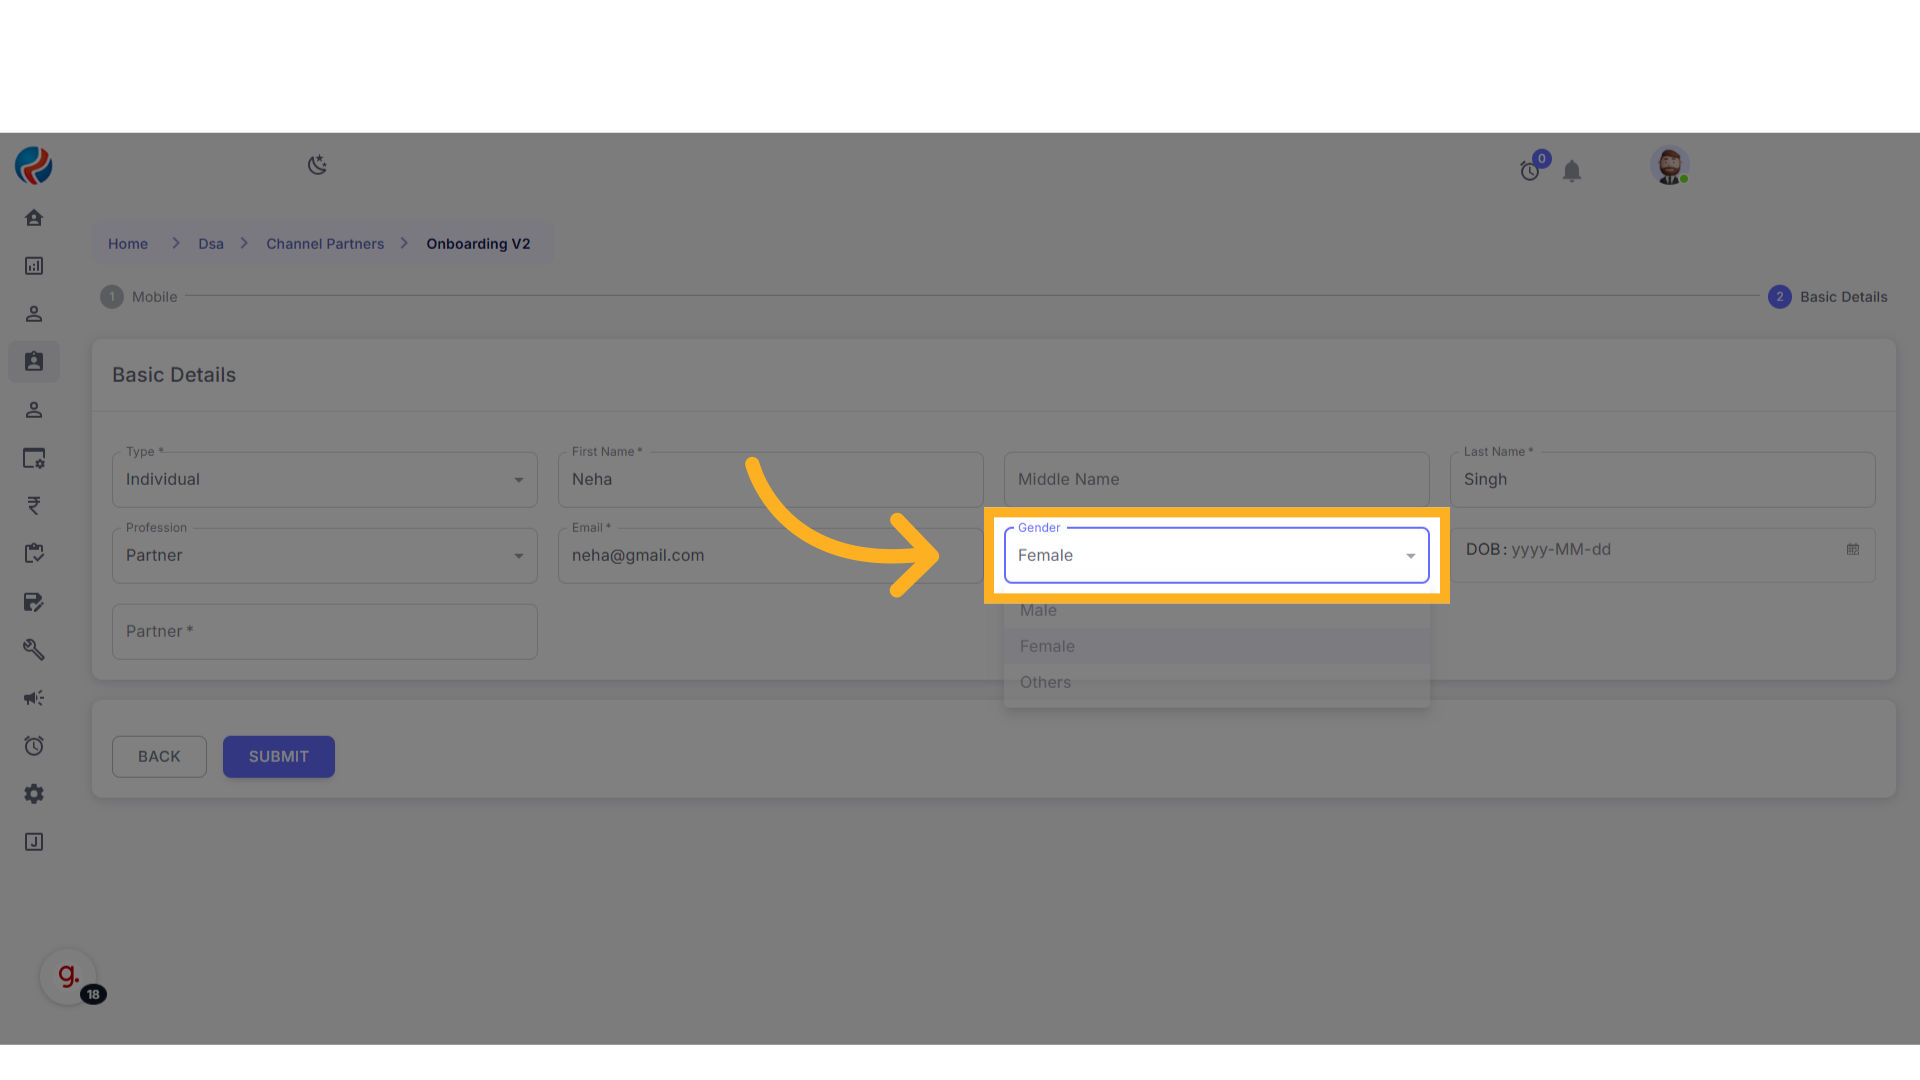
- Select Gender.
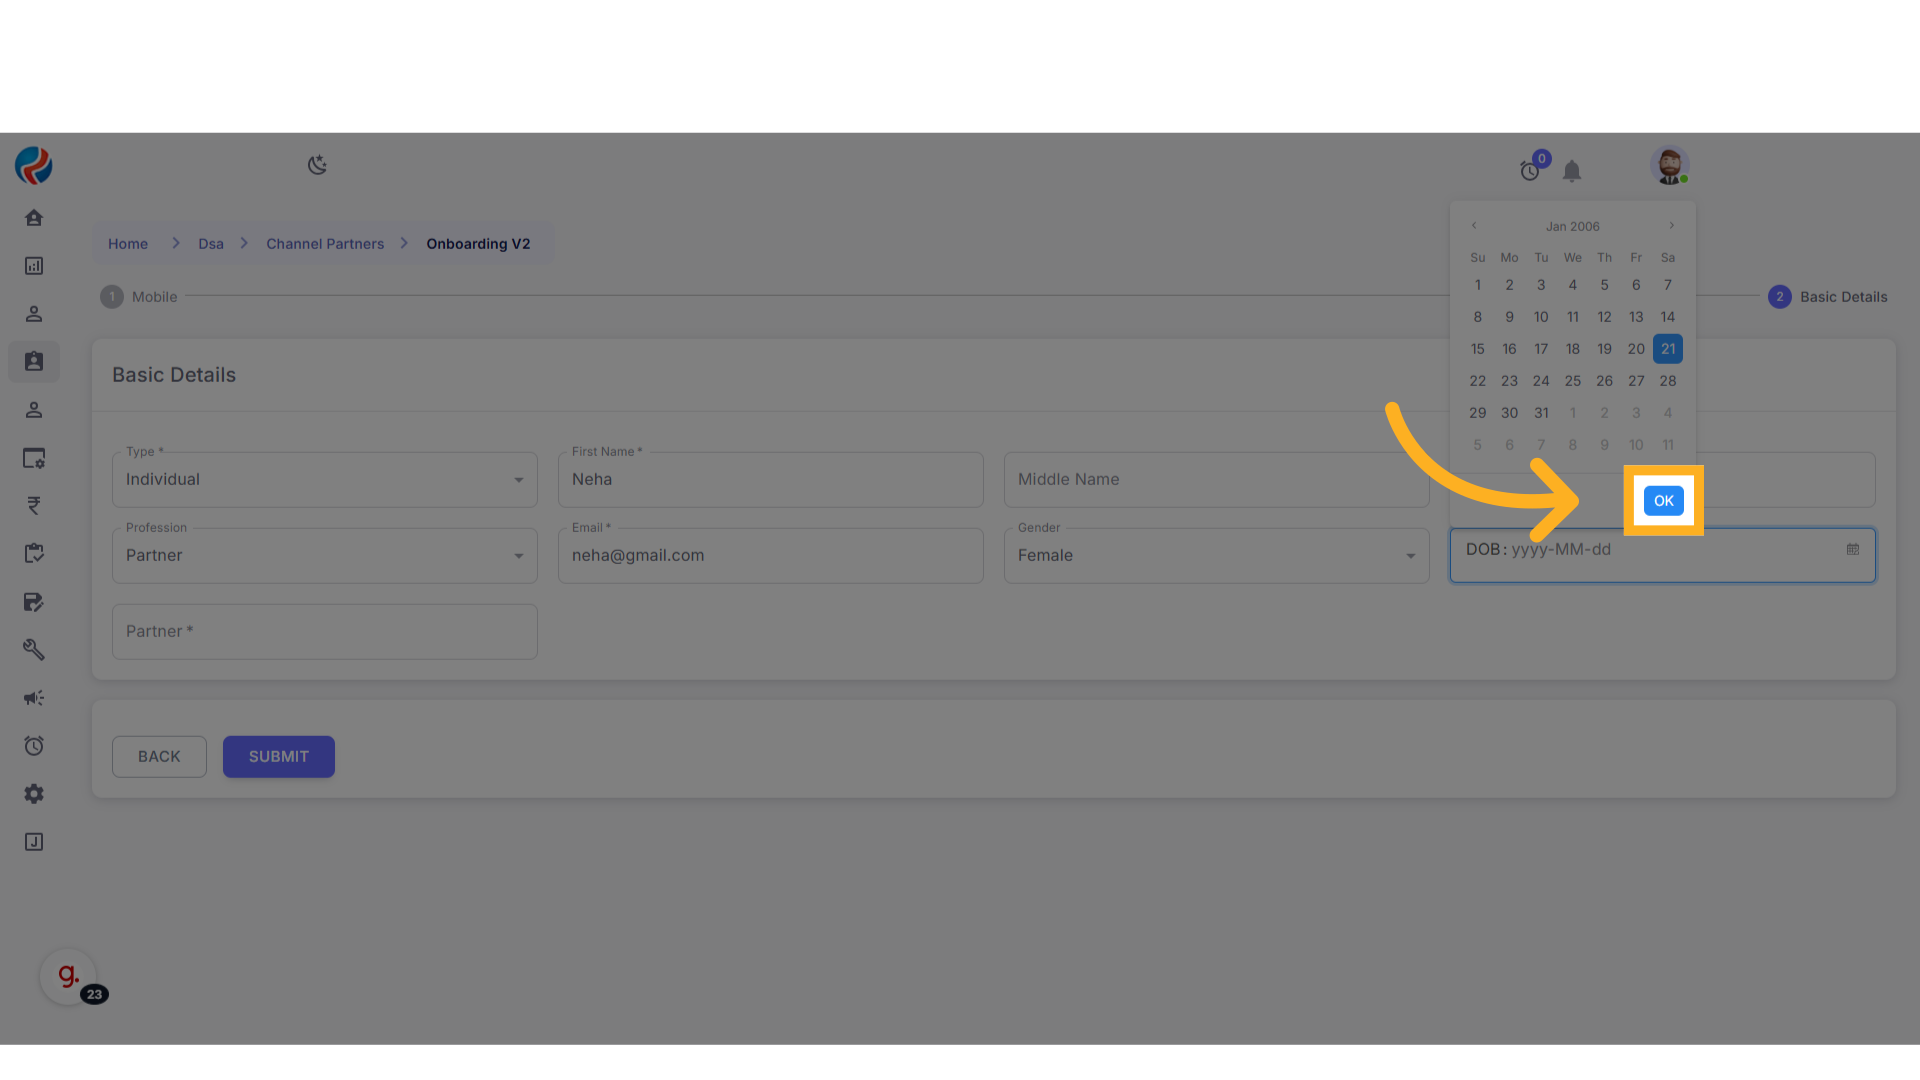
- Enter Date of Birth (DOB).
- Select the appropriate Partner from the dropdown.
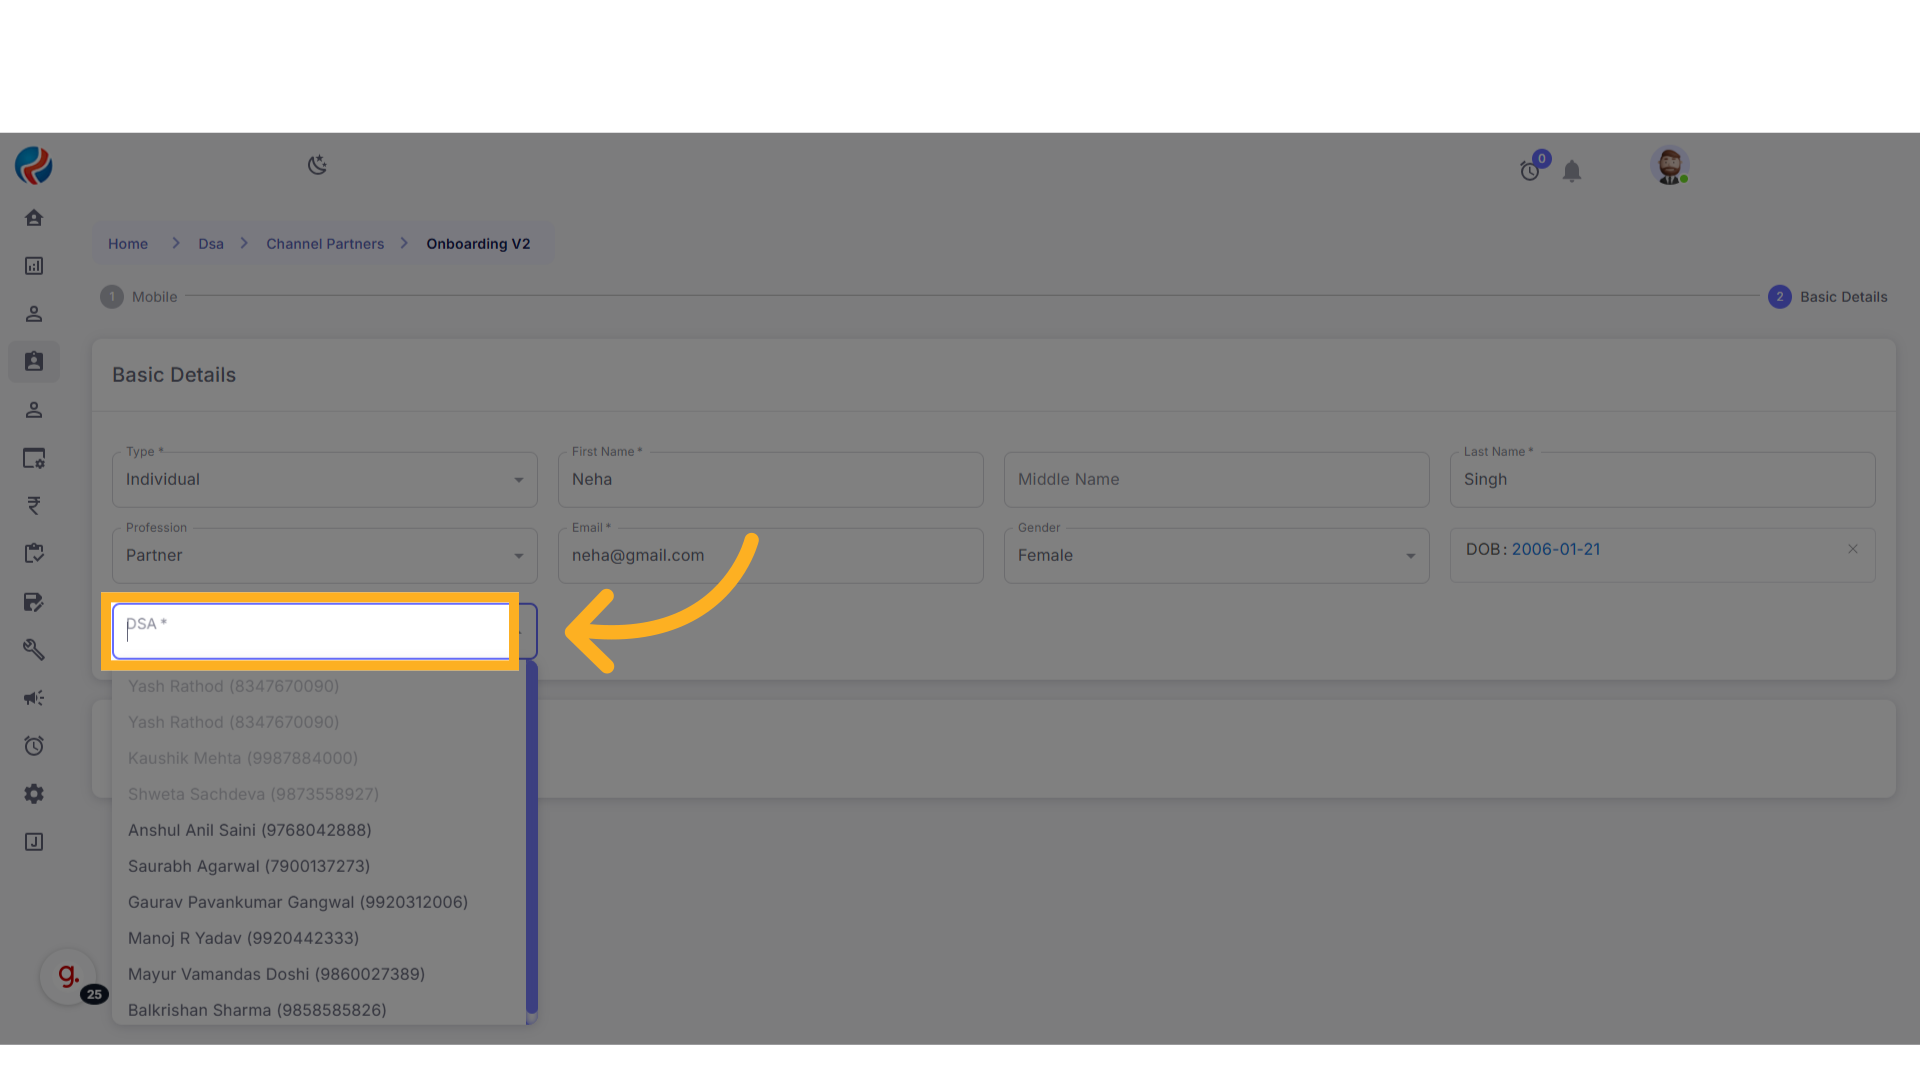
- Click on Submit.
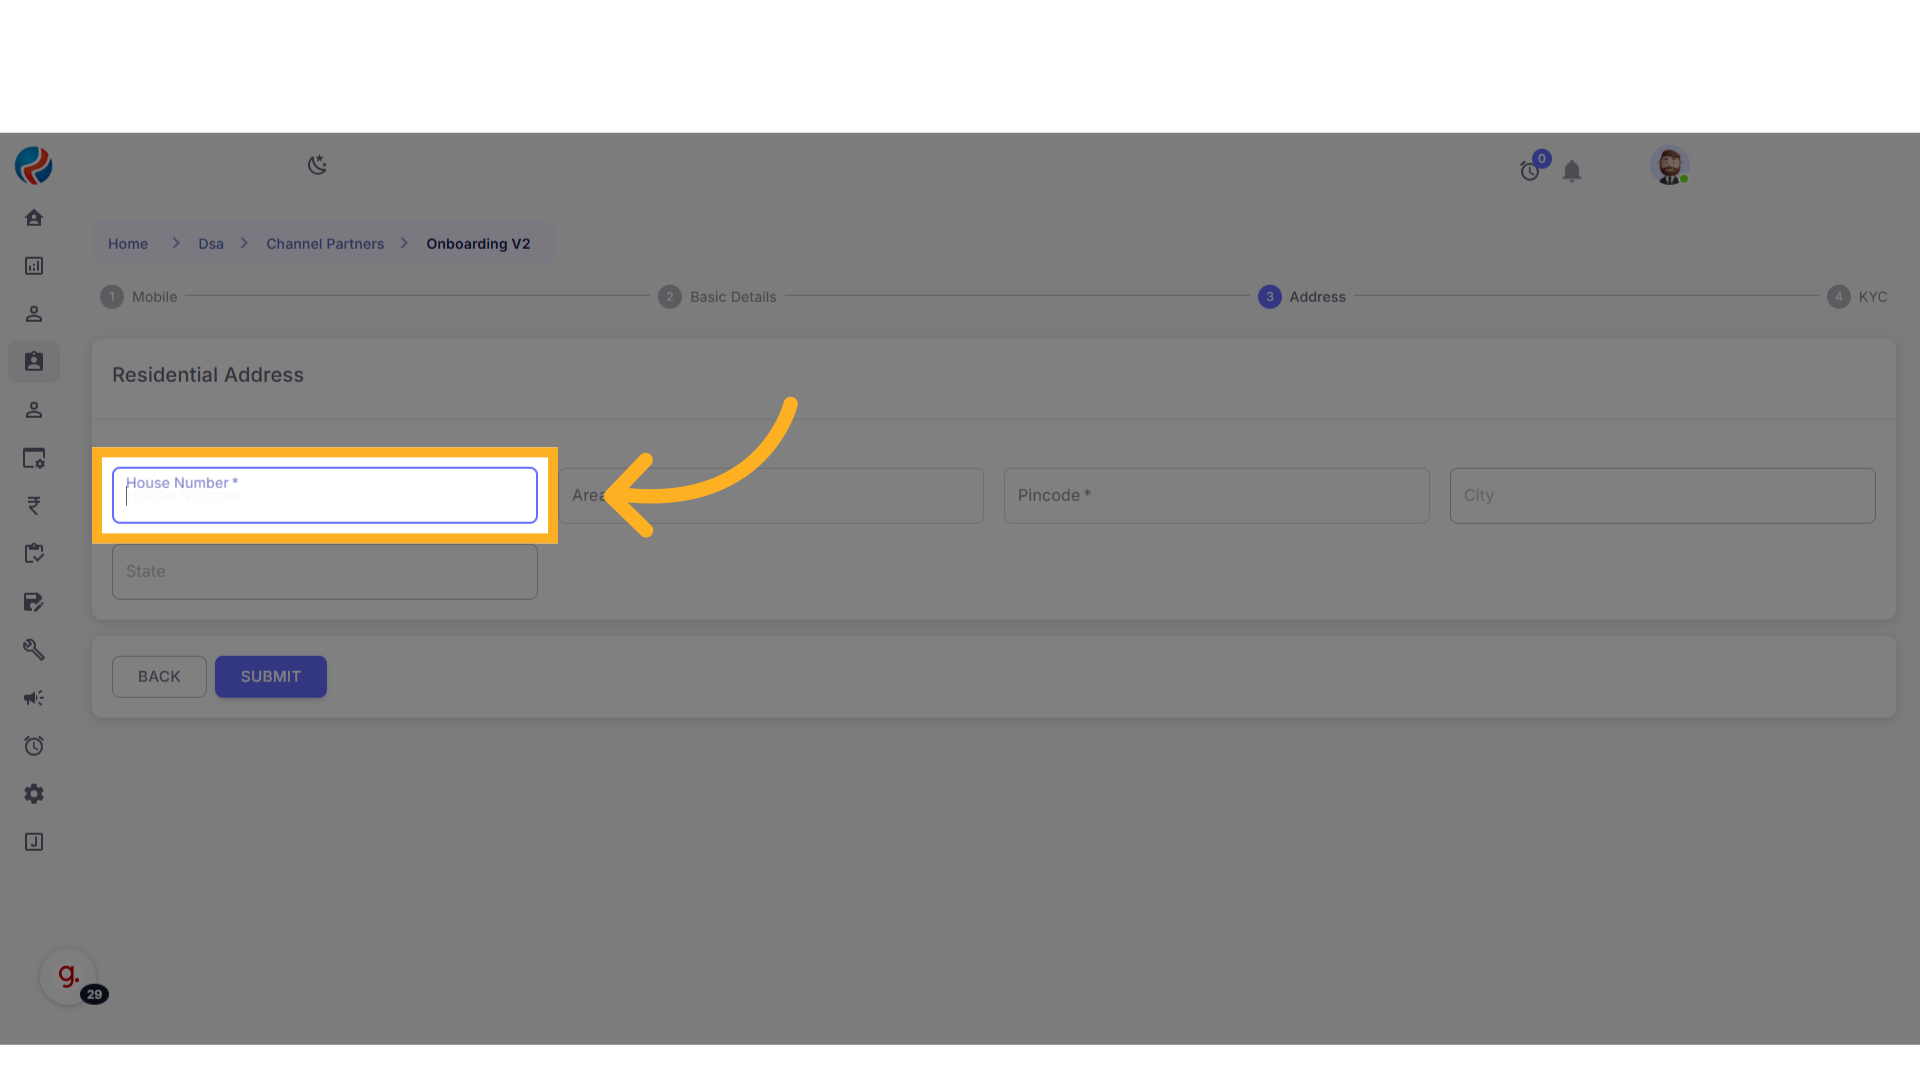
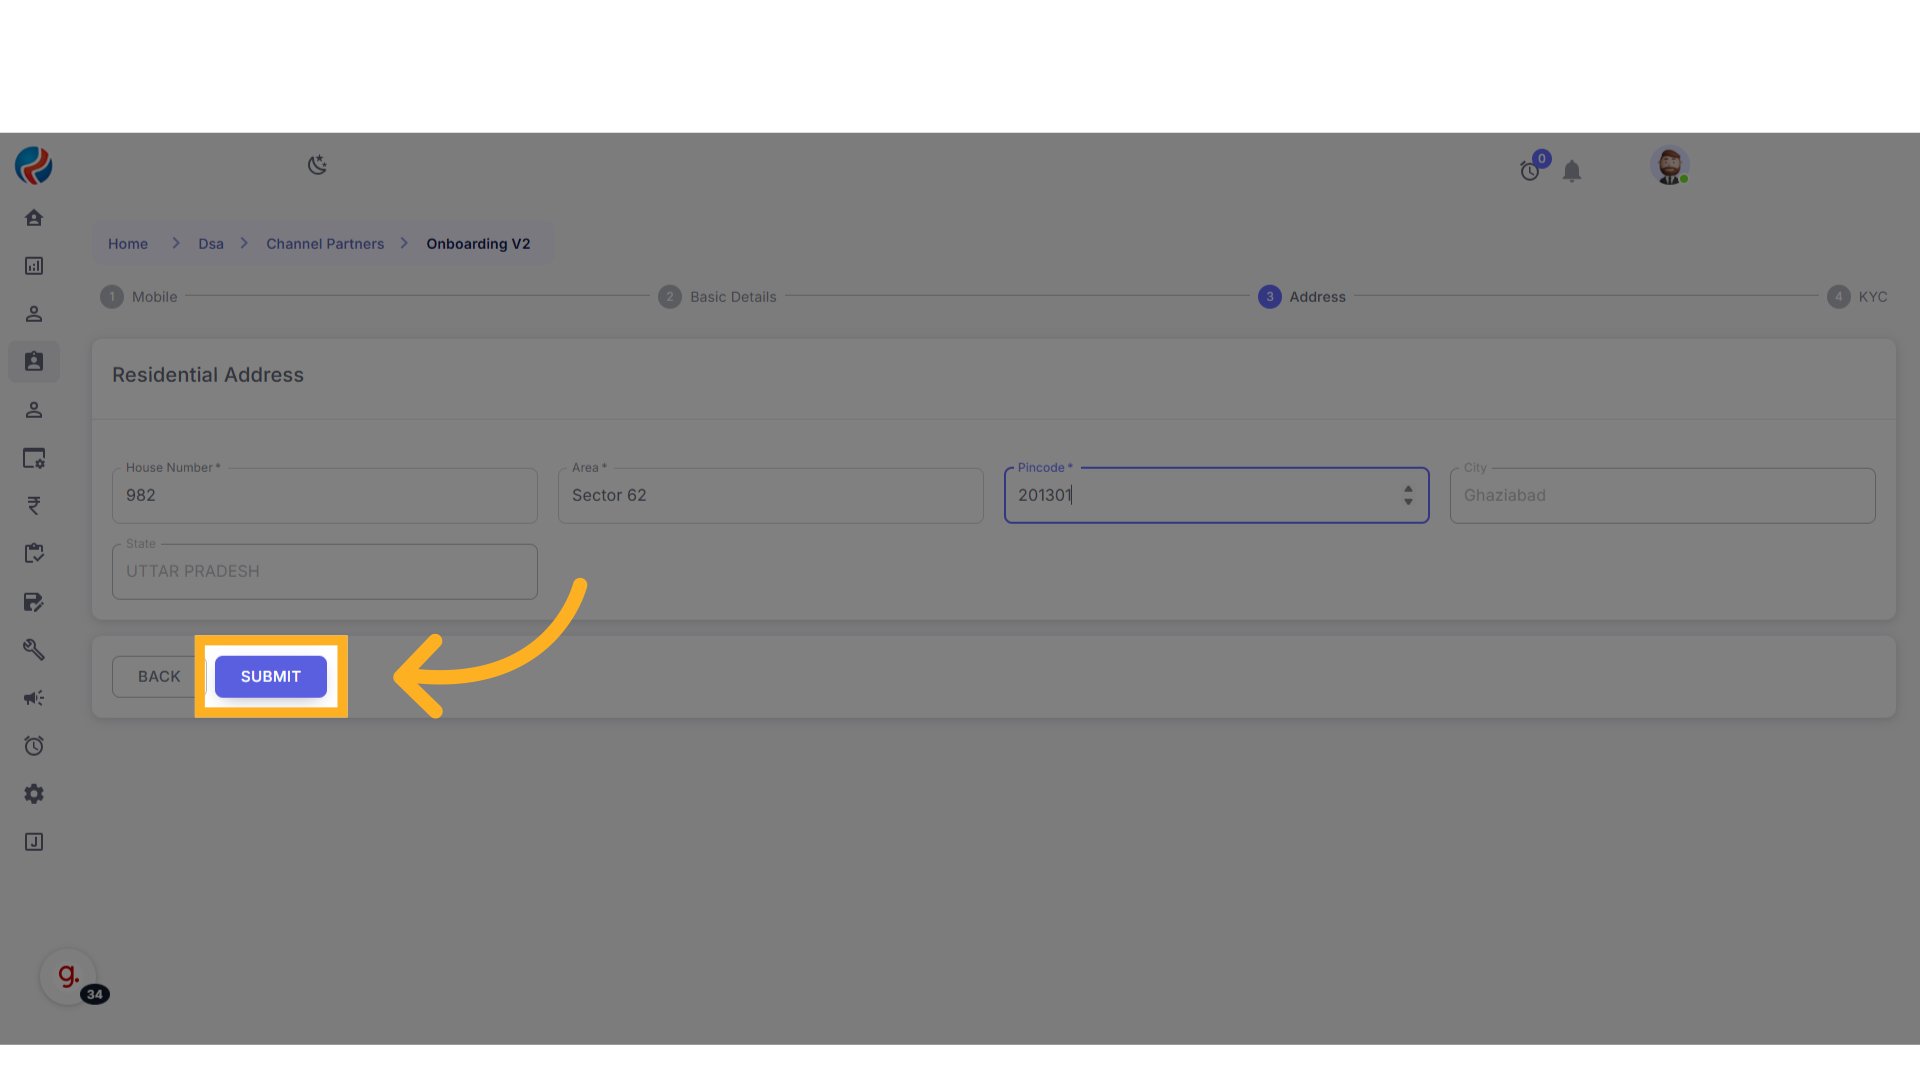
6. Enter Residential Address
- The Residential Address page will appear.
-
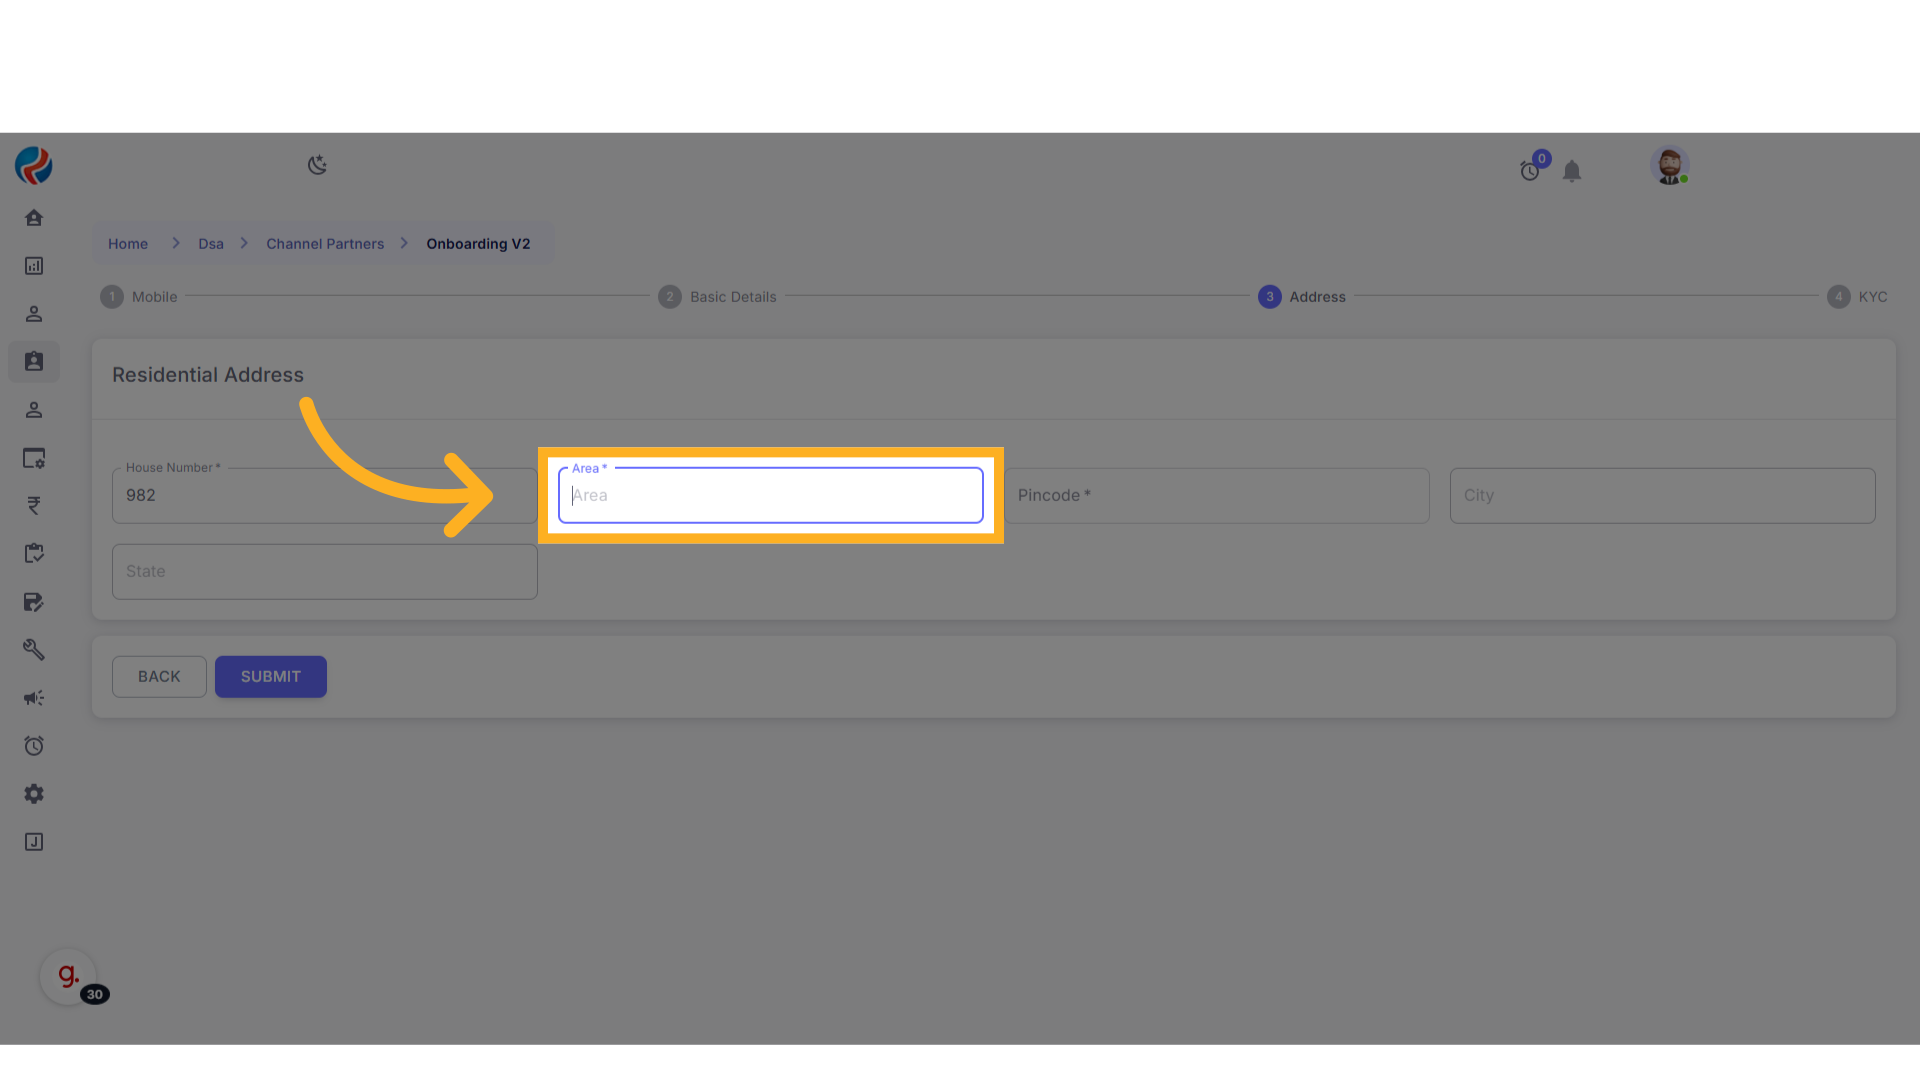
Fill in the following fields:
- Enter House Number
- Enter Area.
- Enter Pincode – State and City will be auto-fetched based on the pincode.
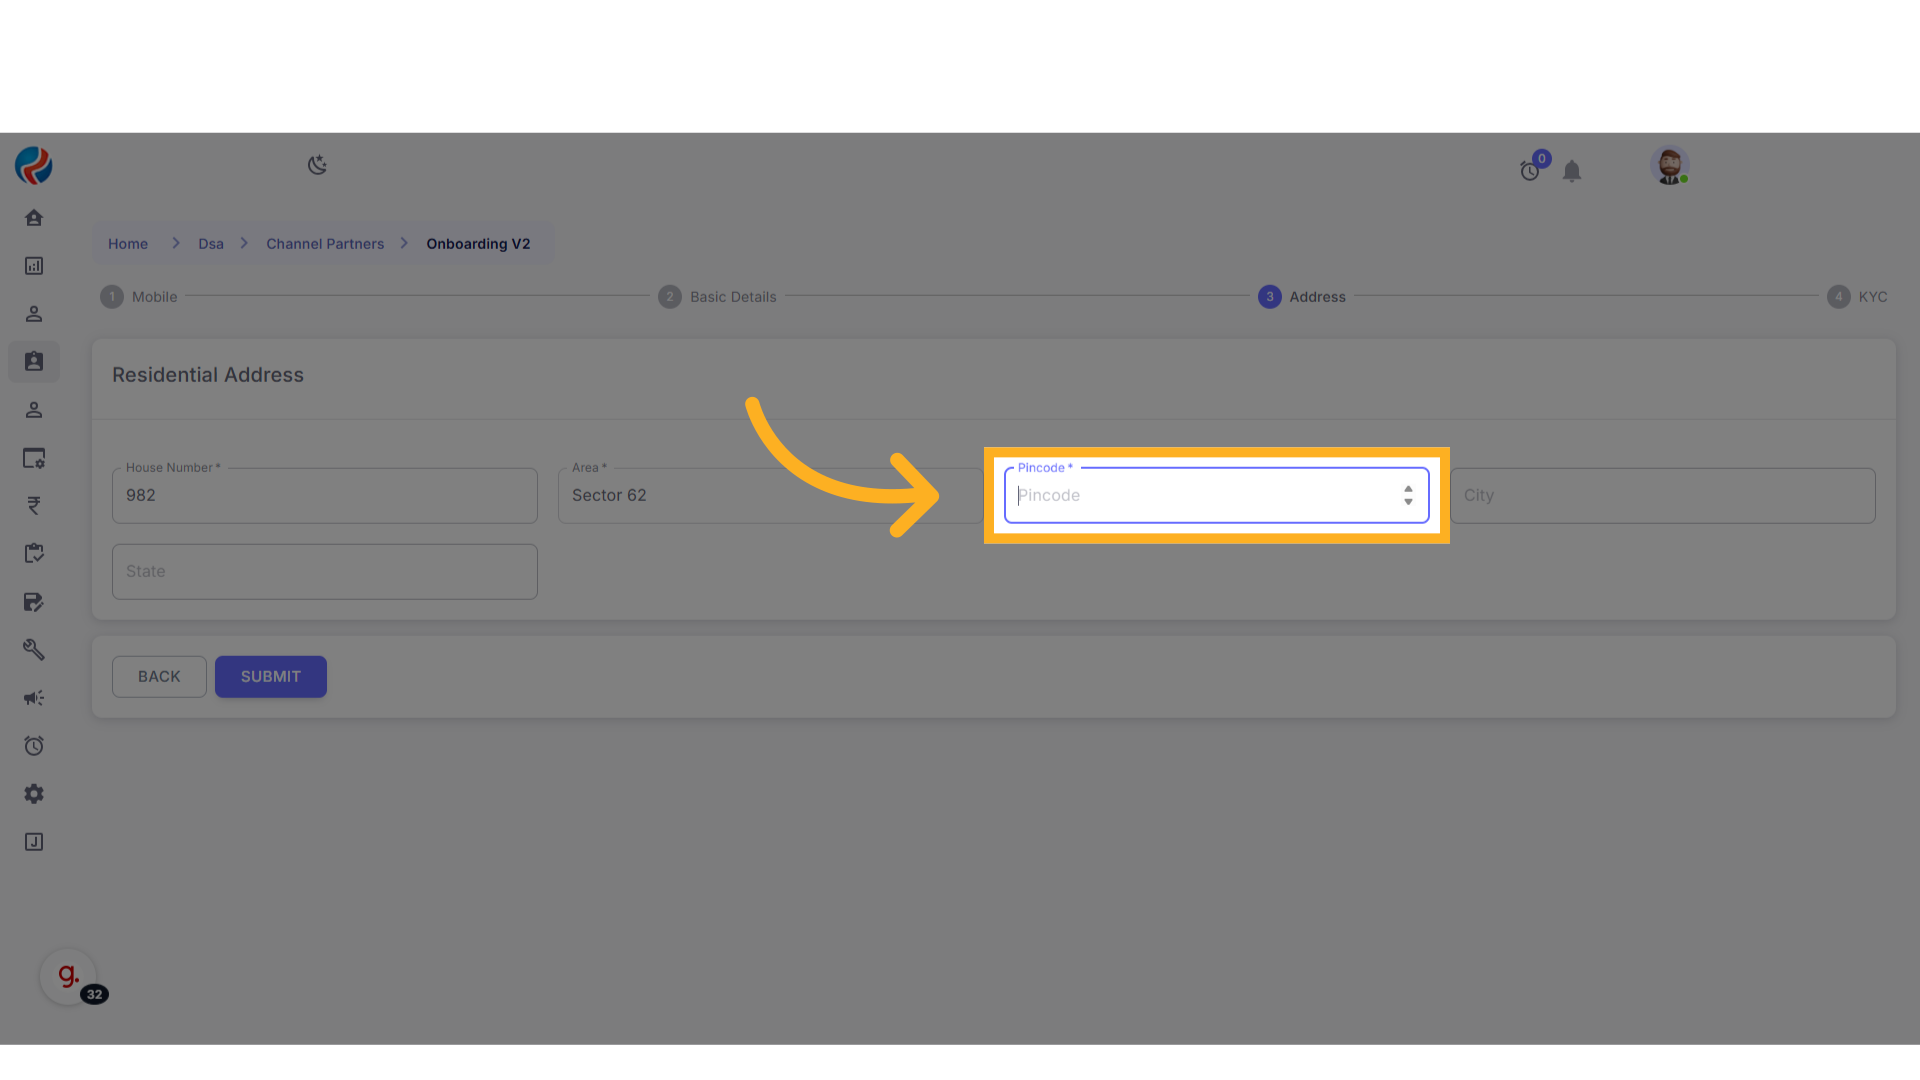
- Click on Submit.
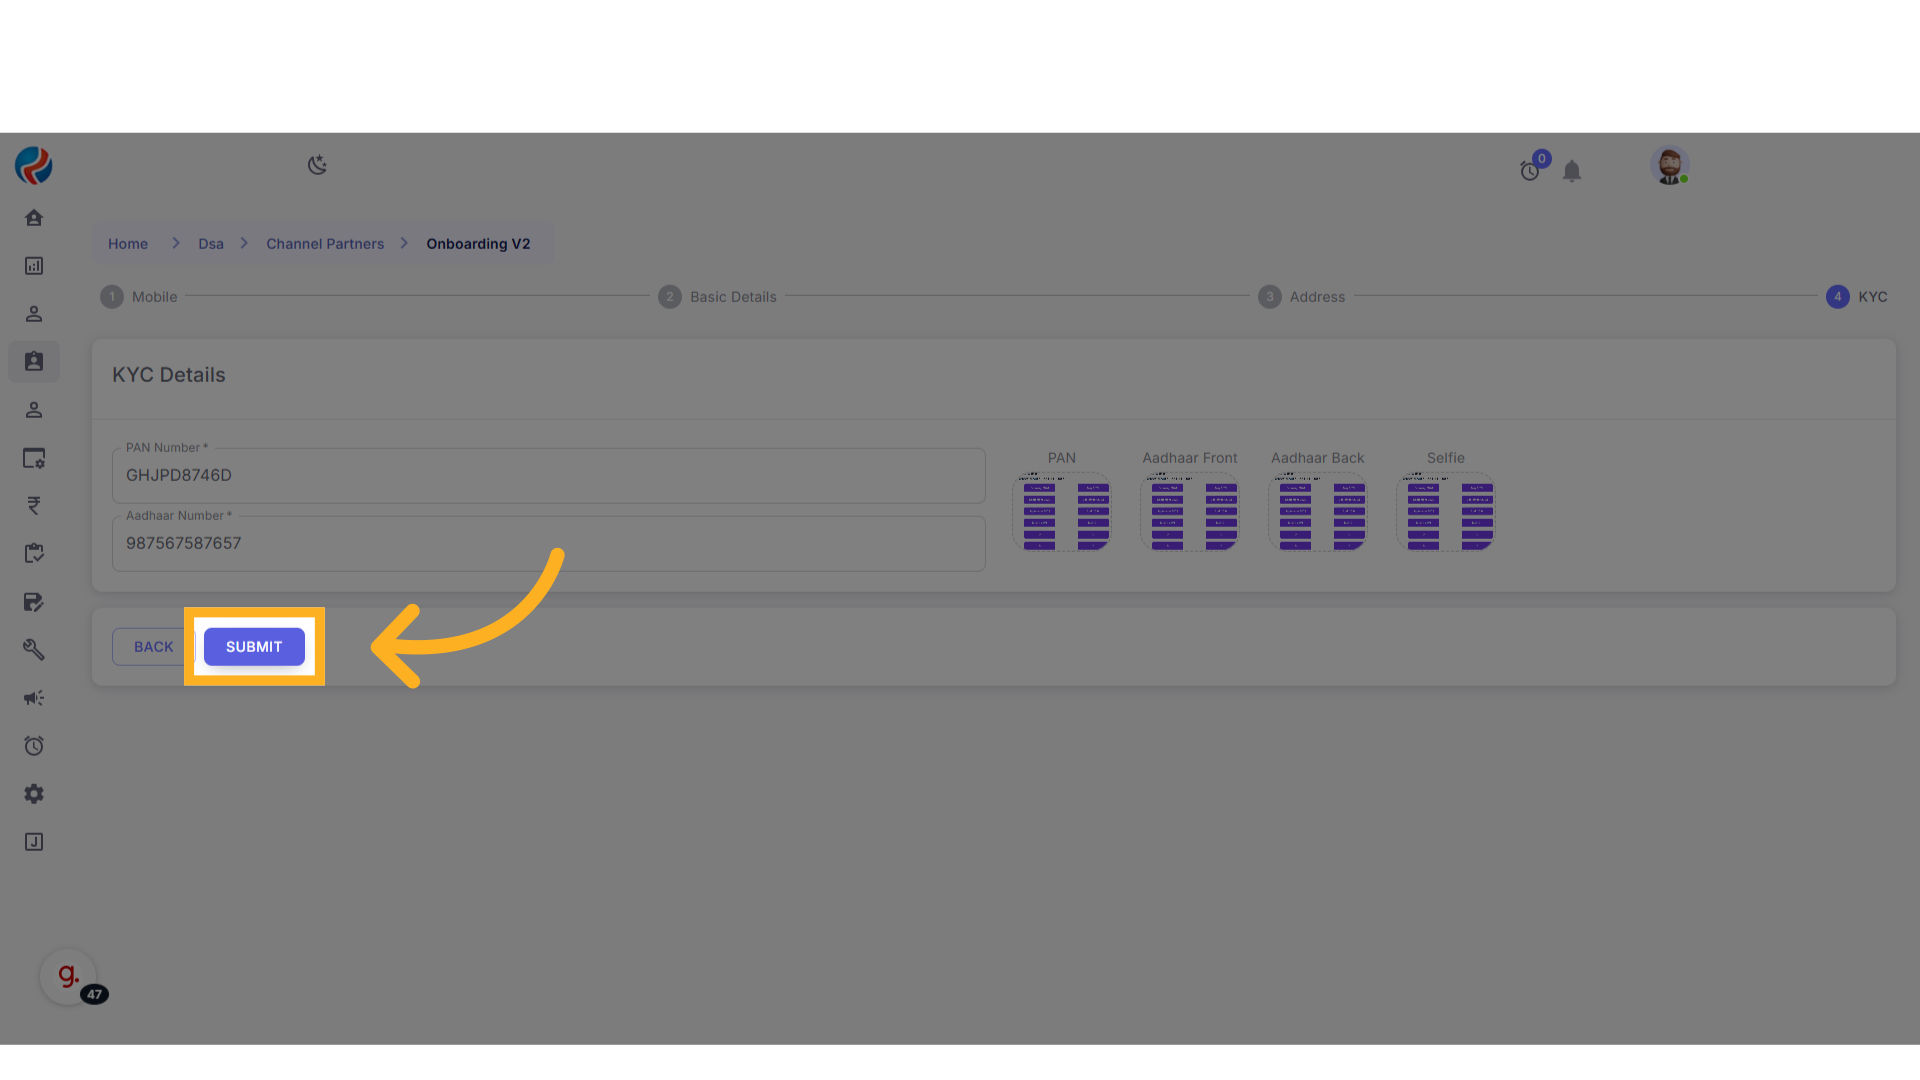
7. Complete KYC Details
- The KYC page will now open.
-
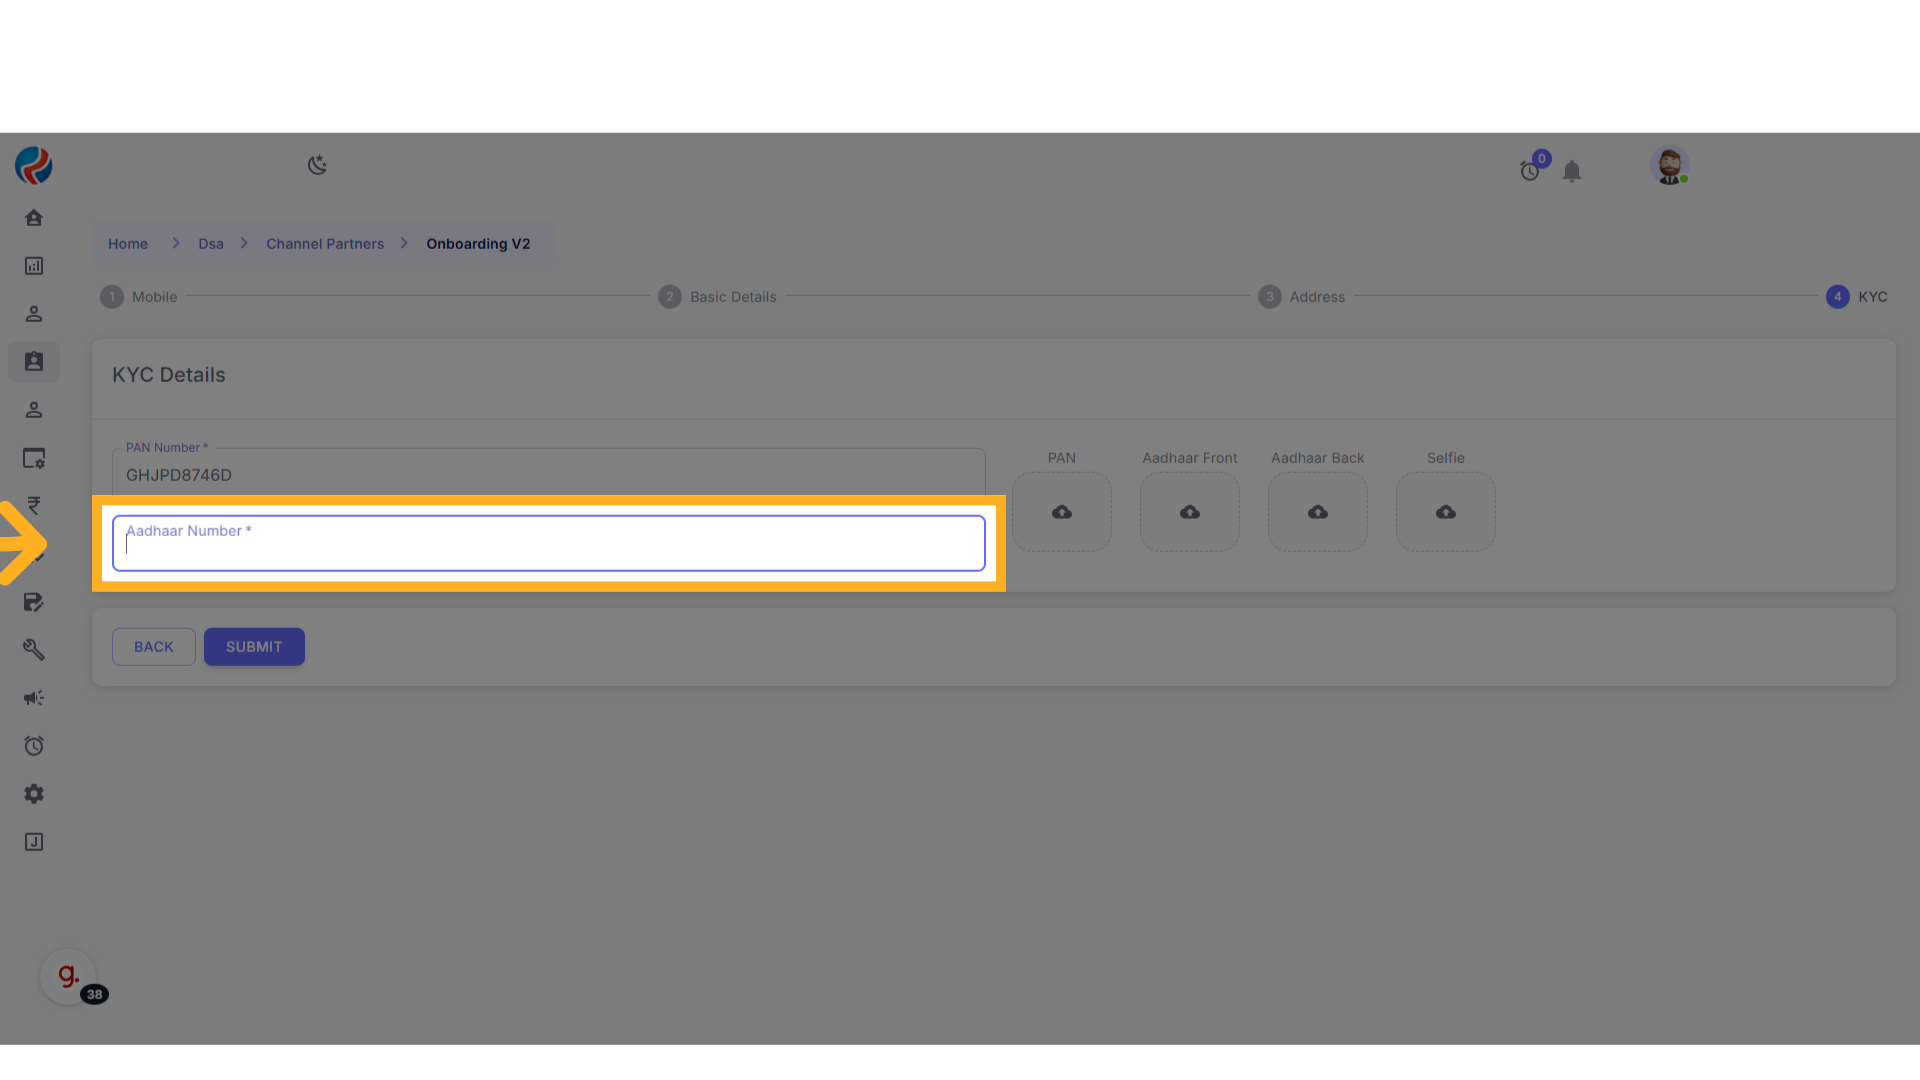
Enter and upload the following:
- PAN Number (format: XXXXP0000X).
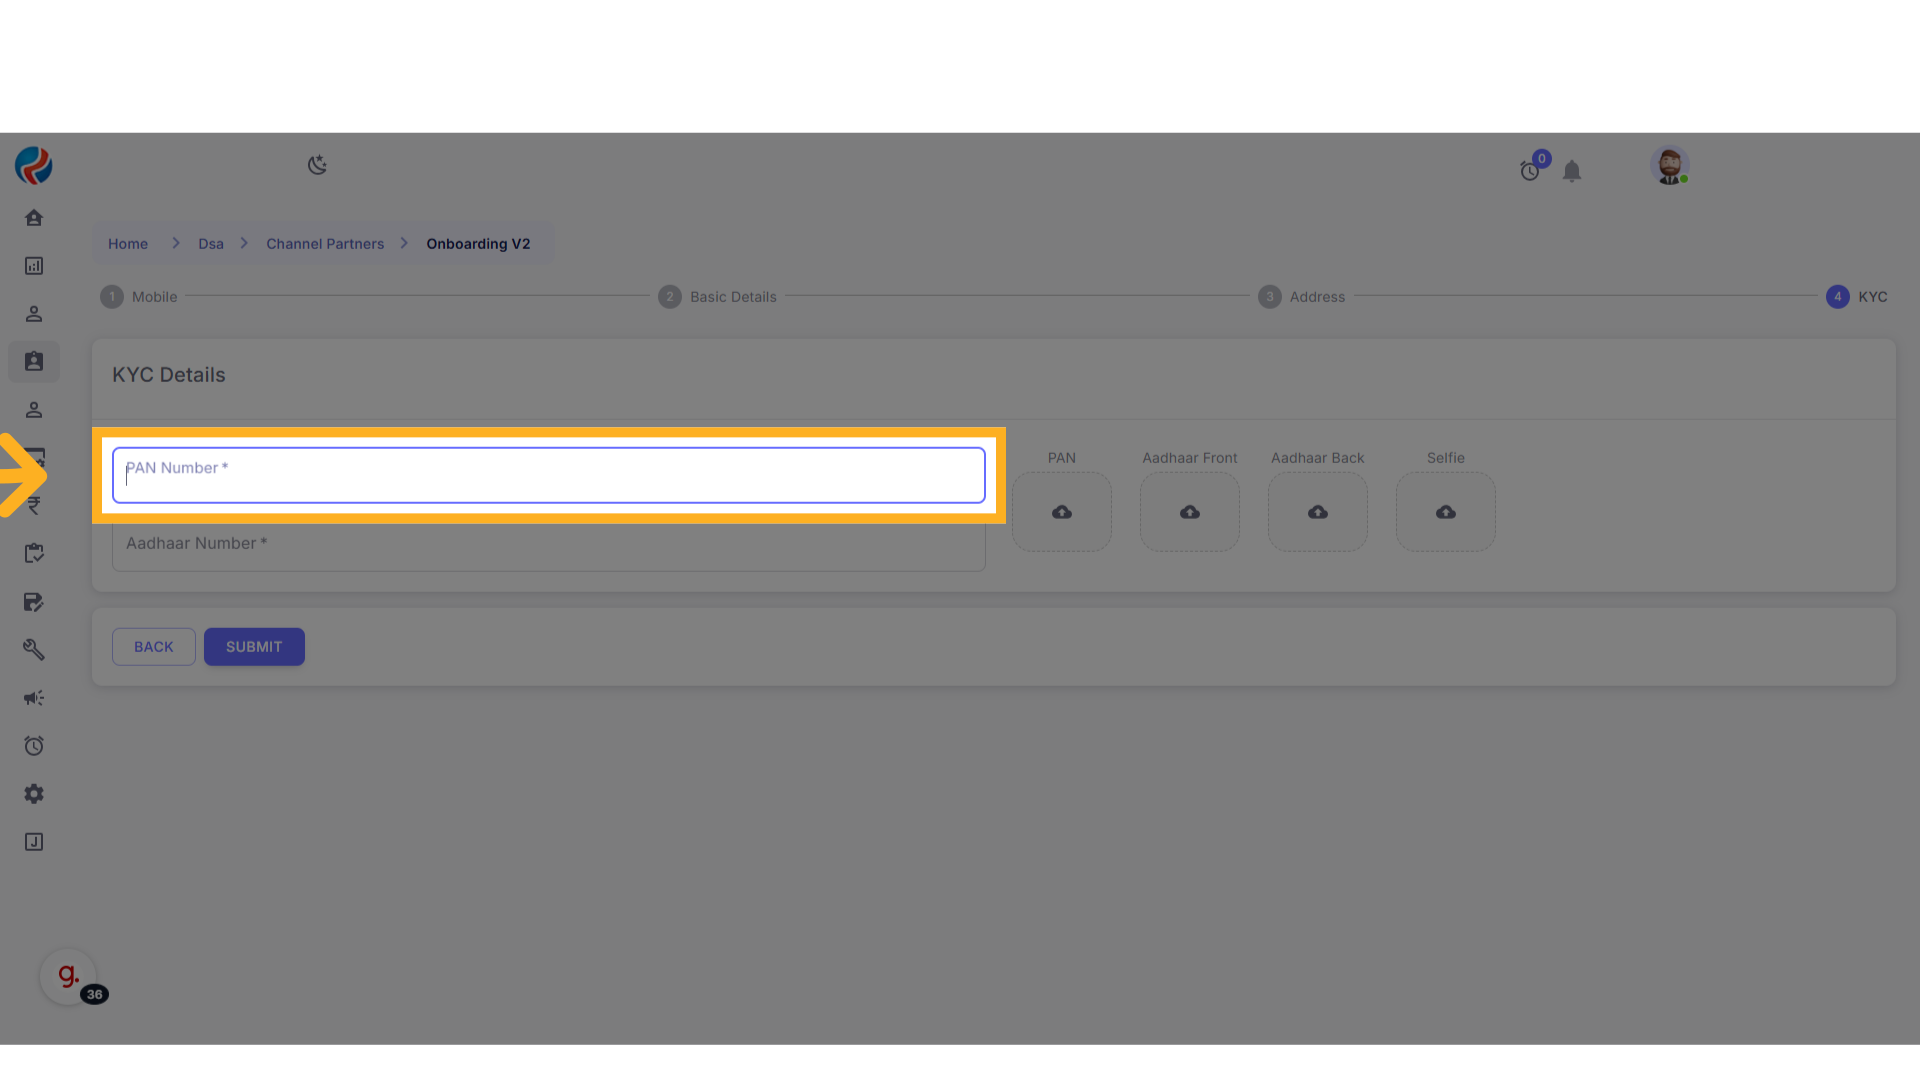
- 12-digit Aadhaar Number.
-
Upload the following documents:
-
PAN Card
- Aadhaar Front
- Aadhaar Back
- Selfie
-
PAN Card
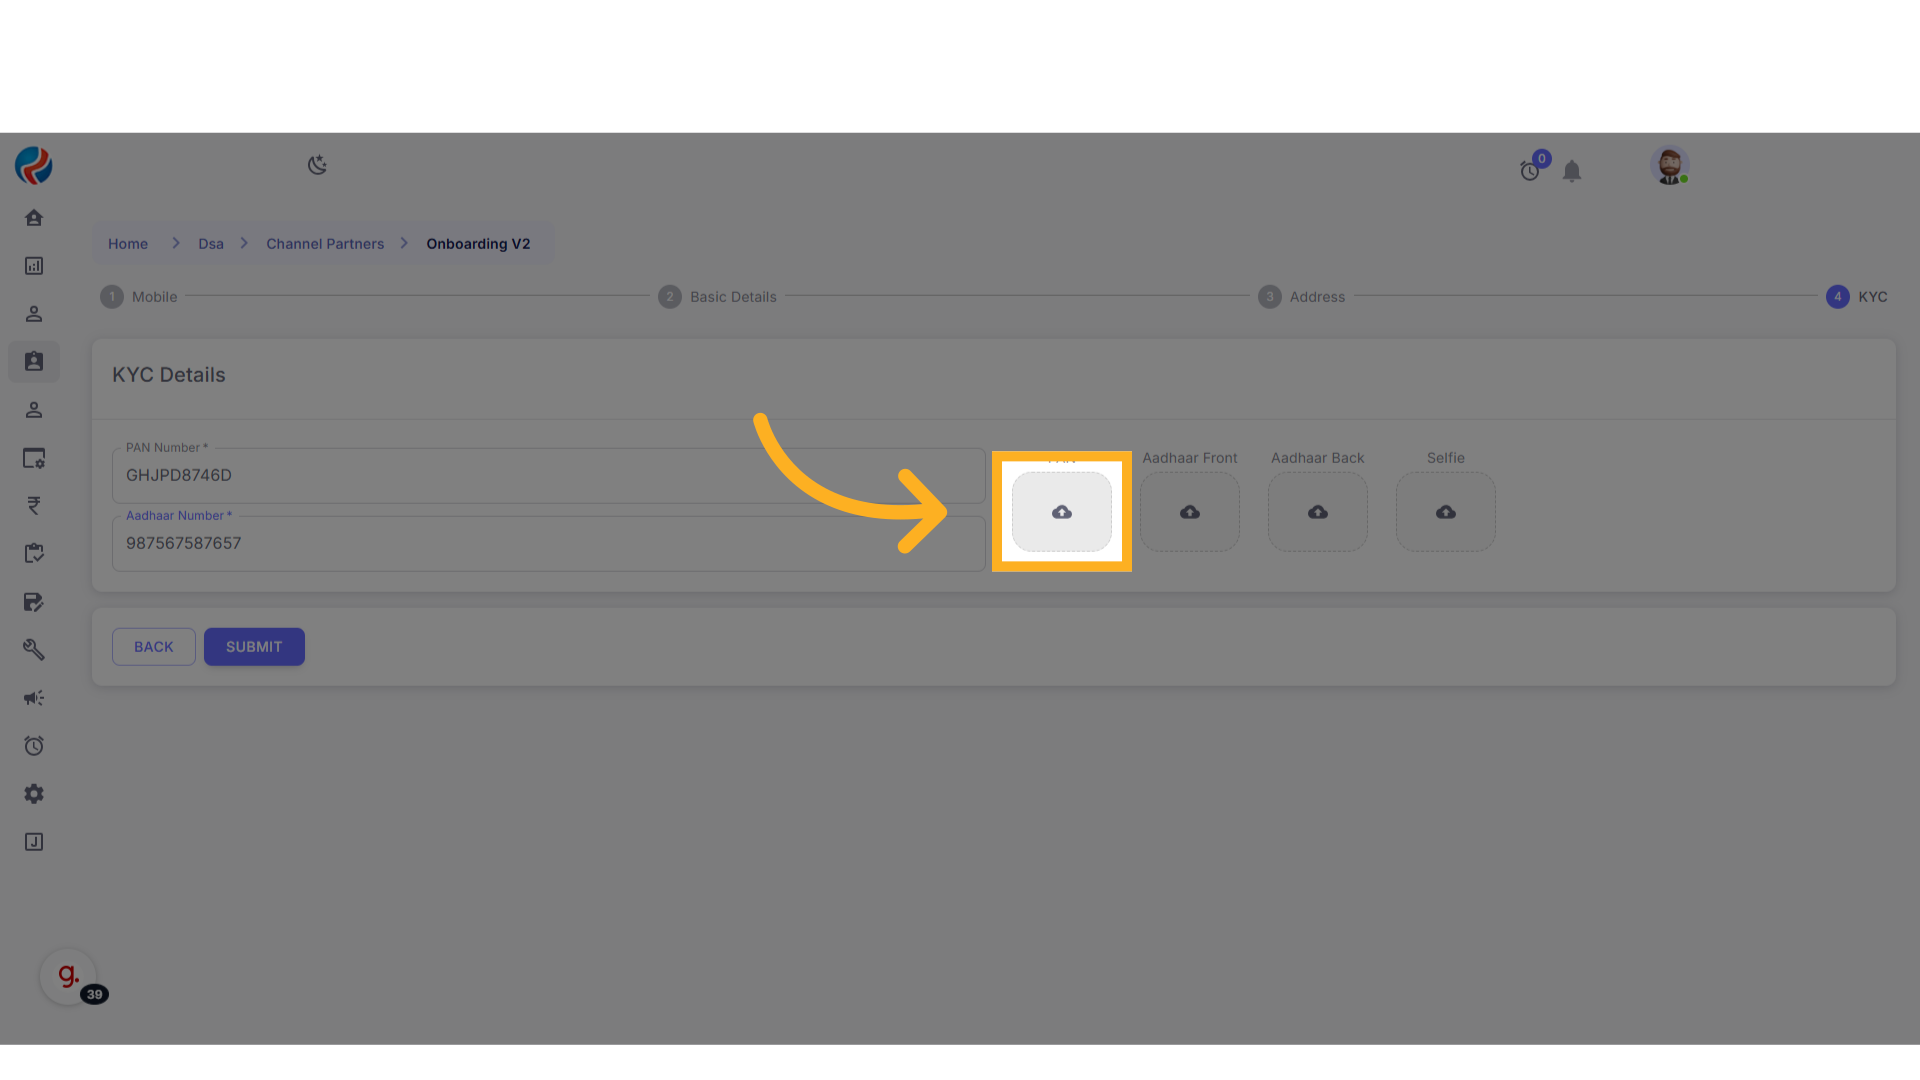
- Click on Submit.
8. Onboarding Completion
- The onboarding journey for the individual DSA is now complete.
- The entry is successfully saved as a Channel Partner.
9. Verifying the Entry
-
To verify the newly added DSA:
- From the side menu, navigate to DSA > Channel Partners.
- The new entry should be visible in the list.
-
If not visible immediately, use the search feature to find the entry using:
- Mobile Number
- Name
- If you are not able to find the entry on the page you may search by the other details you provided while On-boarding.
10. Onboarding “Individual” User Type to “Payee”
To convert an Individual DSA user to a Payee and successfully push their details to the NS (National System).Steps to Onboard an Individual as a Payee:
-
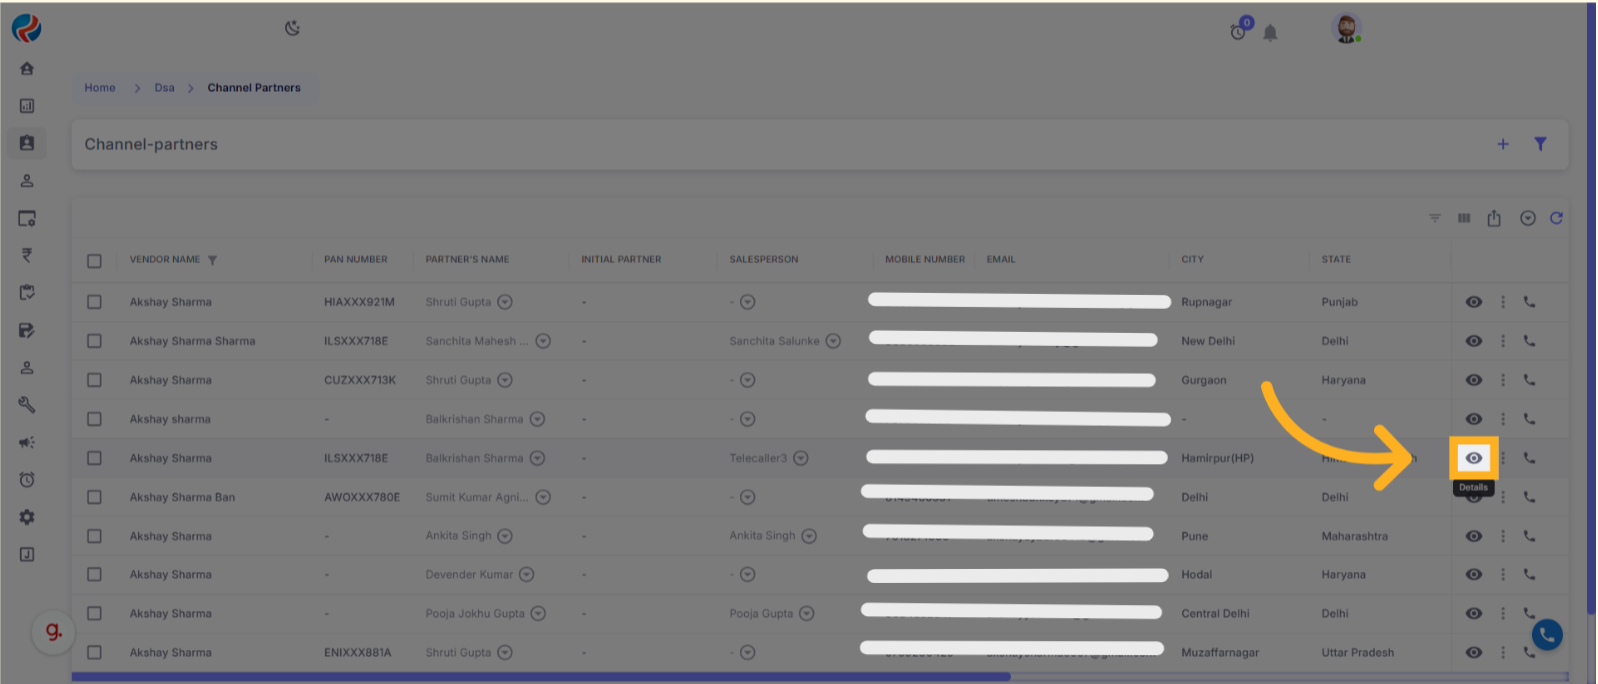
Navigate to the Individual DSA Listing:
- Go to the section where individual DSA entries are listed.
-
Open the DSA Profile:
- Click on the eye icon next to the relevant DSA entry to open the profile.
-
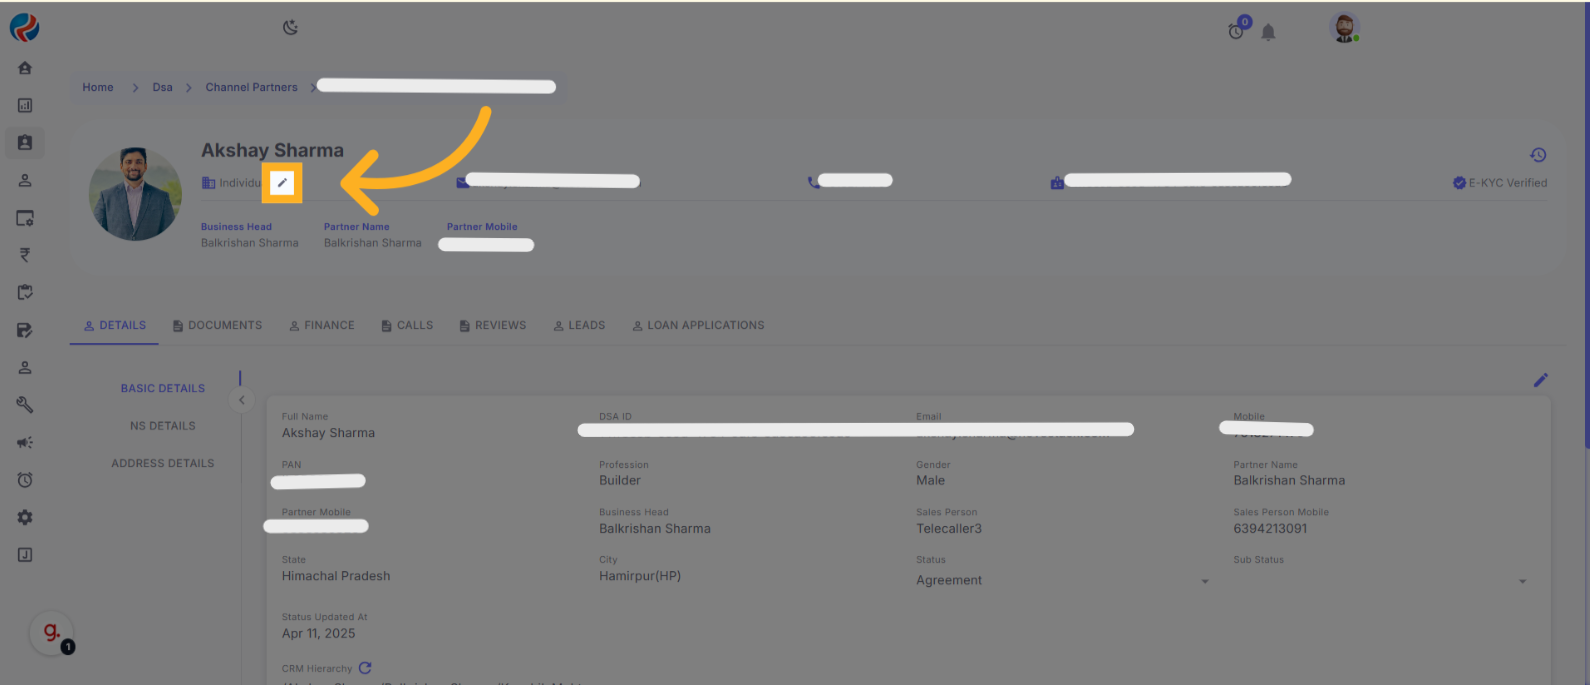
Update User Type to Payee:
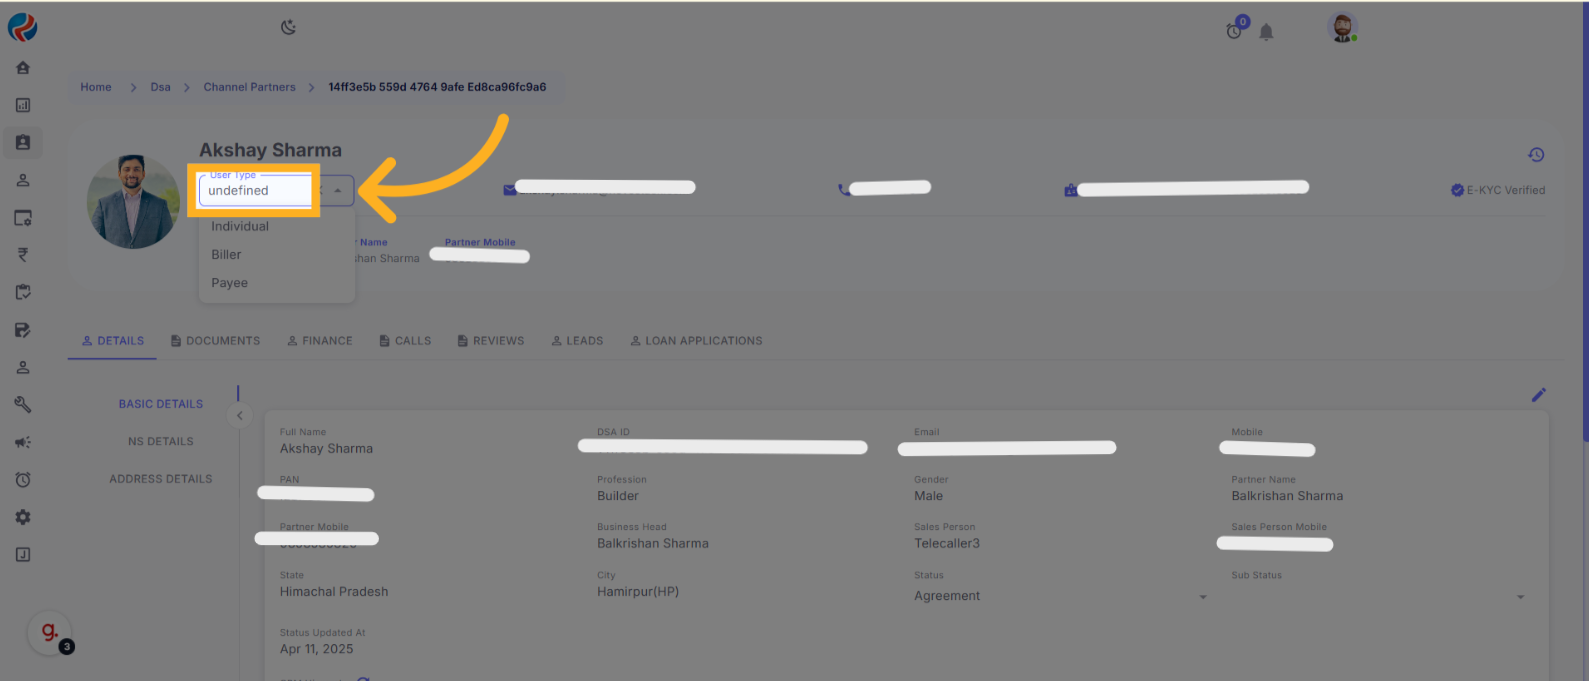
- In the DSA profile, click the pencil/edit icon next to the User Type field.
- From the dropdown, select “Payee”.

-
Verify PAN and Bank Details:
- Ensure that valid PAN and bank account details are saved.
- Note: For “Payee” users, having a valid PAN and bank account is mandatory. Without these, the user cannot be pushed to the NS system.
-
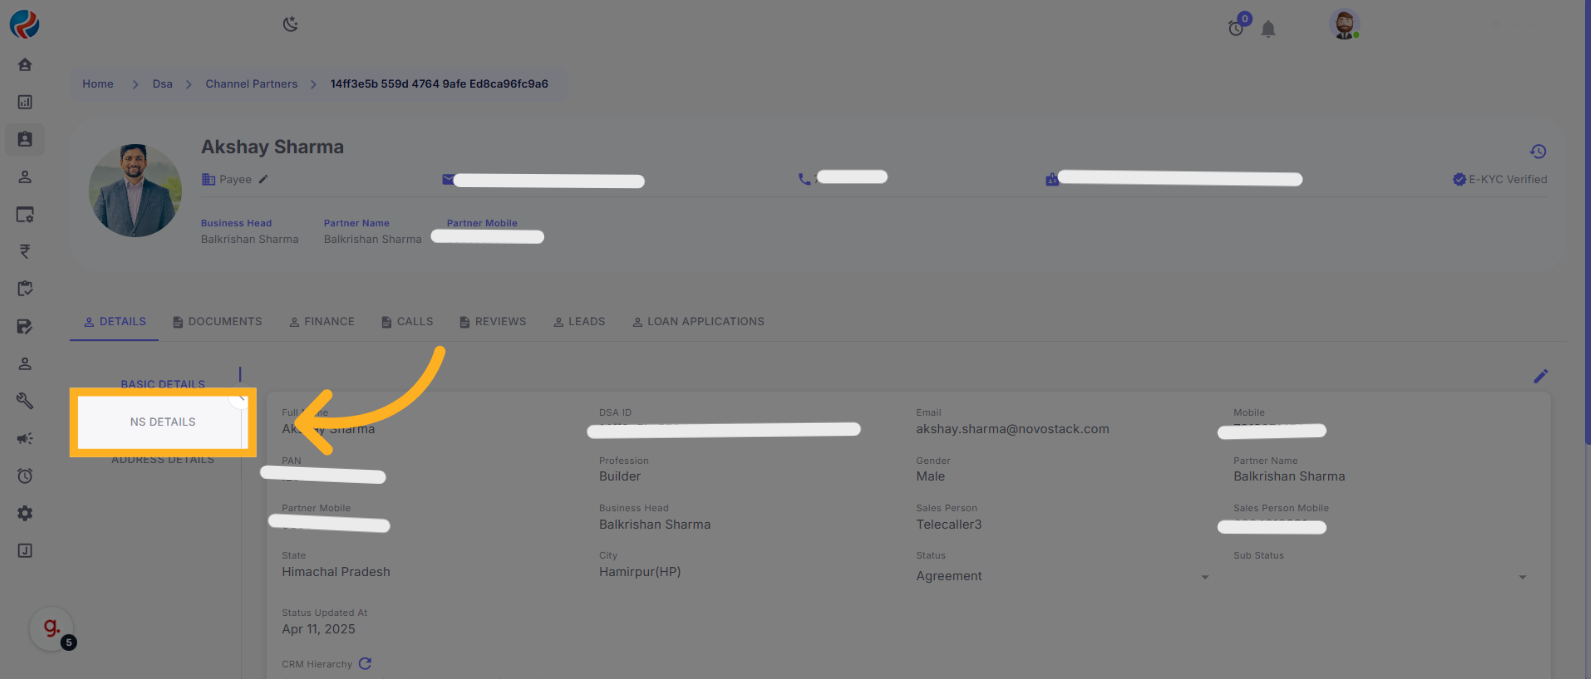
Enter NS Details:
- Scroll down to the Details section.
- Locate and click on the “NS Details” option.
-
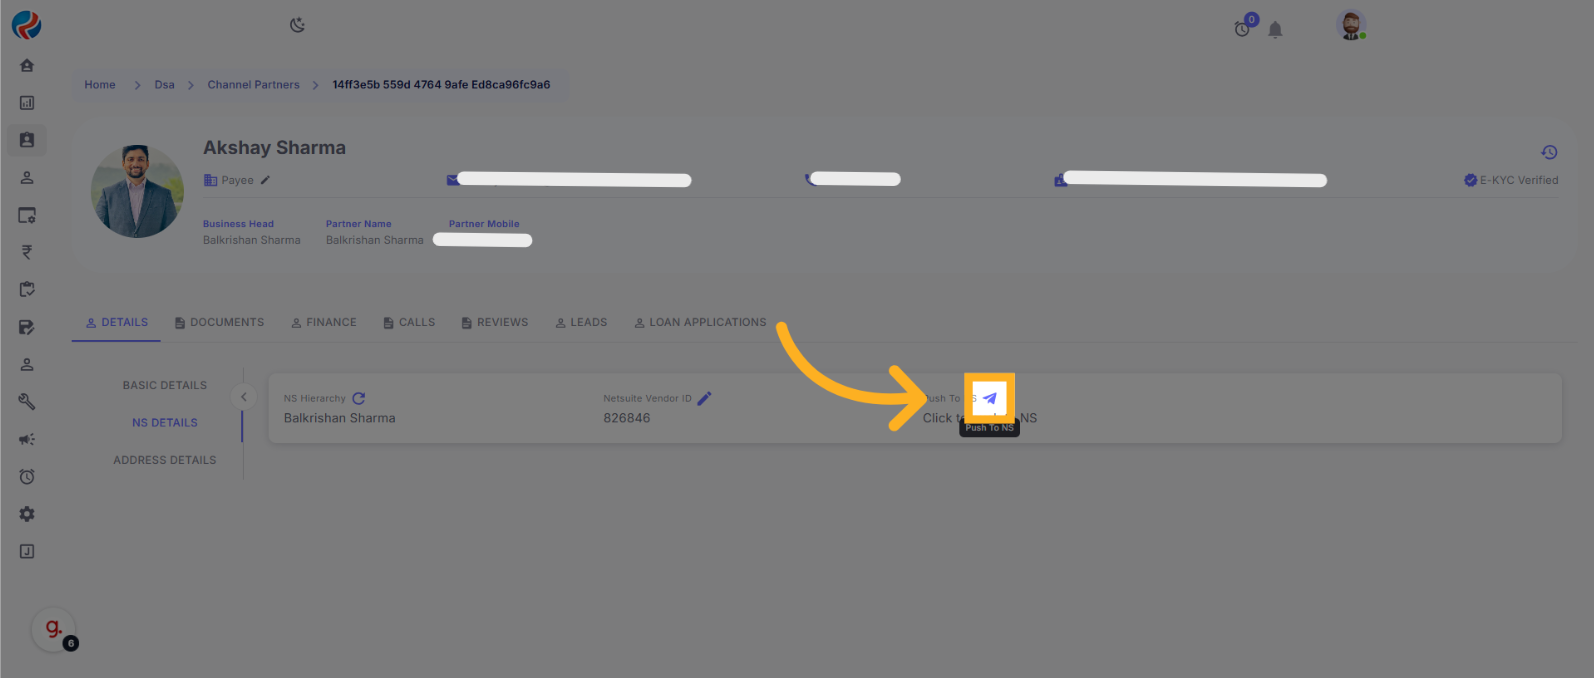
Push to NS:
- Once the NS details are filled and verified, click the “Push to NS” button.
- Upon successful push, a confirmation message will appear indicating the entry has been pushed to NS.
Important Notes:
- Ensure all required fields are filled accurately.
- The PAN must be in a valid format and match government records.
- The bank account should be active and verifiable.
Prepared By: Aparmita Srivastav