- Log in to your CRM account.
2. Navigate to Marketing
- Click on the left hamburger menu.
-
Select the Marketing option.

3. Access WhatsApp Templates
- Click on WhatsApp under the Marketing section.
- You will see the Pre-Created WhatsApp Templates page.
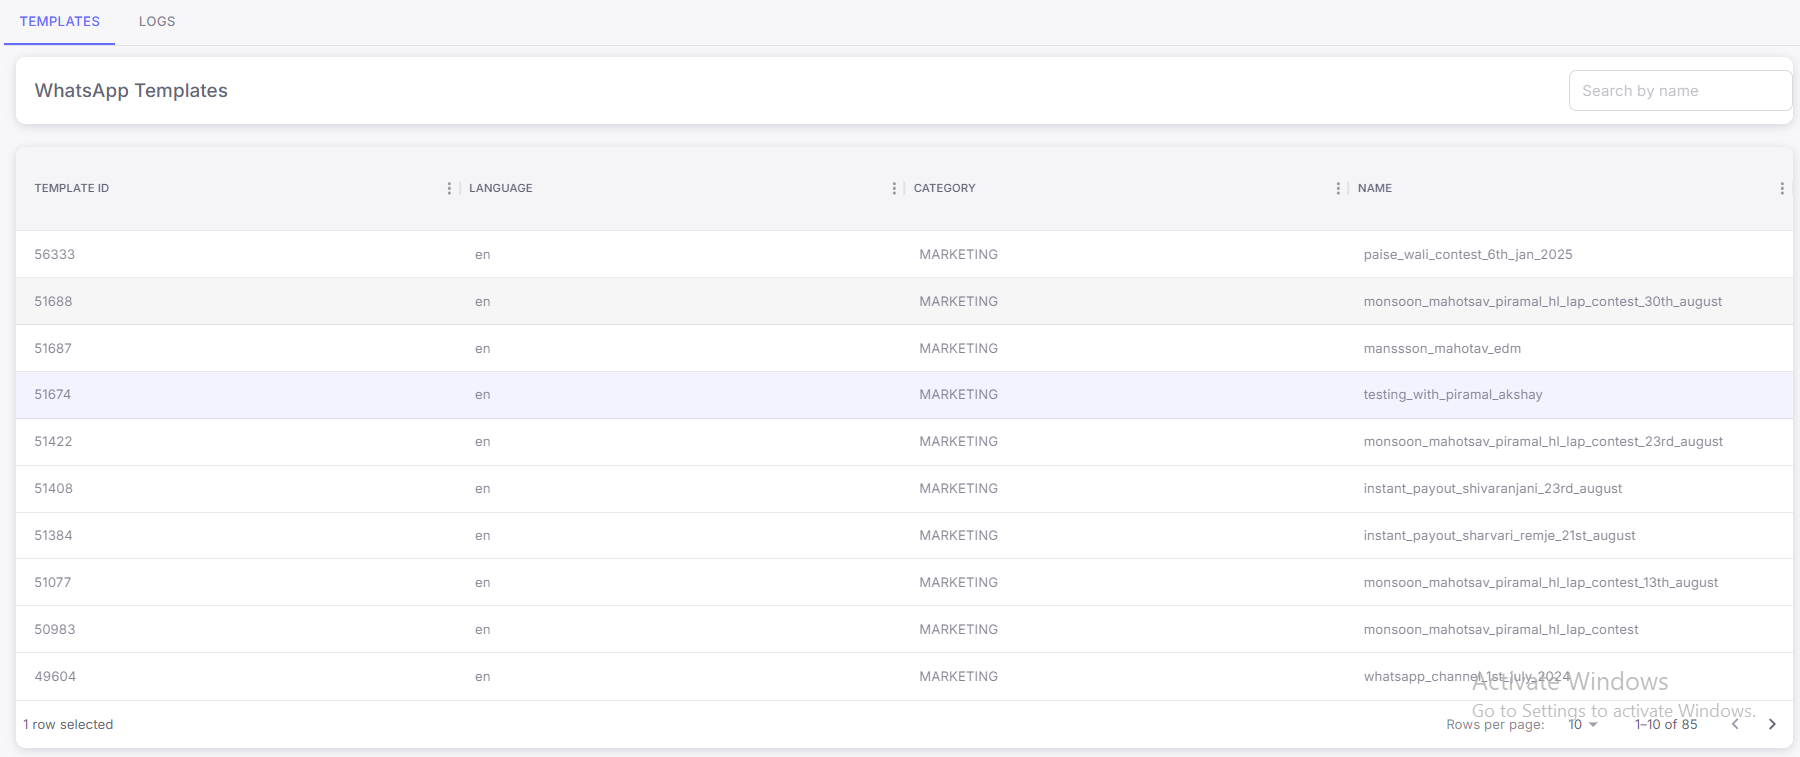
4. Select the Message Template
- Choose the template you want to send.
- A Preview Message will appear, showing how the message will look on WhatsApp.
5. Review the Message Template
- Carefully review the message content.
-
Click on the Green Send Icon to proceed.

6. Edit Template Details
- You will be redirected to the Template Details Edit Page.
- Fill in the required fields as needed. Change the options to static or dynamic accordingly.
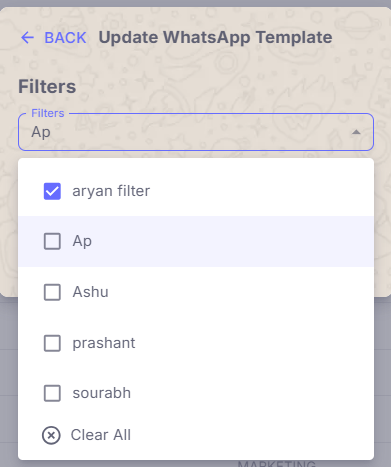
7. Apply Filters
- Click on Apply Filters.
- Apply the required filters to choose the target audience.
- Double-check the number of recipients to avoid errors.
- Tick the Consent Checkbox to comply with data policies.
-
Click on the Green Send button.
8. Confirmation Message
- A confirmation message will appear on the right side of the screen, indicating that the message has been sent successfully.
9. Check Sent and Delivered Logs
- Click on the Logs button to check the sent and delivered email logs.
-
The Logs page will open, displaying two sections:
- Incoming Logs: Shows the logs of received emails.
- Delivered Logs: Displays the logs of successfully sent emails.
 You are all set! Your WhatsApp messages have been sent to the selected recipients .
Prepared By: Aparmita Srivastav
You are all set! Your WhatsApp messages have been sent to the selected recipients .
Prepared By: Aparmita Srivastav