CRM Onboarding – Company Journey
This document outlines the step-by-step process for onboarding a Company using the CRM platform.1. Accessing CRM
- Open the CRM Home Page in your web browser.
2. Navigating to DSA
- From the left-side menu, click on “DSA”.
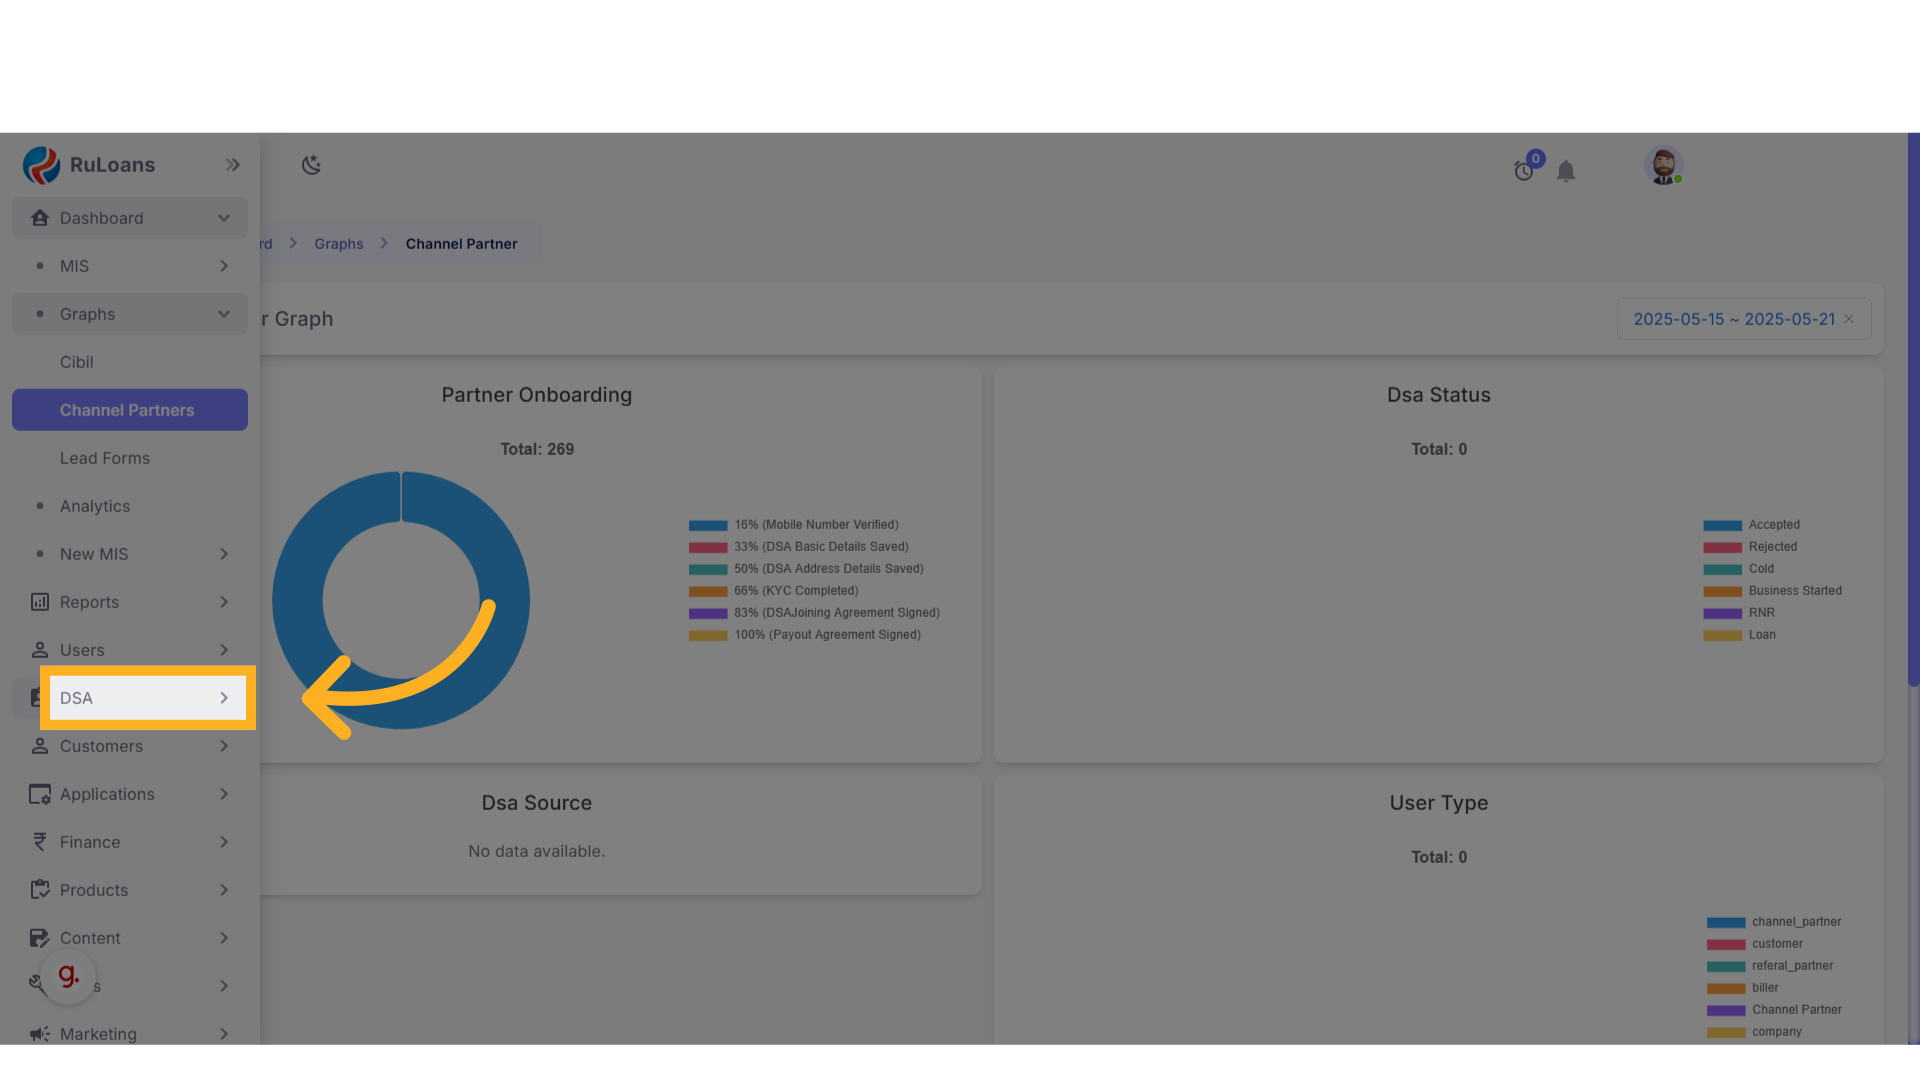
- Under the DSA section, click on “Channel Partners
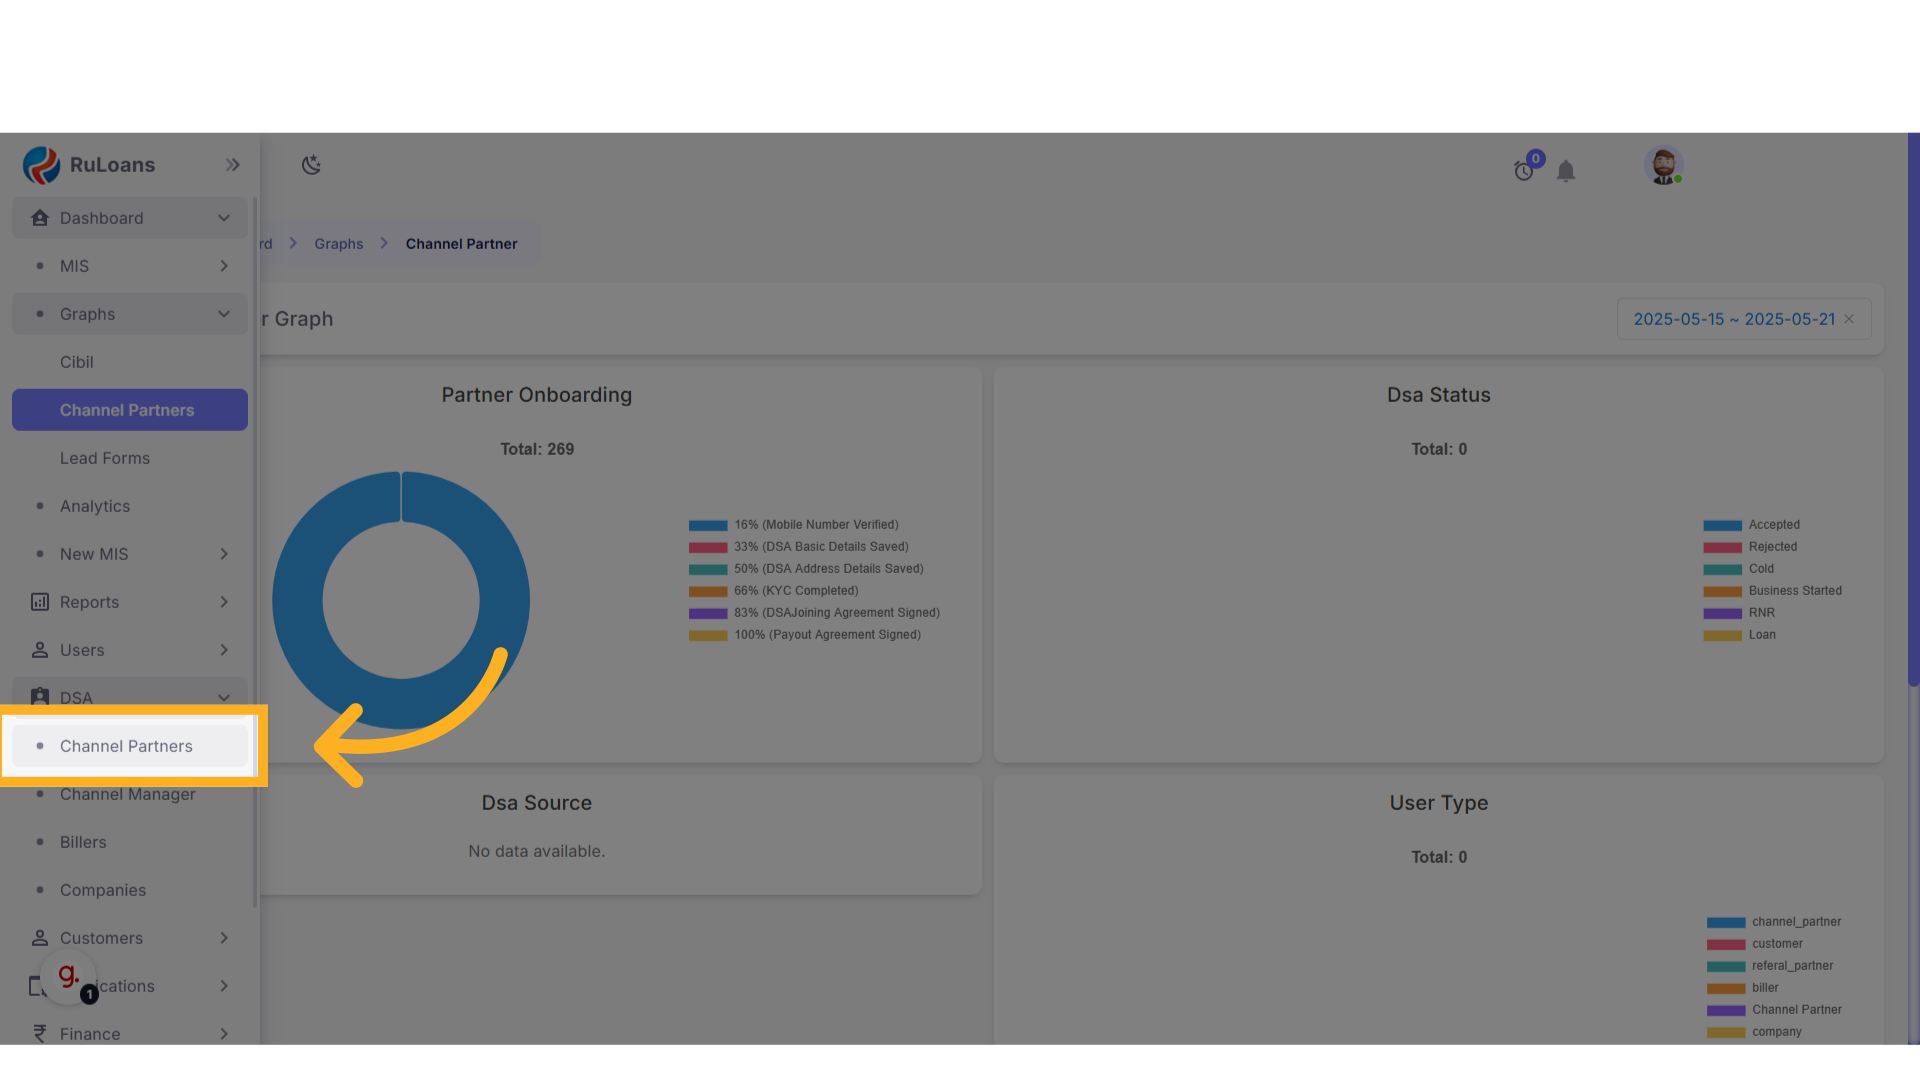
- The Channel Partners page will now open.
3. Adding a New DSA
- Click on the ”+” button located at the top-right corner of the page.

4. Mobile Number Verification
- You will be redirected to the Mobile Verification page.
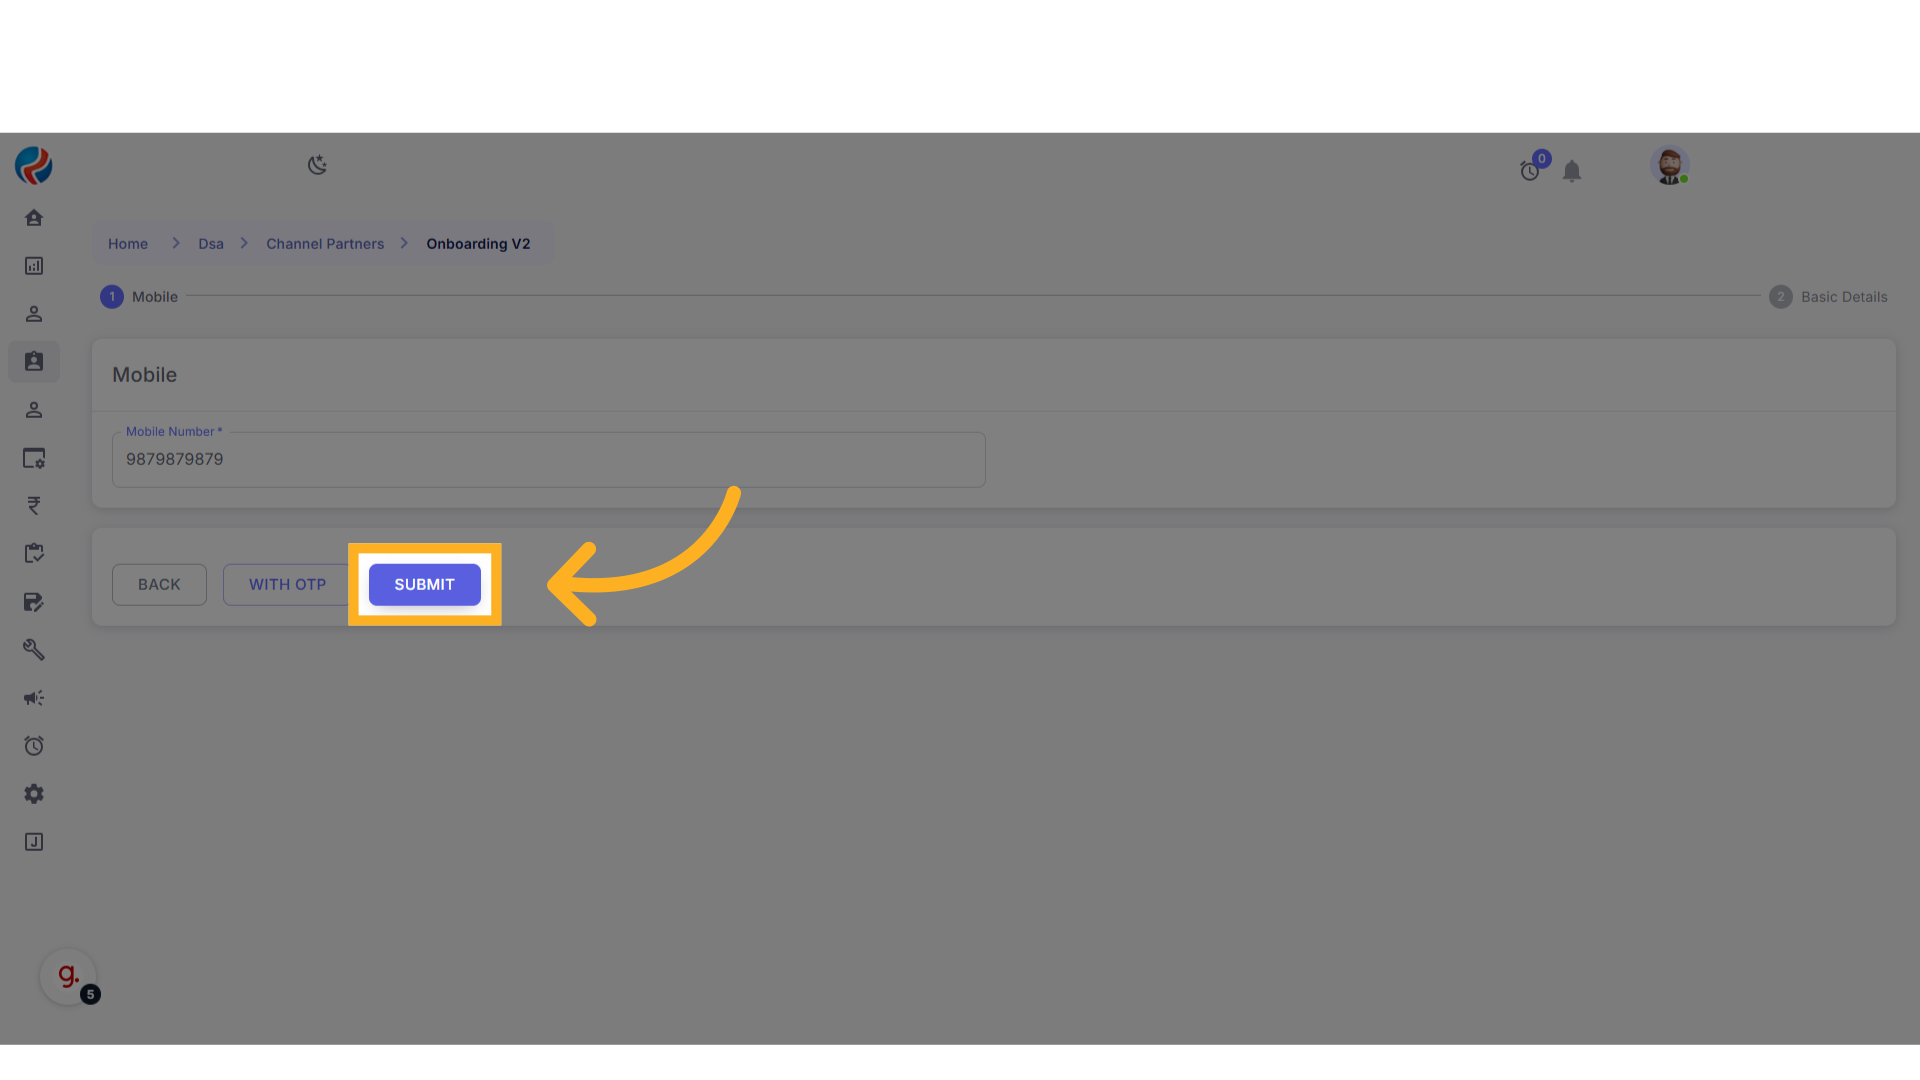
- Enter a valid 10-digit mobile number.
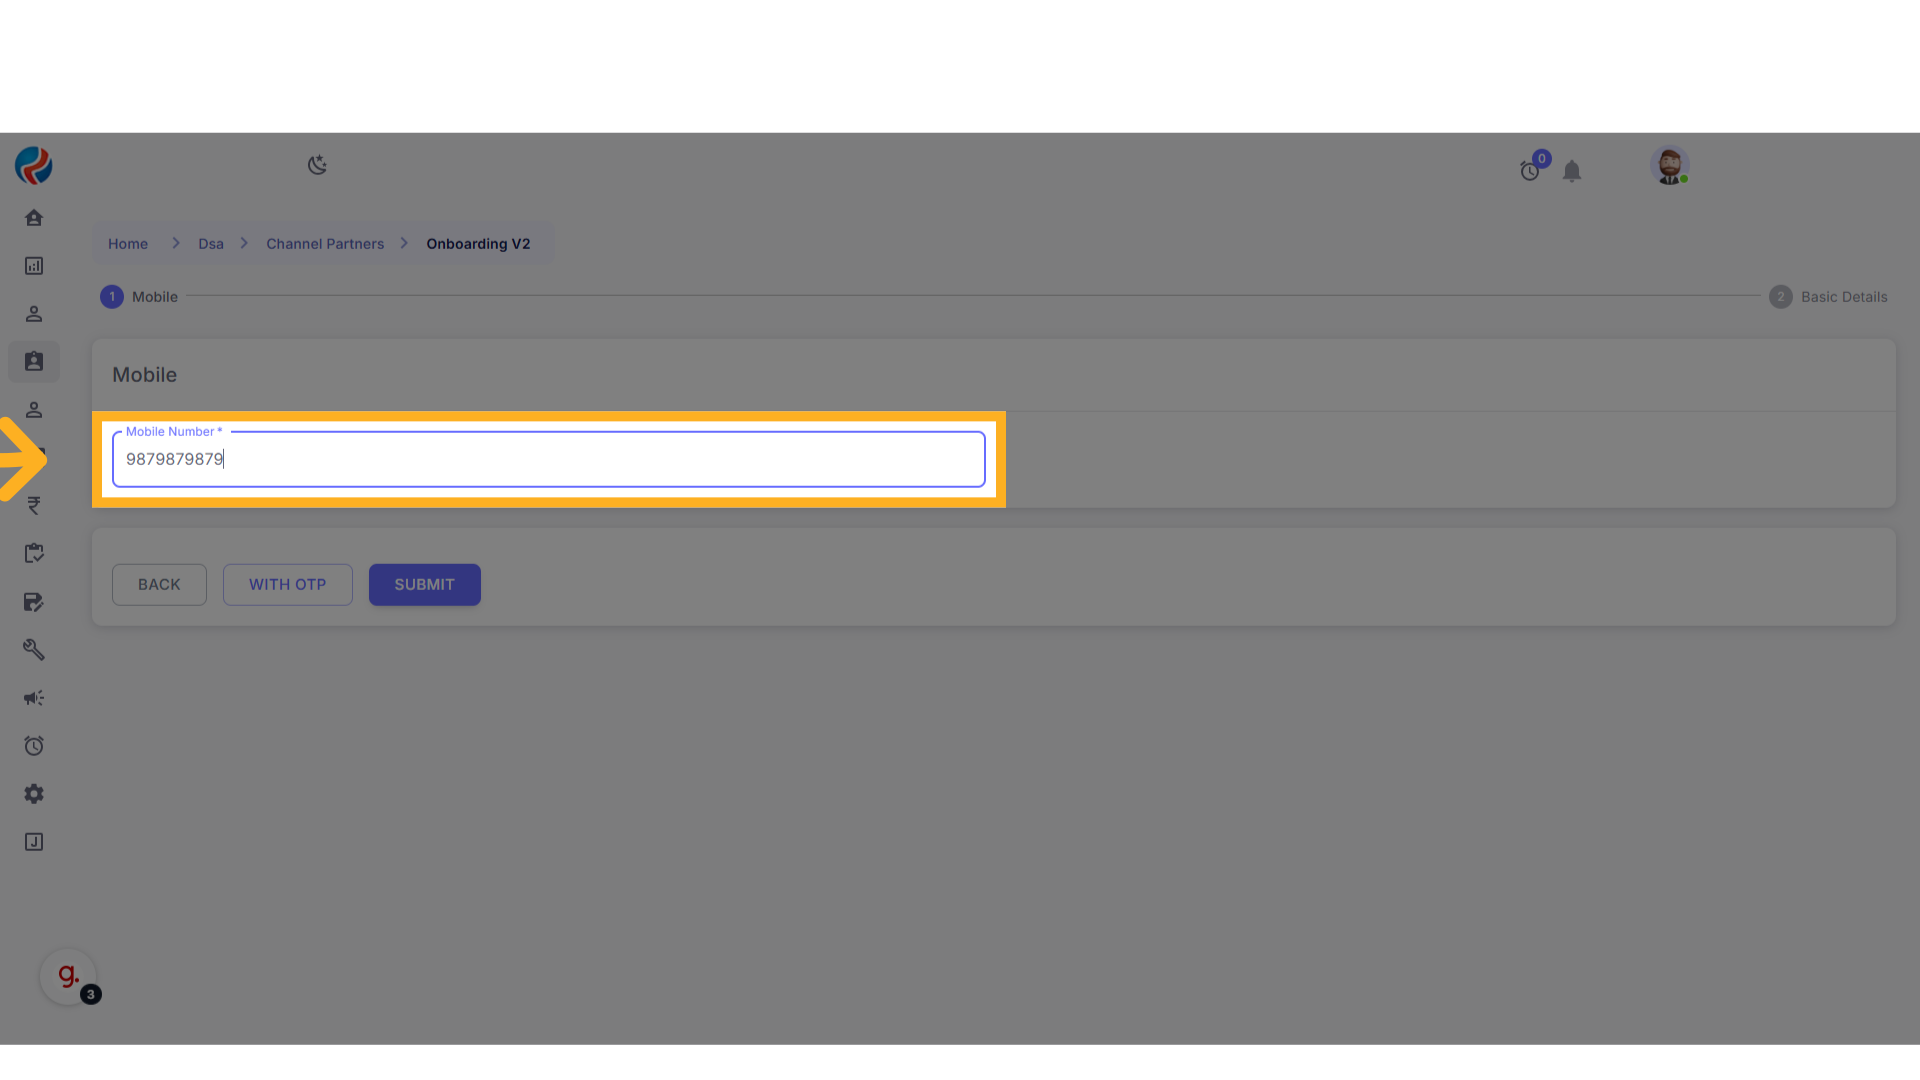
- Click on “Submit”.
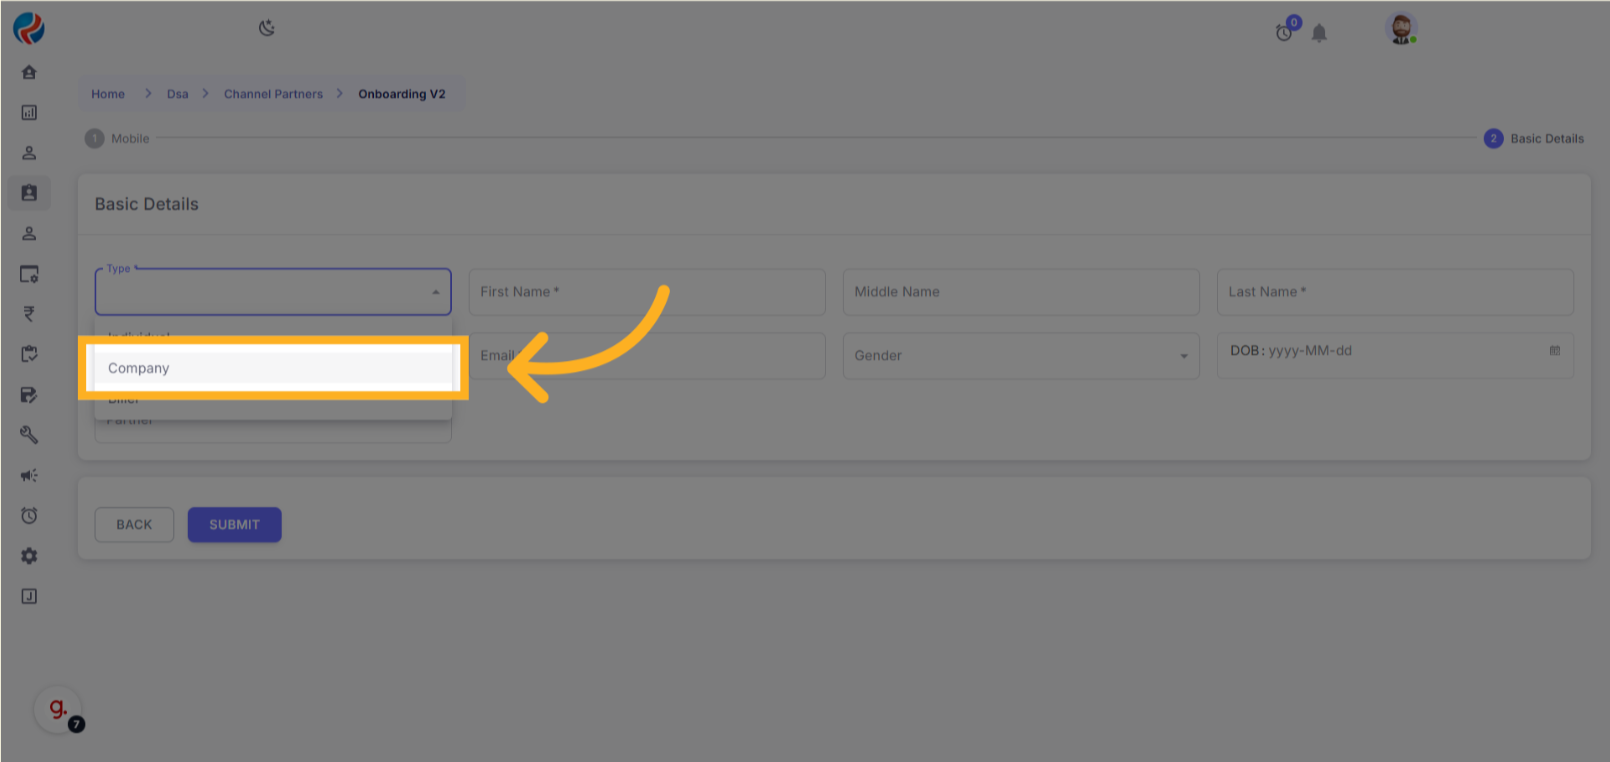
5. Filling Basic Details
- The Basic Details page will open.
- Click on the first dropdown labeled
Type, and select “Company”.
-
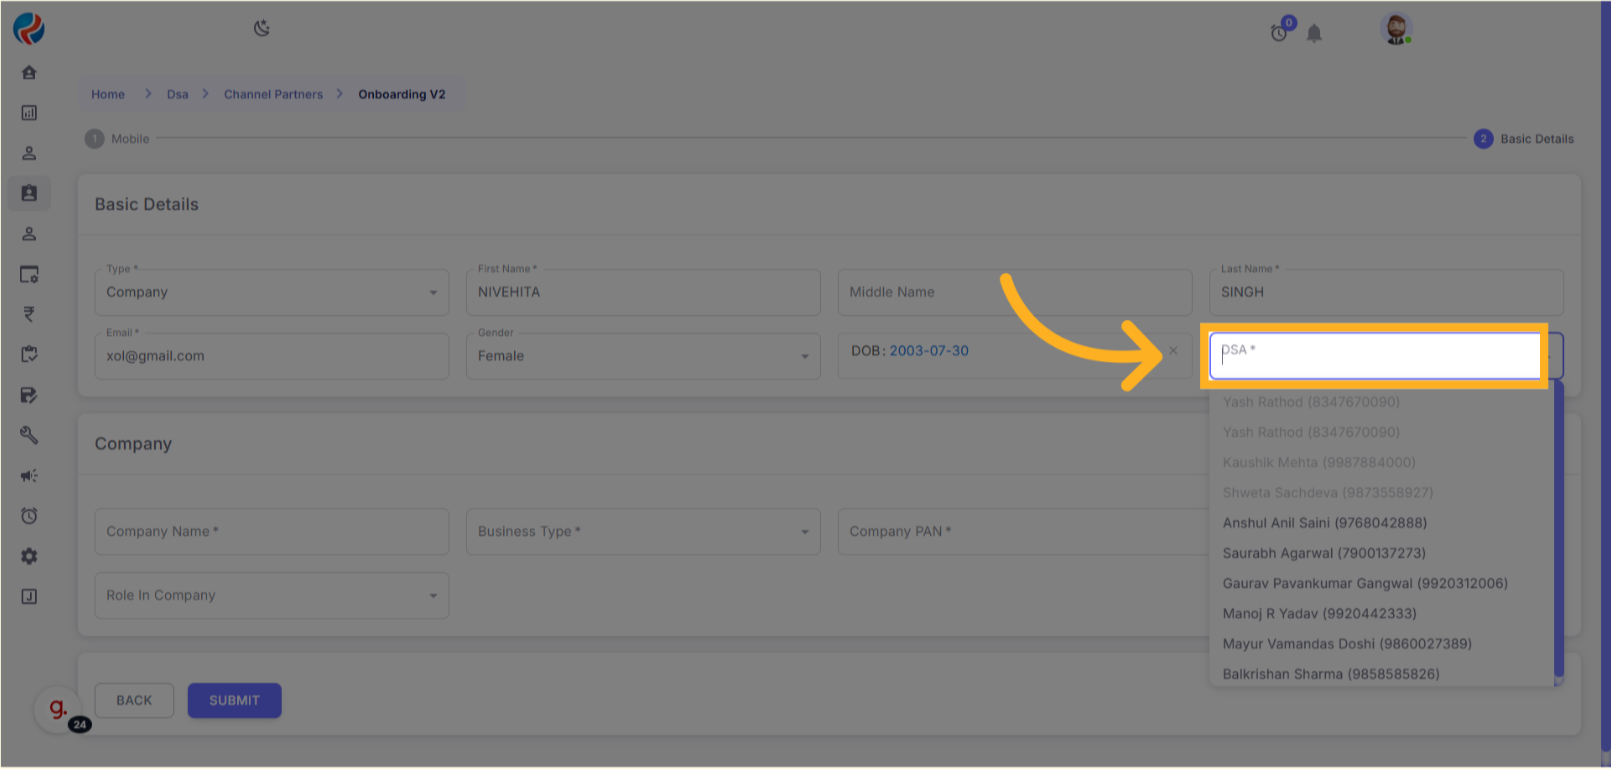
Fill in the following fields:
- First Name
- Middle Name
- Last Name
- Email ID
- Gender
- Date of Birth
- Select the appropriate Partner from the dropdown.
- Enter the Company Name.
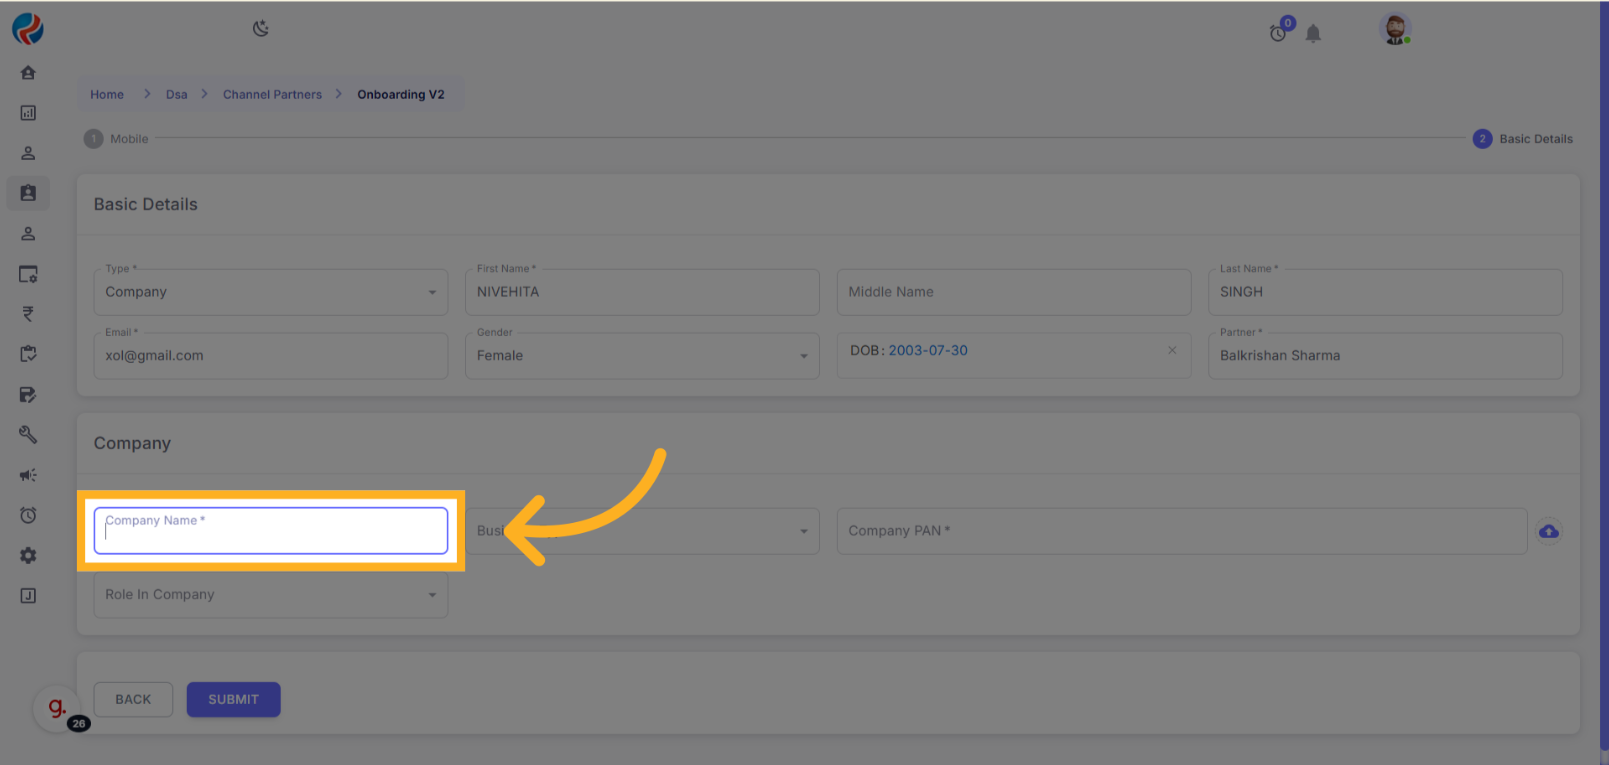
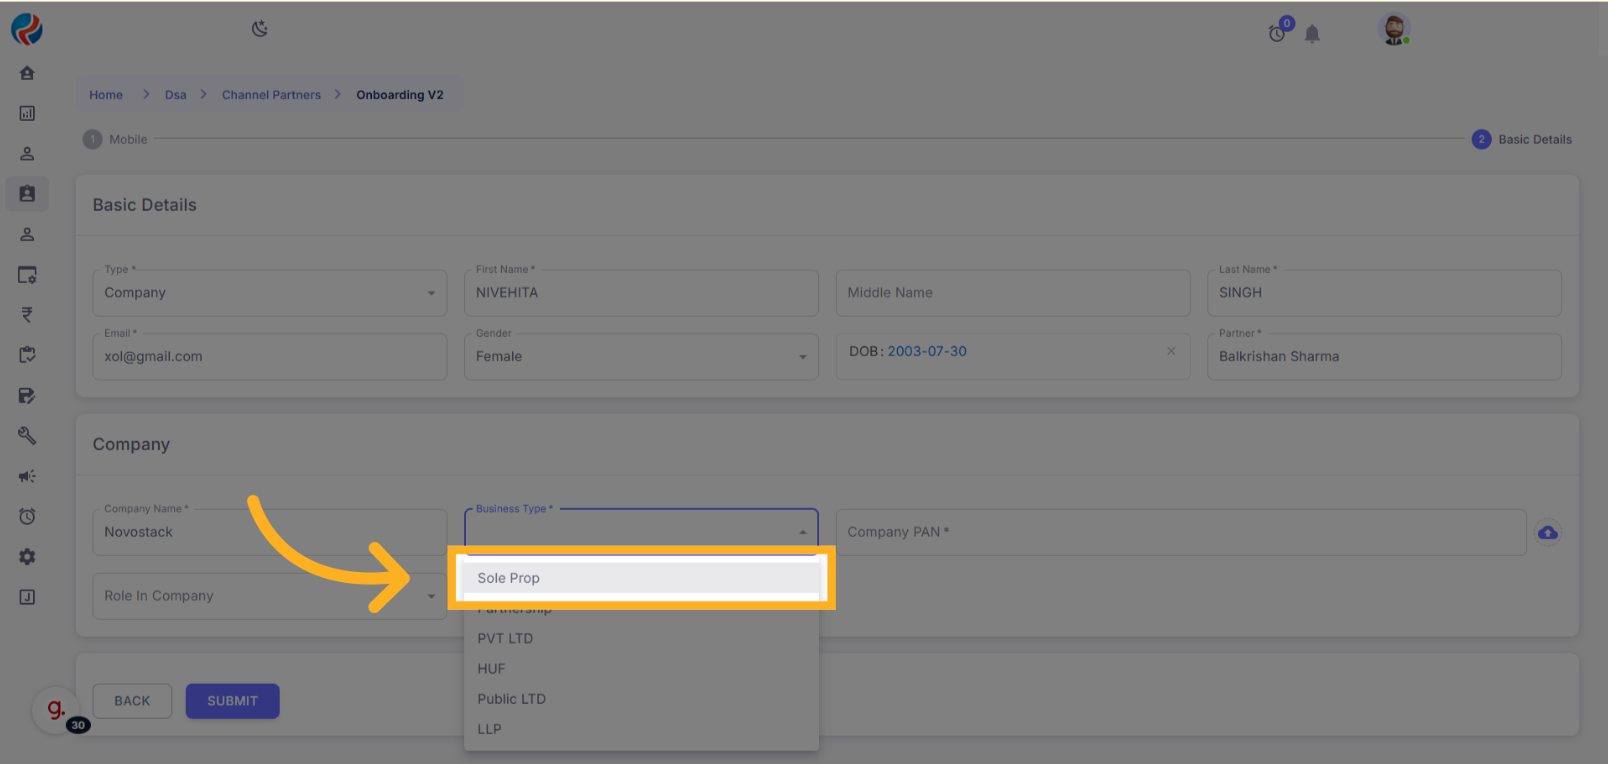
- Select the Business Type from the dropdown.
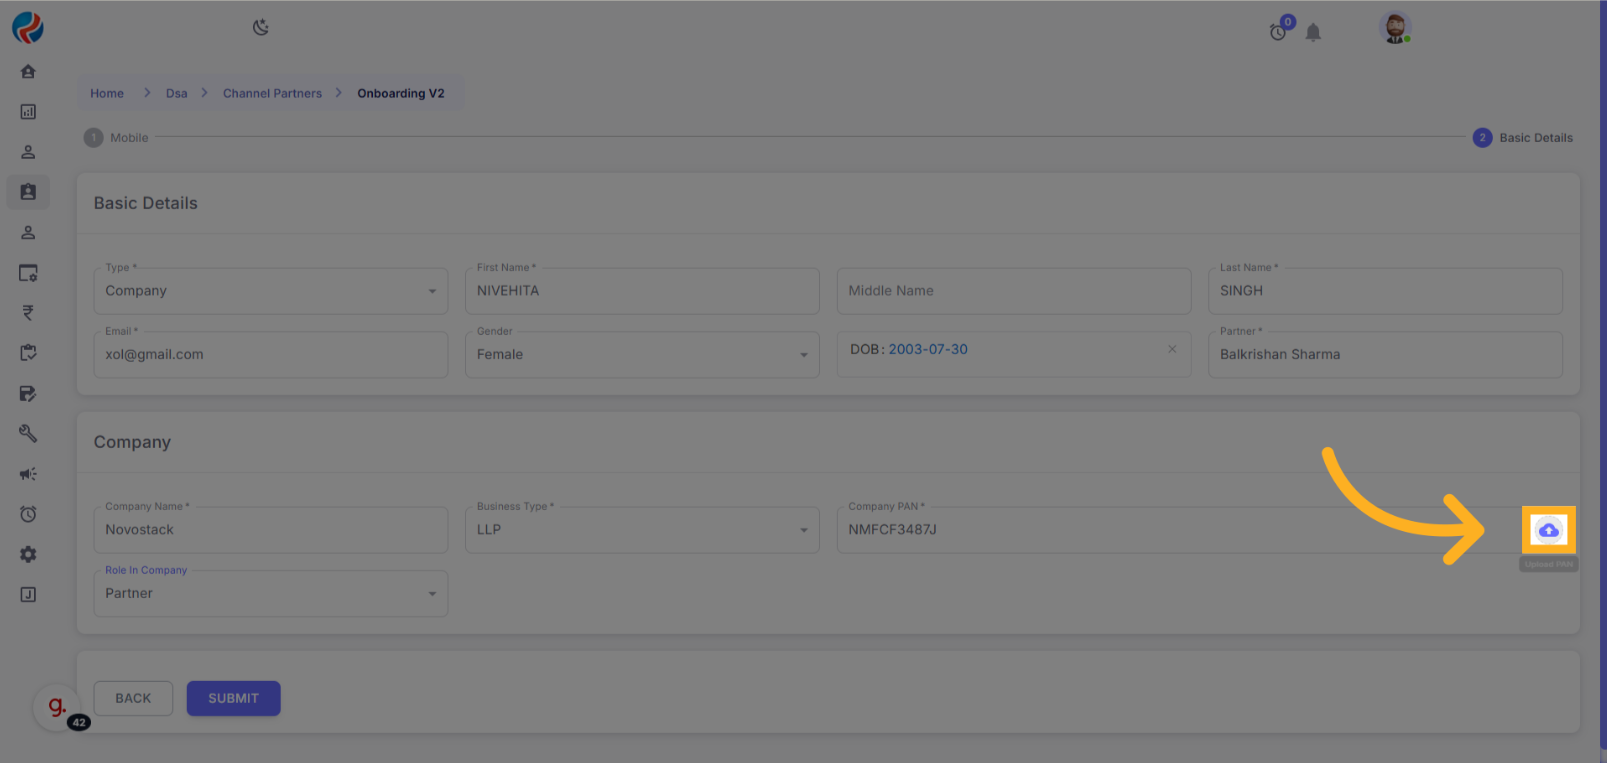
- Enter the Company PAN Number. And Upload the proper Doc accordingly.
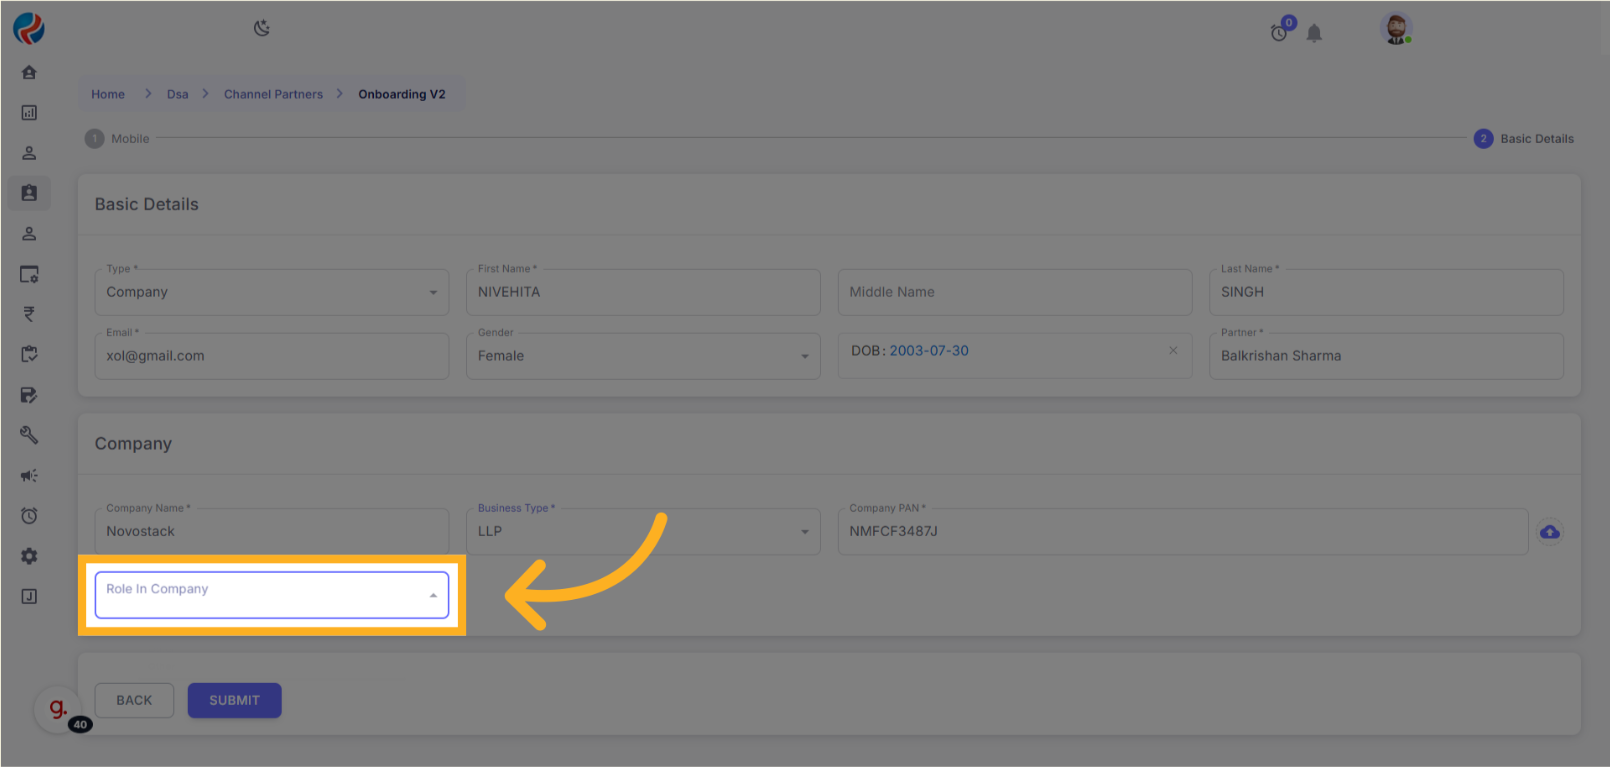
- Click on the “Role in Company” dropdown and make the correct selection.
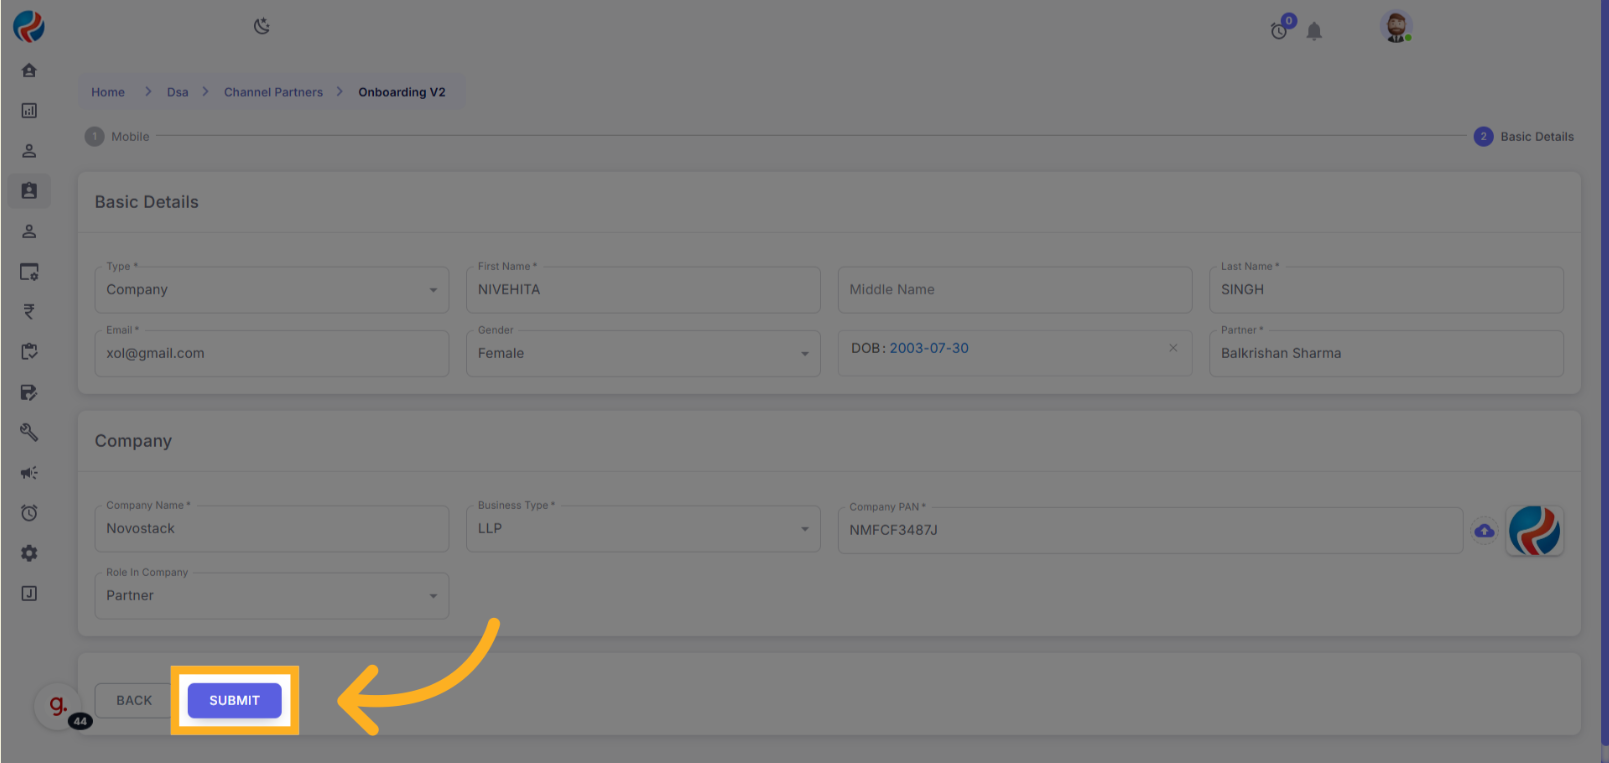
- Click on “Submit”.
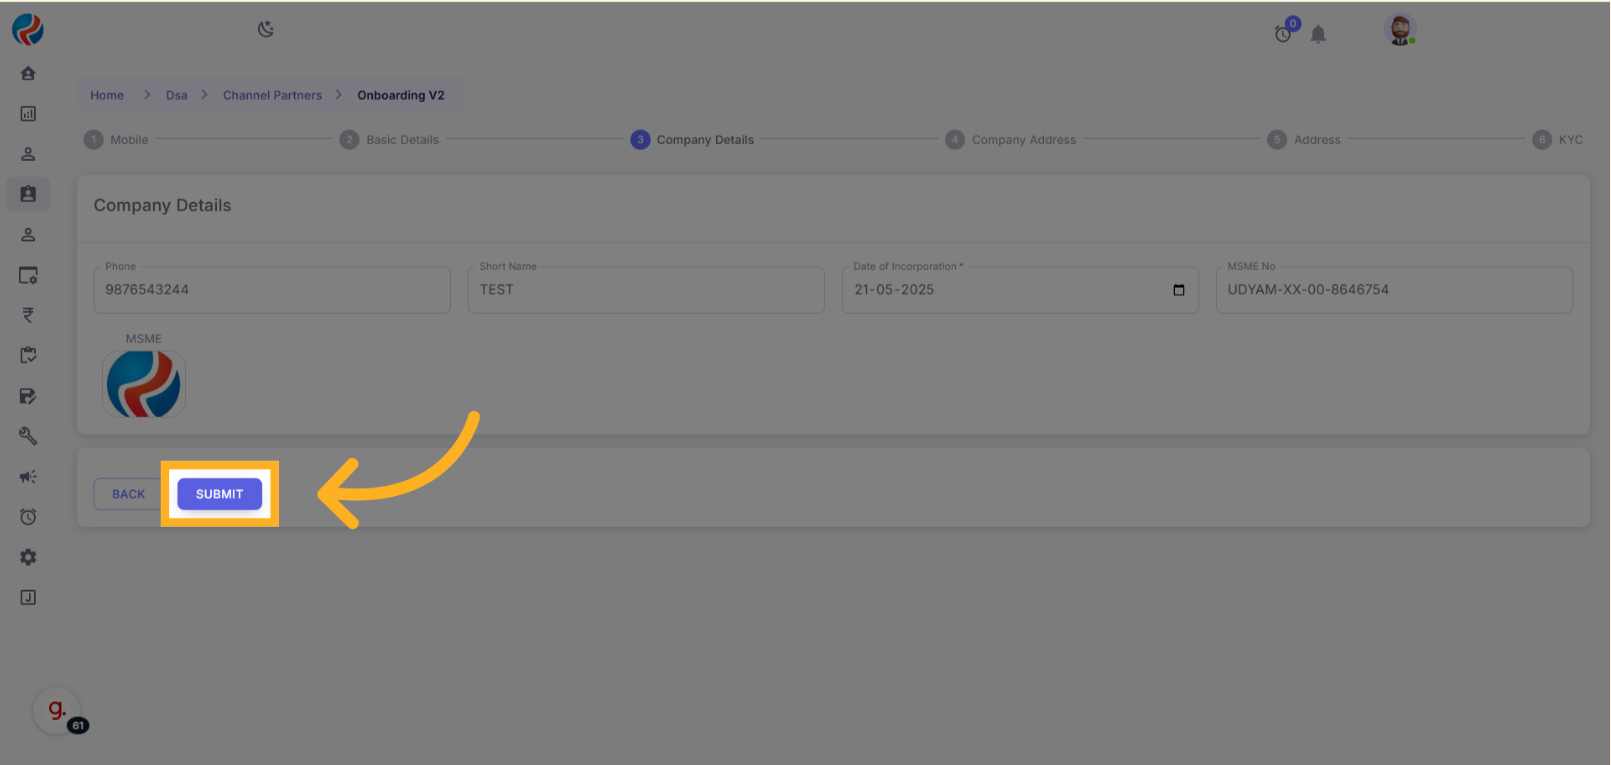
6. Company Details
- You are now redirected to the Company Details page.
-
Fill in the following:
- Phone Number
- Short Name
- Date of Incorporation
- MSME Number (in correct format)
- GST Number (in correct format)
- Upload the required documents.
- Click on “Submit”.
 Additional Documents for different Company types:
COI (Certificate of Incorporation) is mandatory for:
Additional Documents for different Company types:
COI (Certificate of Incorporation) is mandatory for:
- Pvt. Ltd.
- Public Ltd.
- Partnership Deed (mandatory upload)
- Partnership Authority Letter (PAL) (mandatory upload) Private Limited:
- Board Resolution (BR) (mandatory upload)
- List of Directors & Shareholders (manual entry, with a minimum of two persons; mandatory upload)
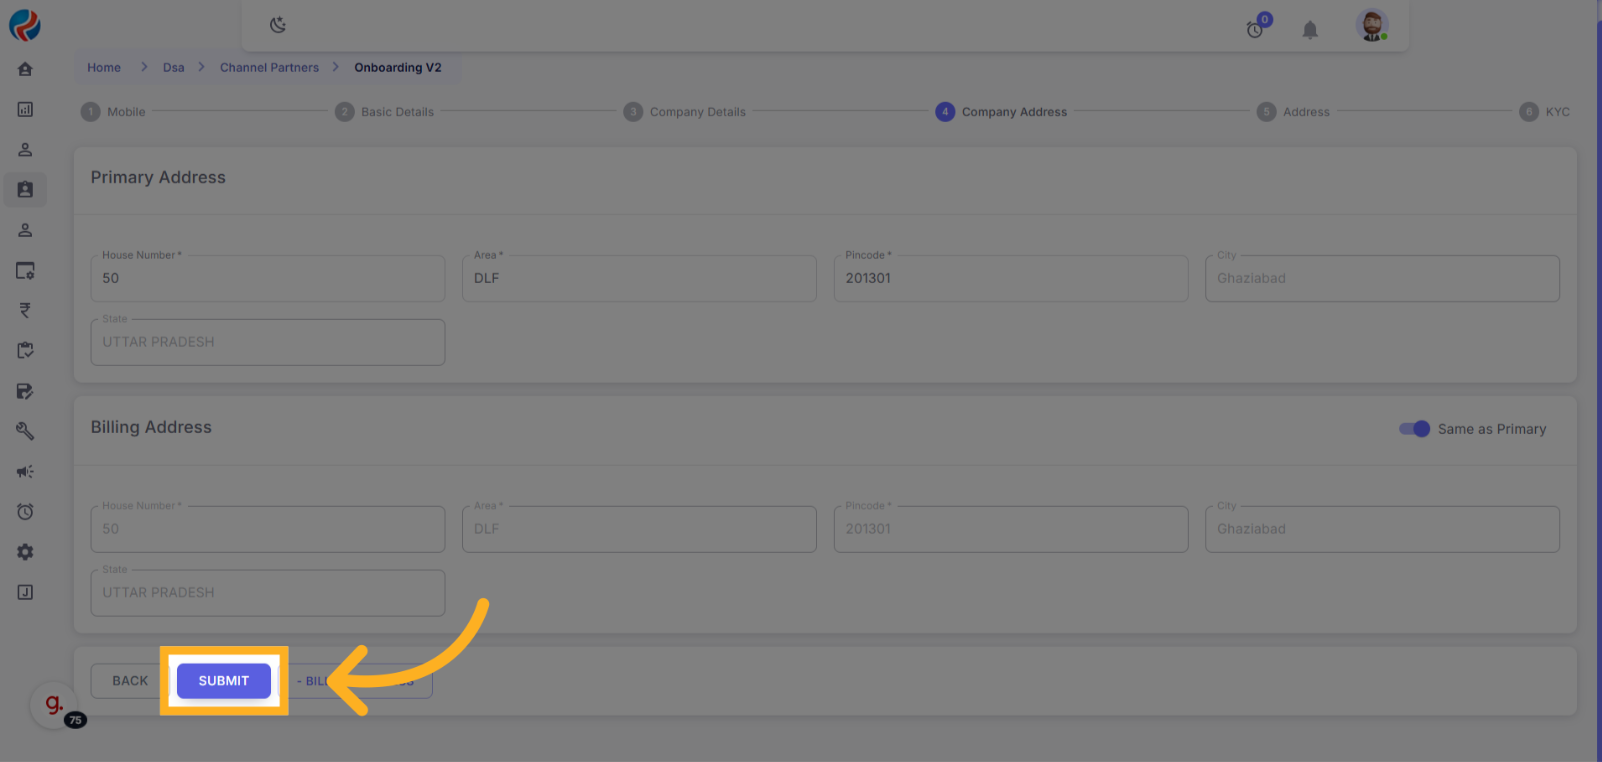
7. Address Section
-
Fill in the following:
- House Number
- Area
- Pincode
- Note: State and City will be fetched automatically.
- Click on “Submit”.
➕ Add Billing Address (If Required):
- Click on “+Billing Address”.

- If billing address is the same as primary, enable the “Same as Primary” toggle.
- If not, fill in the billing address manually.
- Click on “Submit”.
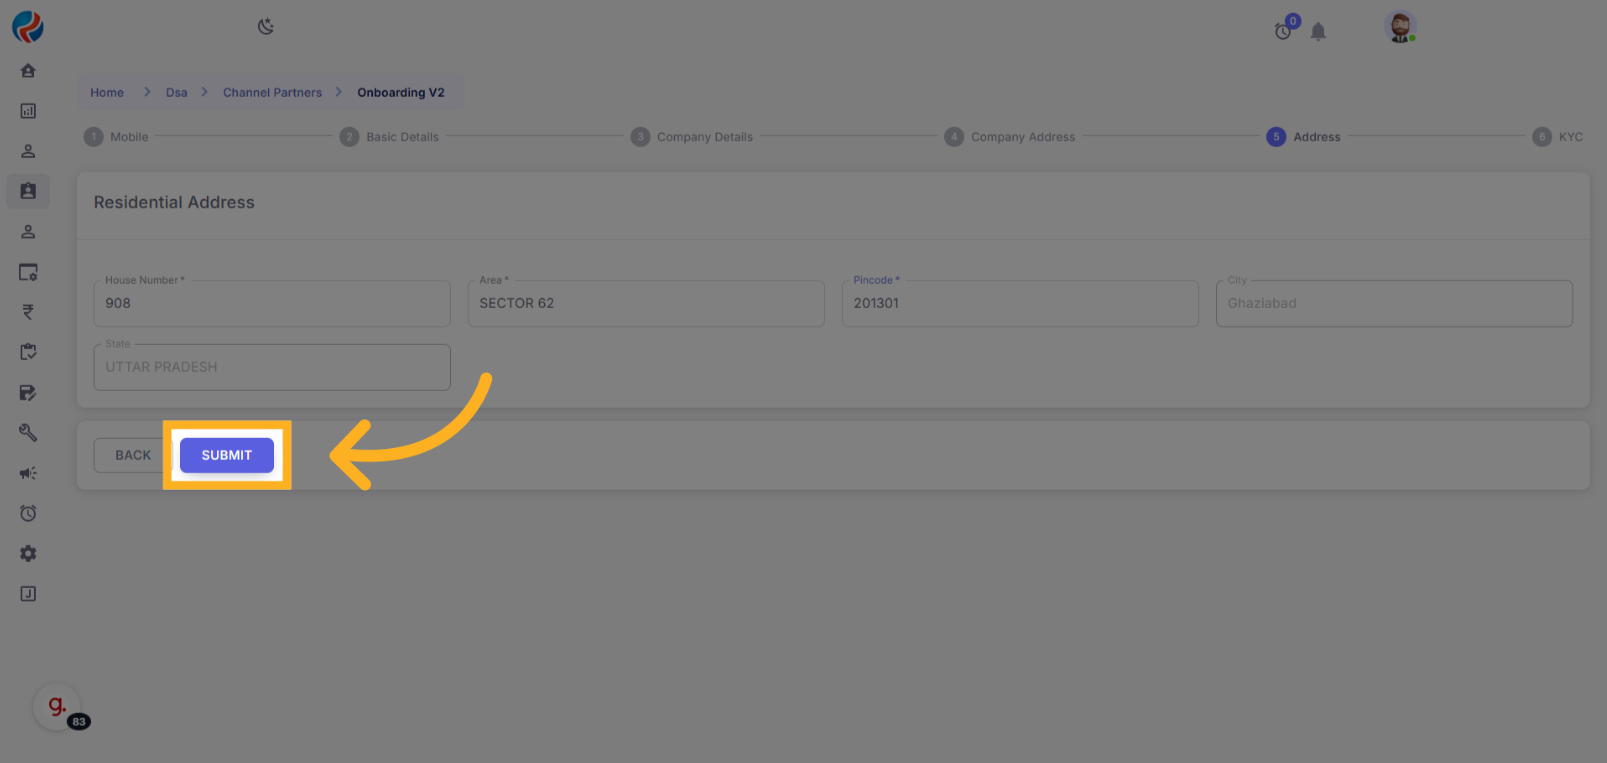
🏠 Add Residential Address:
- Enter the House Number, Area, Pincode.
- Click on “Submit”.
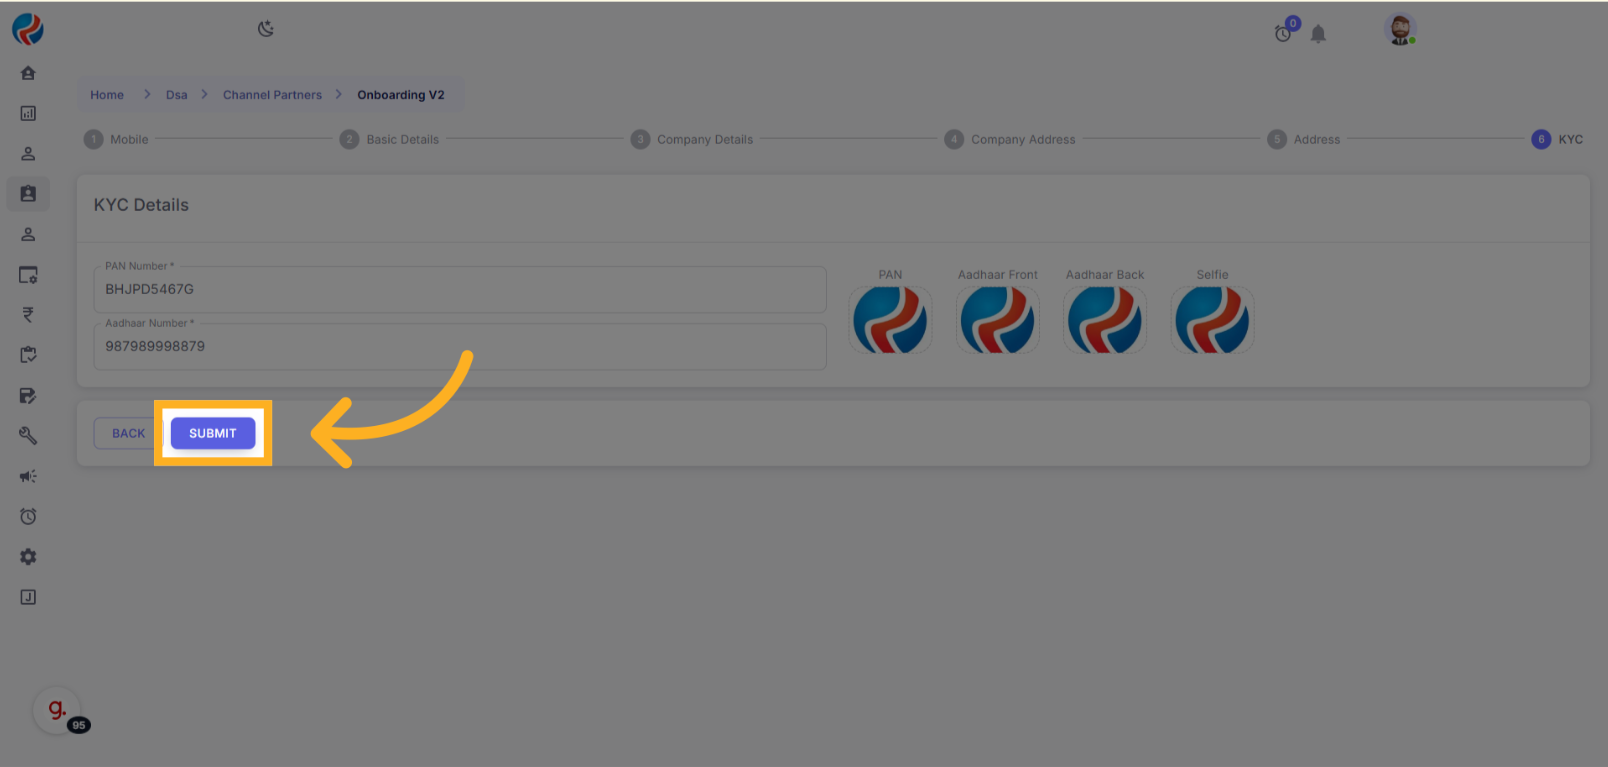
8. KYC Details
-
Enter valid:
- PAN Number
- Aadhaar Number
-
Upload the following documents:
- PAN Card
- Aadhaar Front
- Aadhaar Back
- Selfie Photograph
- Click on “Submit”.
Completion
- The Company Onboarding process is now complete.
- The entry is saved under the Channel Partner.
Verifying the Entry:
-
From the side menu, navigate to:
- DSA > Channel Partners
- You will find your entry listed on this page.
-
If you cannot locate it immediately, use the Search feature:
- Search by Mobile Number, Name, or any other onboarding detail.
Prepared By: Aparmita Srivastav