1. Log in to the CRM
- Open the CRM system in your browser.
- Enter your username and password.
- Click on the Login button to access the dashboard.
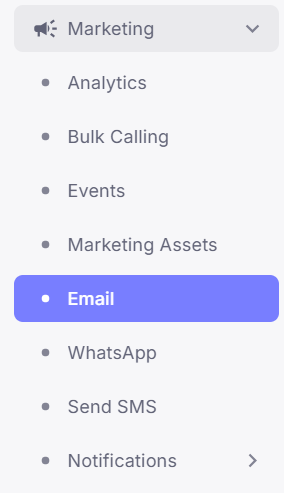
2. Navigate to the Email Section
- On the left sidebar, click on the Hamburger Menu.
- Select Marketing from the list of options.
- Click on Email to open the Email Management page.
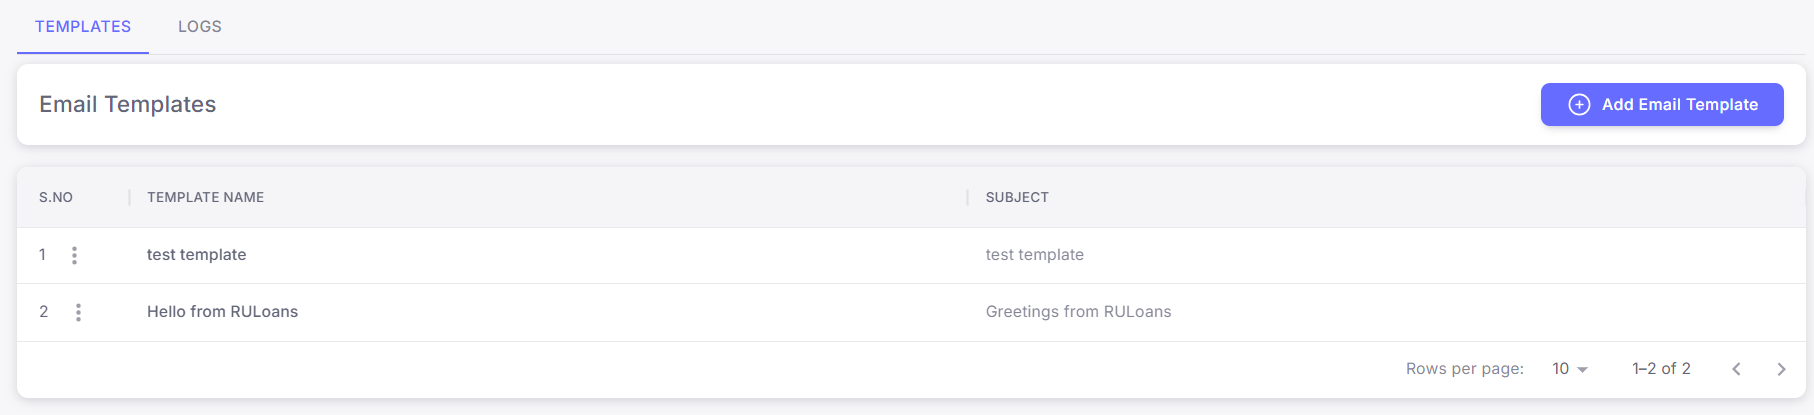
3. Understanding the Email Management Page
-
The Email page consists of two main sections:
- Templates: Displays all pre-created email templates.
- Logs: Shows the history of sent emails.
- There is also an Add Email Template button to create a new template.
4. Create a New Email Template
-
Click on the Add Email Template button.
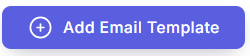
-
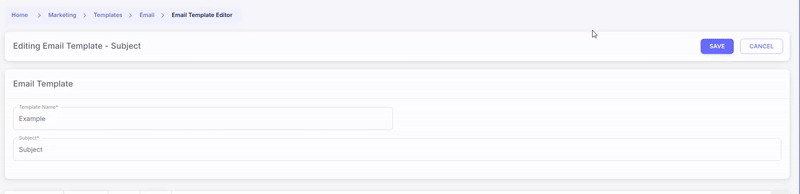
The Template Editor page will open.

4.1 Fill in the Template Details
- Template Name: Enter a descriptive name for the template.
- Subject: Type the subject line of the email.
- Message: Customize the message content according to your needs.
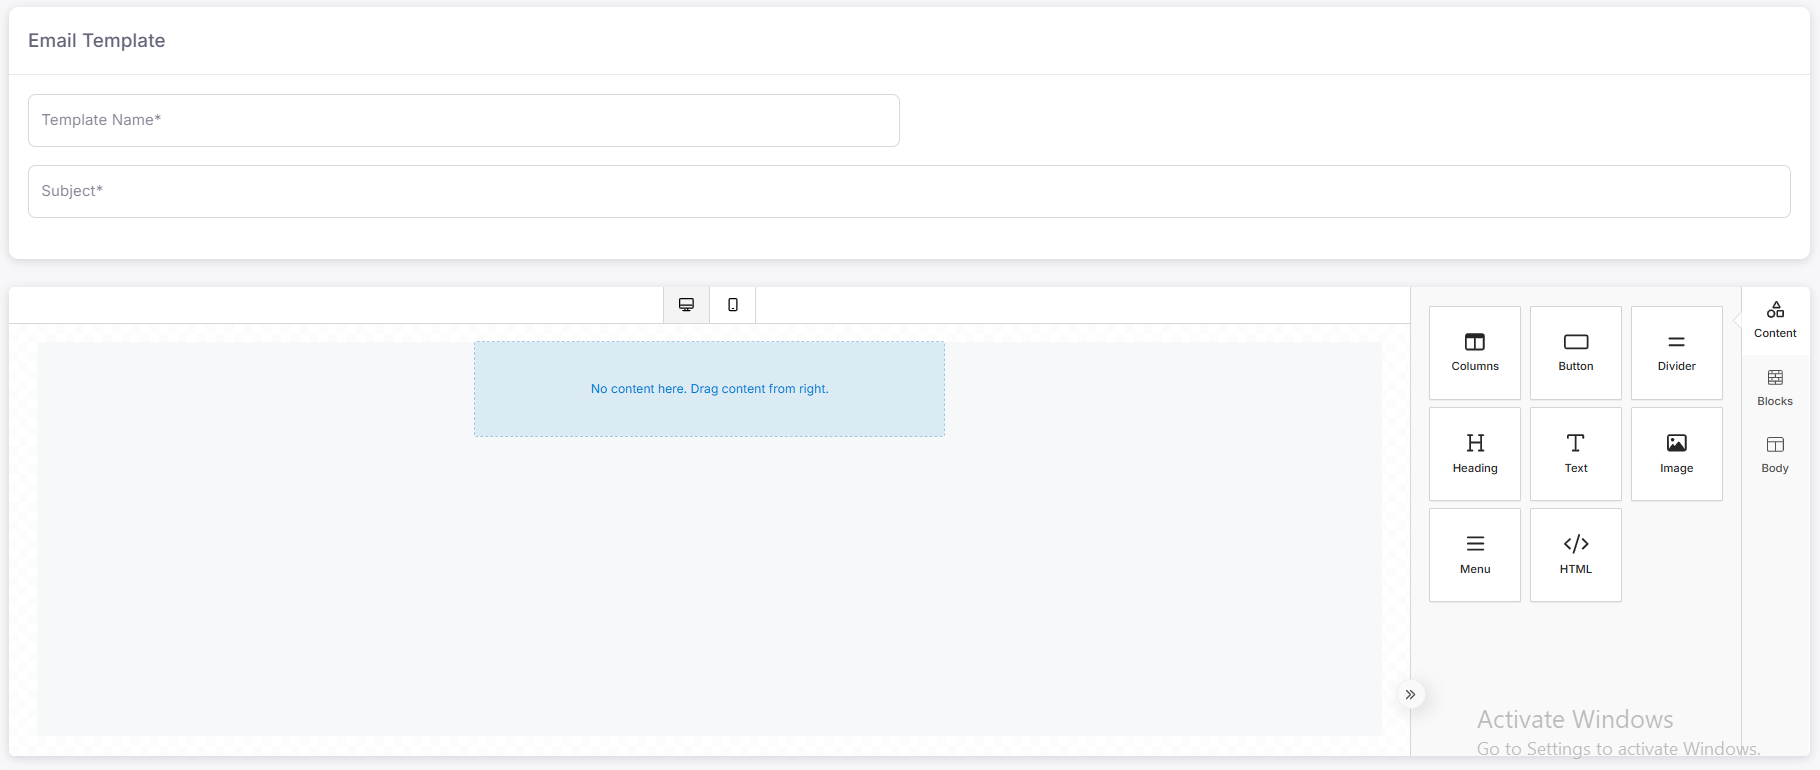
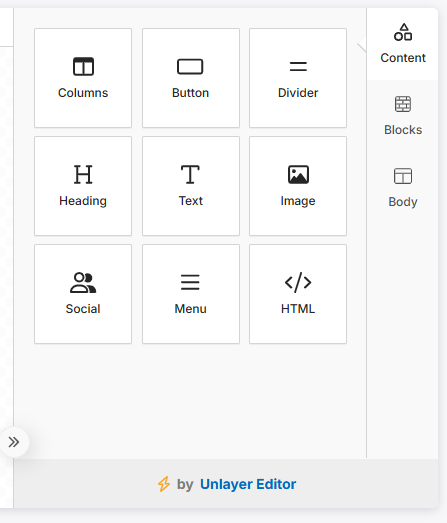
4.2 Use Pre-Created Elements (Optional)
-
On the right panel, you will find three sections:
- Content: Allows adding text, images, or links.
- Blocks: Drag and drop design elements like buttons or dividers.
- Body Templates: Utilize pre-made templates for quick setup.
5. Save the Email Template
- Once the template is fully designed, click on the Save button.
- Your template will be saved and ready to use.
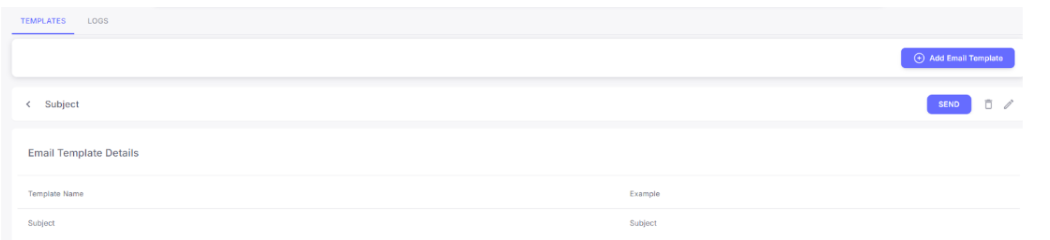
6. Manage Saved Templates
- Return to the main Email Template page.
- You will see the newly created template in the list.
6.1 Template Actions
-
Next to each template, click on the Three Dots (⋮) to access more options:

- Edit: Modify the template content.
- Delete: Remove the template.
- Details: View detailed information about the template.
- Send: Send an email using the template, This functionality is under Details.
7. Send an Email Using a Template
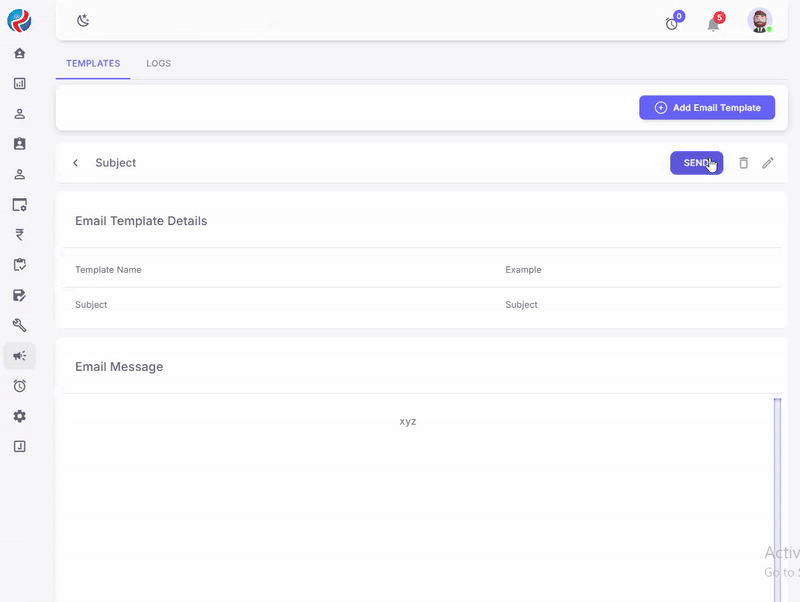
- Click on Details next to the desired template.
- Review the template content.
- If necessary, click the Edit icon to make changes.
- Otherwise, click the Send button to proceed.
7.1 Select Recipients and Send
- Apply the required filters to choose the target audience.
- Double-check the number of recipients to avoid errors.
- Tick the Consent Checkbox to comply with data policies.
- Click on the Send Email button.
8. Confirmation
- After sending, a success message will appear confirming that the emails have been sent.
- You can check the Logs section for a detailed status of sent emails.
9. Logs Page Details
- To check sent and delivered email logs, click on the Logs button.
-
The Logs page will open, displaying two sections:
- Incoming Logs: Shows the logs of received emails.
- Delivered Logs: Displays the logs of successfully sent emails.