Introduction
This document provides a comprehensive step-by-step guide for DSAs to apply for a loan using the RuConnect platform. It highlights mandatory and optional fields, supported by screenshots, to ensure clarity and completeness.Step 1: Access the RuConnect Platform
- URL: Open the RuConnect platform at https://ruconnect.in/.
- Login
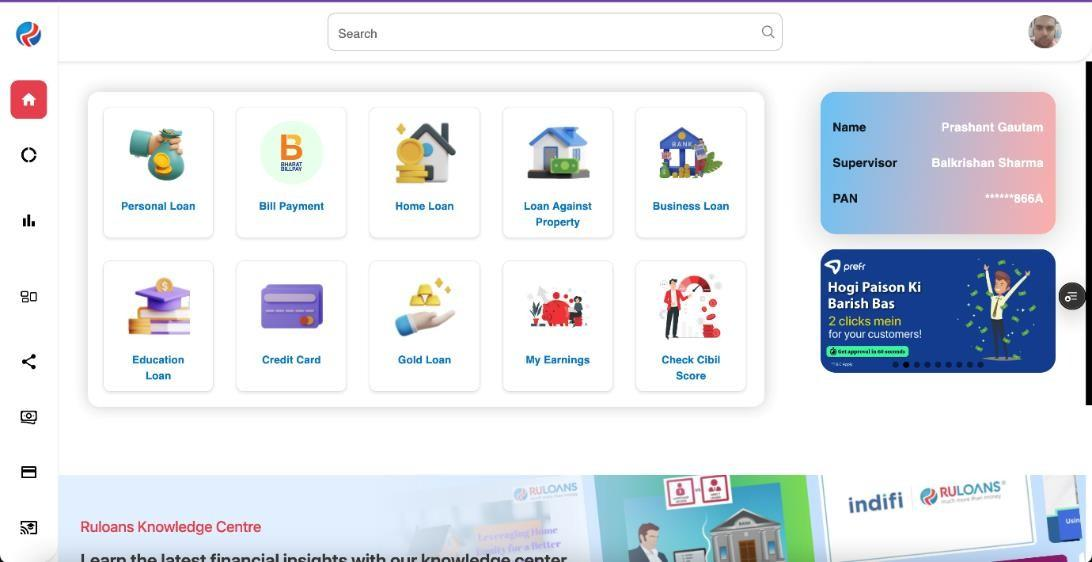
Step 2: Navigate to the Dashboard
- After successful login, you will land on the Dashboard.
- The Dashboard provides:
- Quick Access Links: Links to personal loans, home loans, and other products.
- Status Overview: Displays details of ongoing or past applications.
Step 3: Provide Pincode
In this step, the user is prompted to enter their pincode. This information is likely used to determine their geographical location and provide relevant services or options based on their area.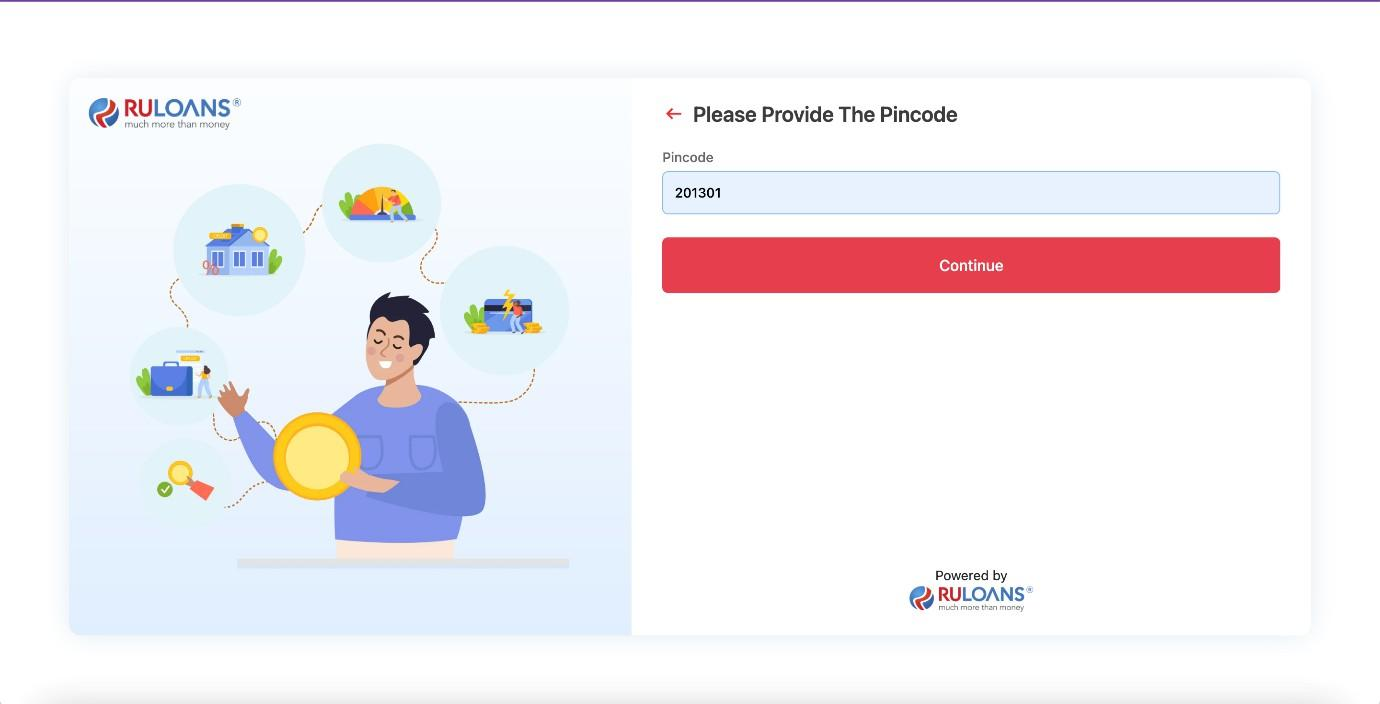
Step 4: Select the Loan Provider
- On the “Please Select The Provider” page, a list of available loan providers will be displayed.
- Examples include Tata BL, LENDINGKART, Piramal, and Piramal Capital & Housing Finance.
- From the options, select the desired loan provider to proceed with the application.
- The selected provider will be highlighted (as shown in the screenshot).
- Click on the Continue button to move to the next step.

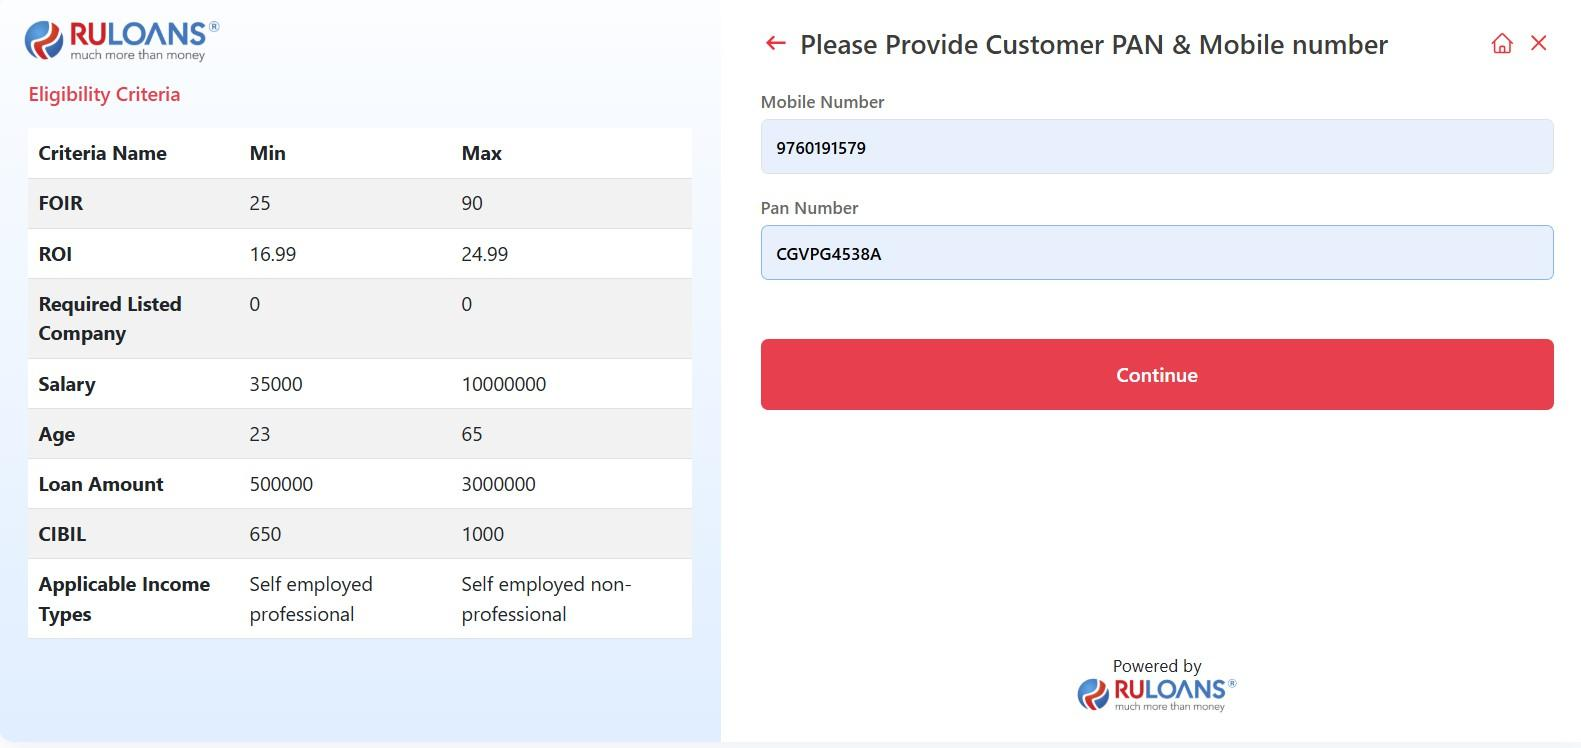
Step 5: Enter Customer PAN & Mobile Number
- On the “Eligibility Criteria” page, review the eligibility requirements for the loan:
- FOIR: 25% to 90%
- ROI: 16.99% to 24.99%
- Salary: ₹35,000 to ₹10,000,000
- Age: 23 to 65 years
- Loan Amount: ₹500,000 to ₹3,000,000
- CIBIL: 650 to 1000
- Application Income Types: Self-employed professional and non-professional
- Enter the customer’s PAN Number:
- Ensure the PAN number is valid and correctly entered.
- Enter the Customer’s Mobile Number:
- Provide a valid mobile number for communication and verification purposes.
- Click on the Continue button to proceed to the next step.
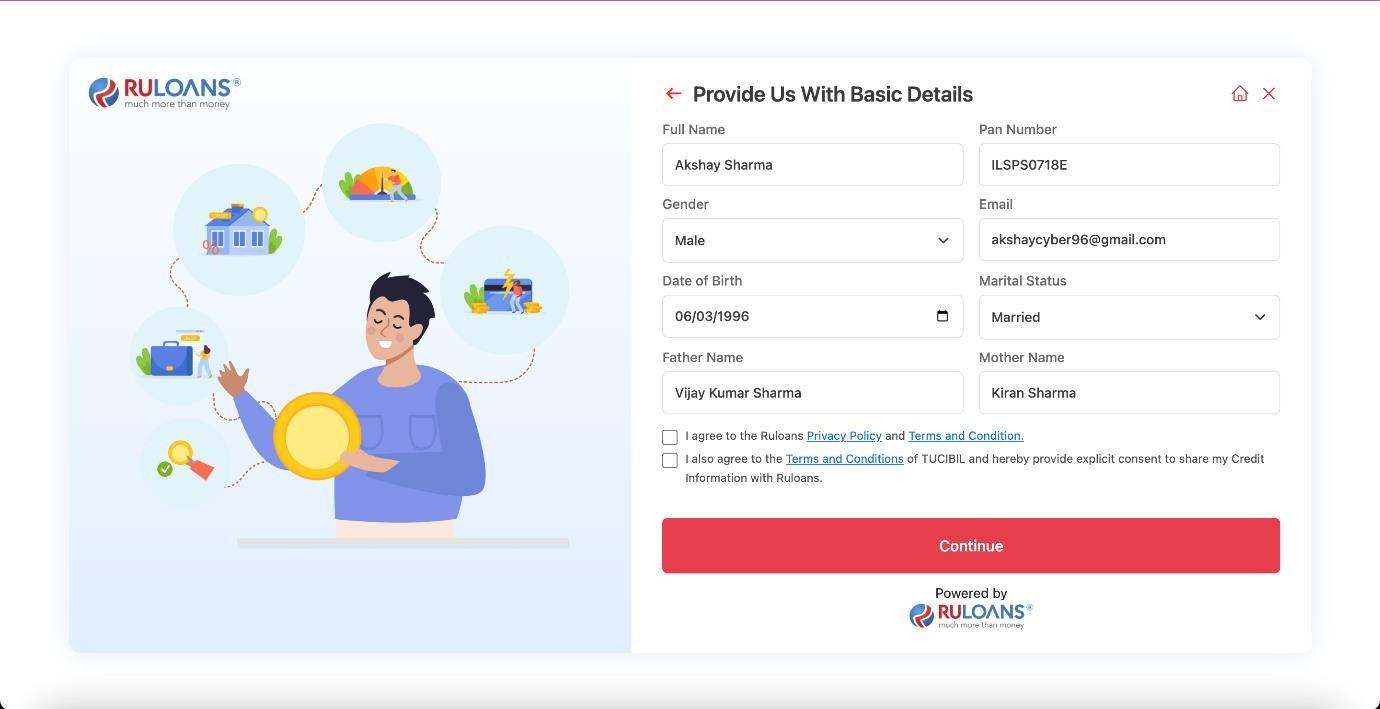
Step 6: Provide Basic Details
- Fill out the basic information form:
- Full Name (Mandatory)
- Email Address (Mandatory)
- Contact Number (Pre-filled) Check the box to agree to the terms and conditions.
Step 7: OTP Verification
- Enter the 4-digit OTP sent to your registered mobile number in the input fields.
- If you haven’t received the OTP, wait for the resend option to be enabled after the countdown.
- Click the “Continue” button to proceed.

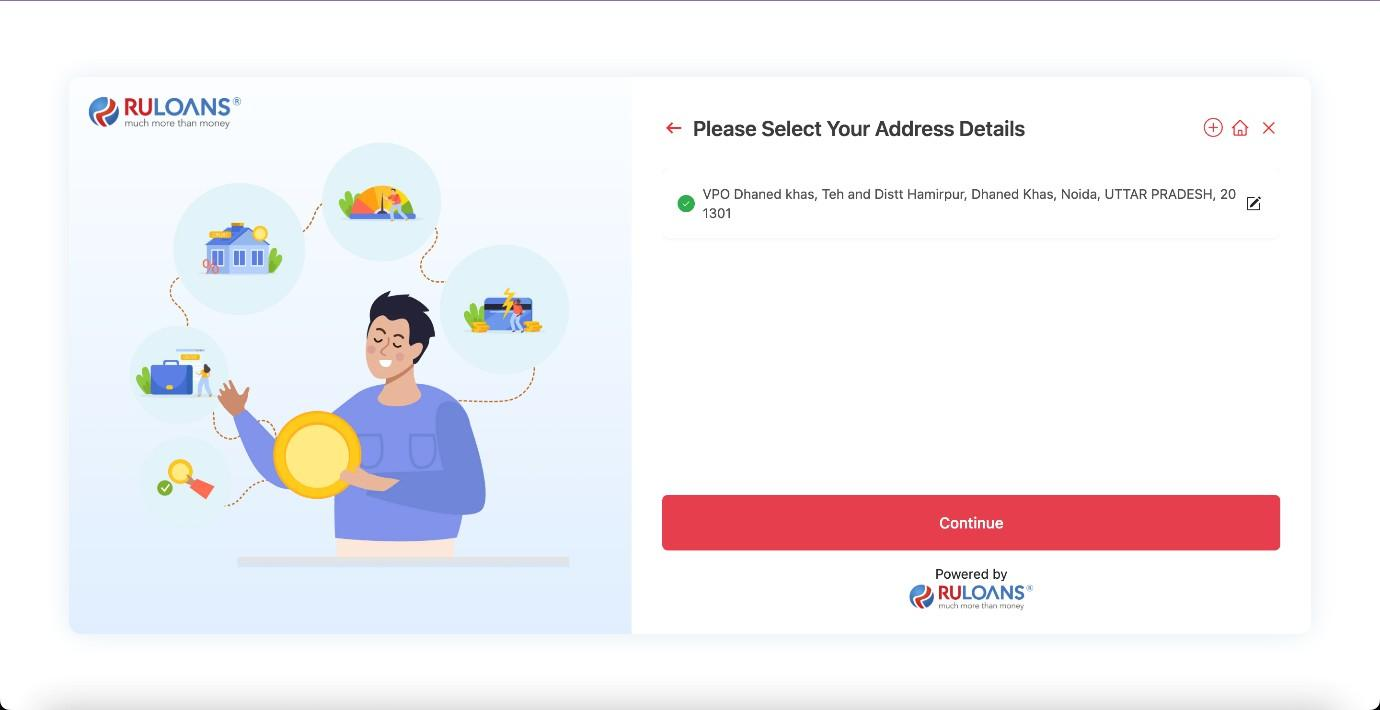
Step 8: Enter Address Details
- Provide your residential address:
- House/Flat Number (Mandatory)
- Street/Locality (Mandatory)
- City, State, and PIN Code (Mandatory)
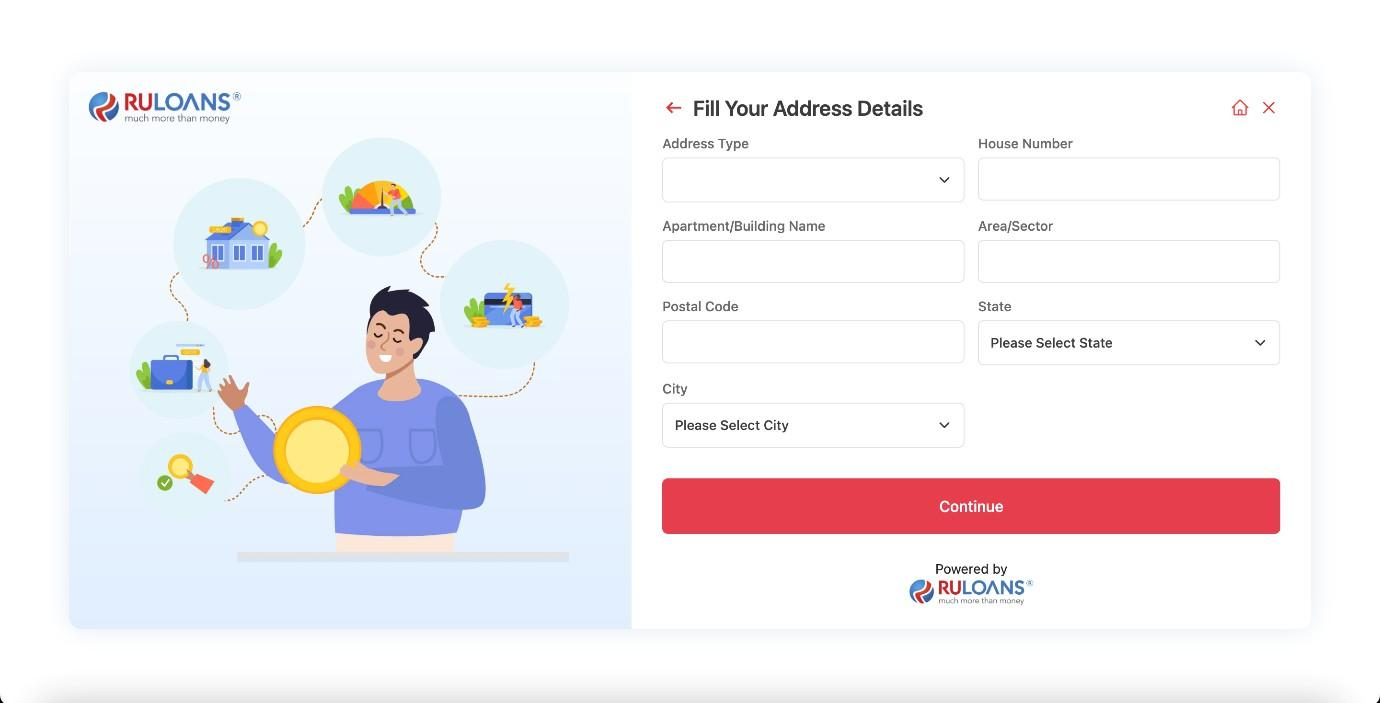
- If applicable, select the checkbox to provide an alternate address (Optional).
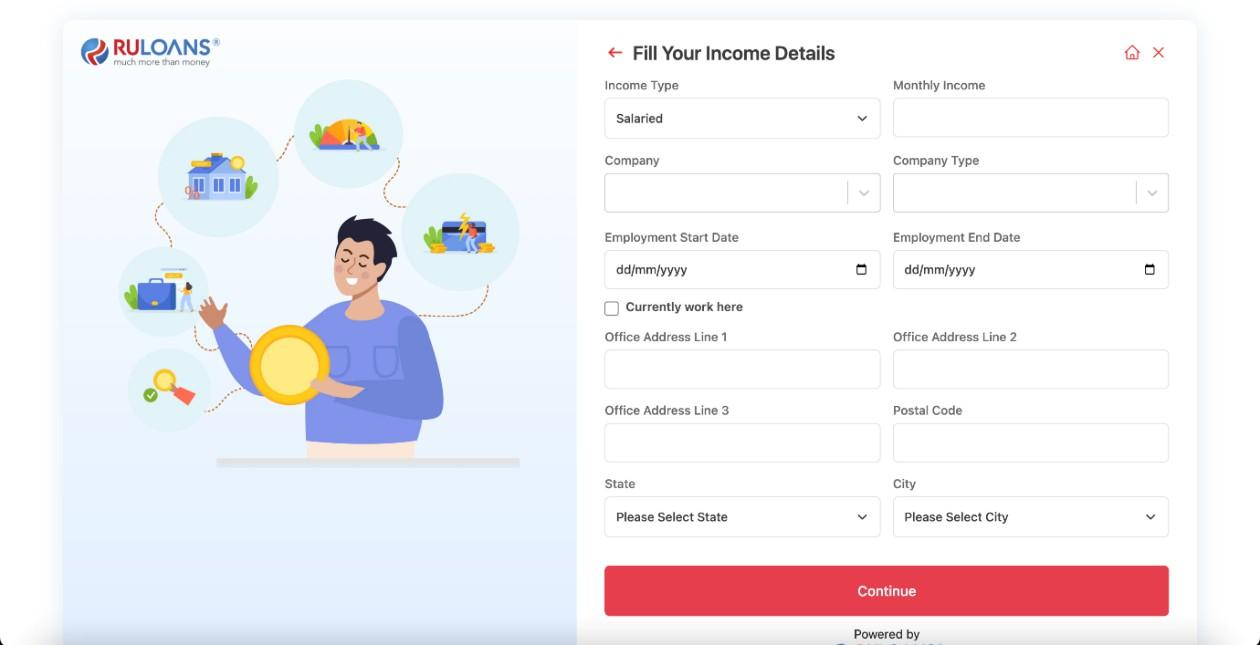
Step 9: Fill Your Income Details in a financial or loan application process. Here’s a description of the step:
- Purpose: The form collects details about the applicant’s income and employment information to assess their financial stability.
- Fields to Fill:
- Income Type: Choose between options like salaried, self-employed, etc.
- Monthly Income: Enter the monthly income in numeric value.
- Company: Specify the name of the employer.
- Company Type: Choose the type of company (e.g., private, government, etc.).
- Employment Start and End Dates: Input the tenure of employment.
- Option to mark “Currently Work Here” for ongoing employment.
- Office Address: Enter the detailed office address (Line 1, Line 2, Line 3, Postal Code).
- State and City: Select the state and city from dropdown menus.
- Action Button: Continue - Once all fields are filled, the user proceeds to the next step.
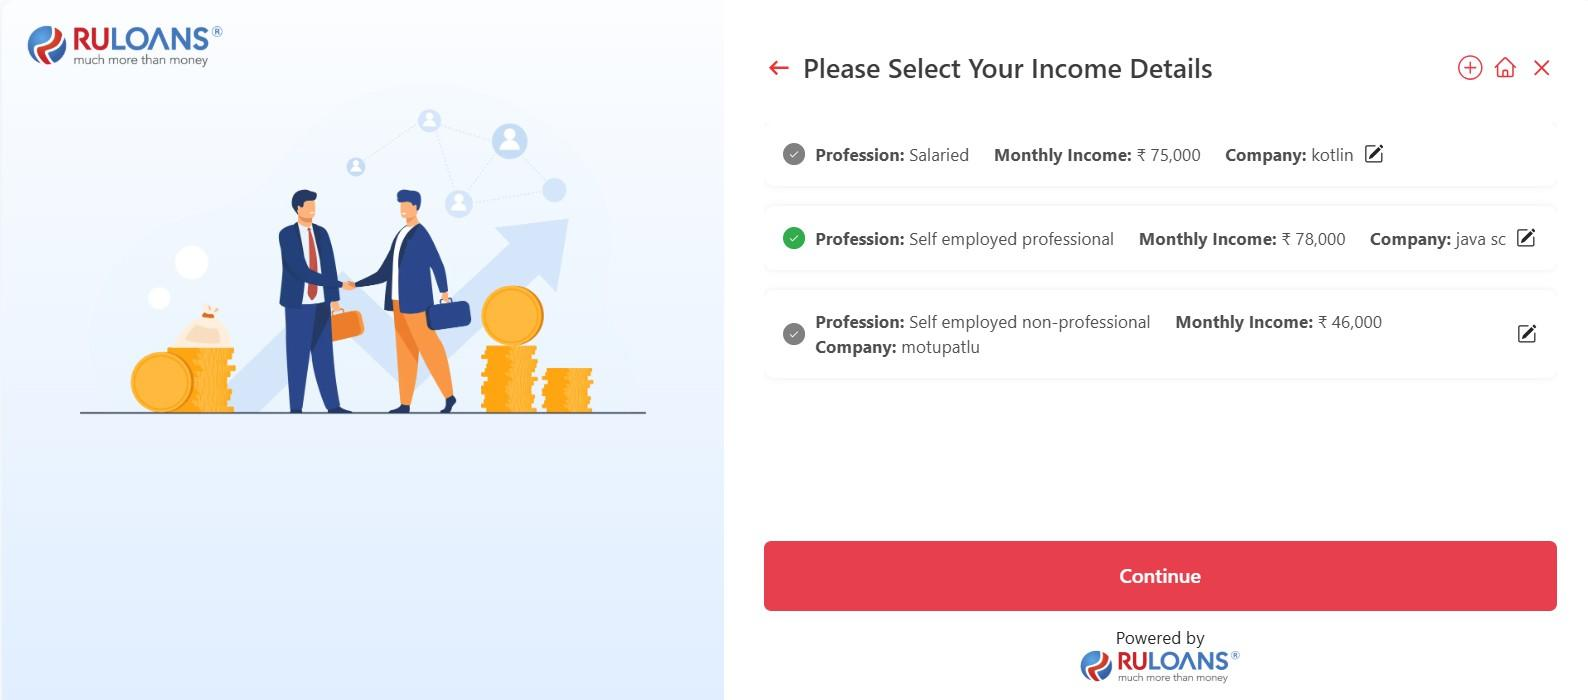
Step 10: Verify Income Details
- On the “Please Select Your Income Details” page, you will be presented with options to specify your income details:
- Profession: Choose from the available options such as Salaried, Self-employed professional, or Self-employed non-professional.
- Monthly Income: Enter your monthly income. Examples provided include:
- Salaried: ₹7,75,000 (Company: Kotlin)
- Self-employed professional: ₹7,78,000 (Company: Java SC)
- Self-employed non-professional: ₹4,46,000 (Company: Mouqnatu)
- Select the appropriate profession that matches your employment status.
- Enter your Monthly Income accurately to ensure proper assessment of your loan eligibility.
- Click on the Continue button to proceed to the next step.
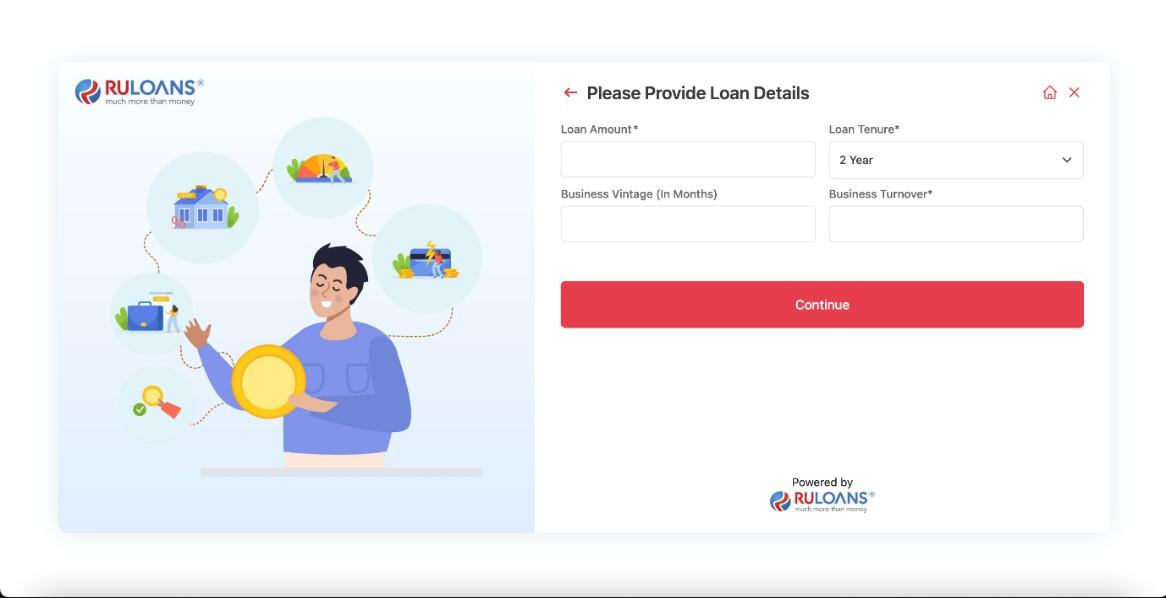
Step 11: Provide Loan Details
- Loan Amount:
- Enter the desired loan amount in the input field (Mandatory).
- Loan Tenure:
- Choose the loan tenure from the dropdown menu (e.g., 2 Years, 3 Years) (Mandatory).
- Business Vintage (in Months):
- Provide the duration of your business operation in months (Optional, if applicable).
- Business Turnover: -specify your business’s annual turnover (Mandatory).
- After completing the fields, click on the Continue button to proceed to the next step.
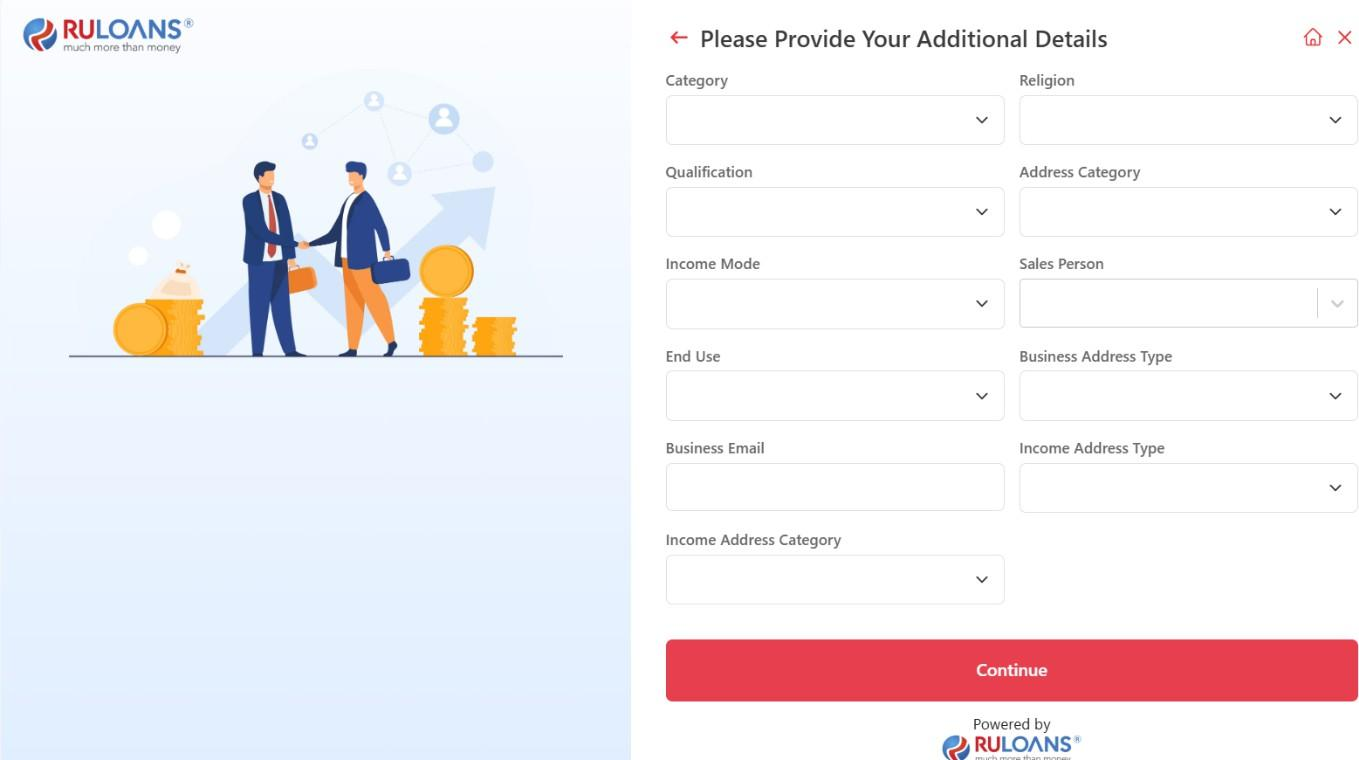
Step 12: Provide Additional Details
- On “Please Provide Your Additional Details” page, you will need to fill in various additional details to complete your loan application. The categories include:
- Religion
- Qualification
- Address Category
- Income Mode
- Sales Person
- End Use
- Business Address Type
- Business Email
- Income Address Type
- Income Address Category
- Fill in the required information for each category accurately to ensure your application is processed smoothly.
- Click on the Continue button to proceed to the next step.
Step 13: Application Status
- Click “Continue” on the RULOANS platform.
- You will be redirected to the lender’s website to complete the application.
 If the application is rejected:
- On the “Application Status” page, you will see a message regarding the status of your loan application:
- Application ID:
- Status: Rejected
- Next Steps:
- Contact Support: For further assistance, you can connect with the support team at 1800 266 7576 or send an email.
- Click on “Go back to Home” to return to the main page and explore other options.