 Fig. 1 — Invoice signing request email with instructions
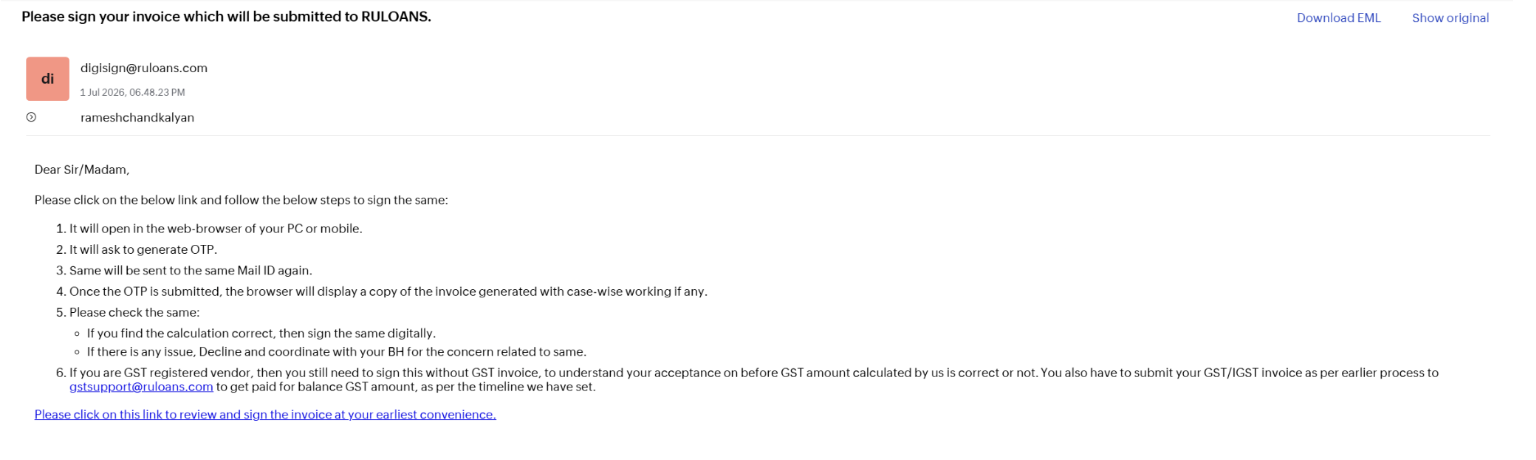
- Click the link at the bottom of the email: “Please click on this link to review and sign the invoice at your earliest convenience.”
- The link opens the signing portal in the web browser of your PC or mobile device.
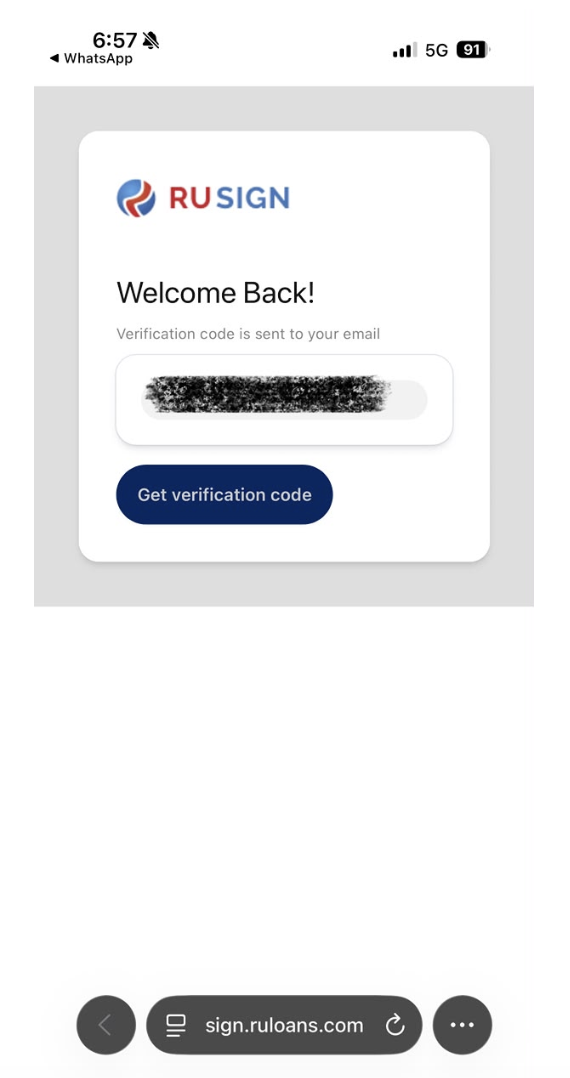 Fig. 2 — RUSign portal: request verification code
- Tap/click “Get verification code.”
- An OTP is sent to the same email address the invoice was sent to.
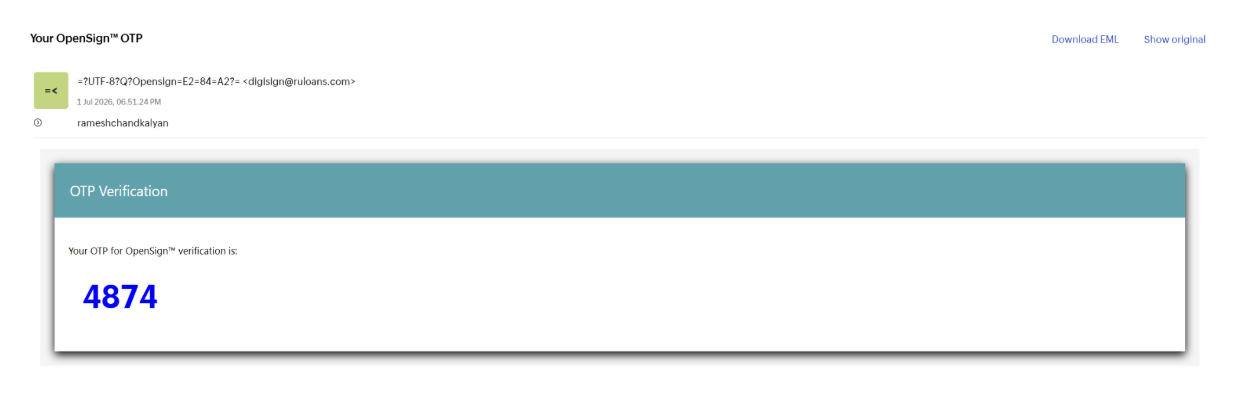 Fig. 3 — OTP verification email
- Copy the OTP shown in the email.
- Enter it on the portal to proceed.
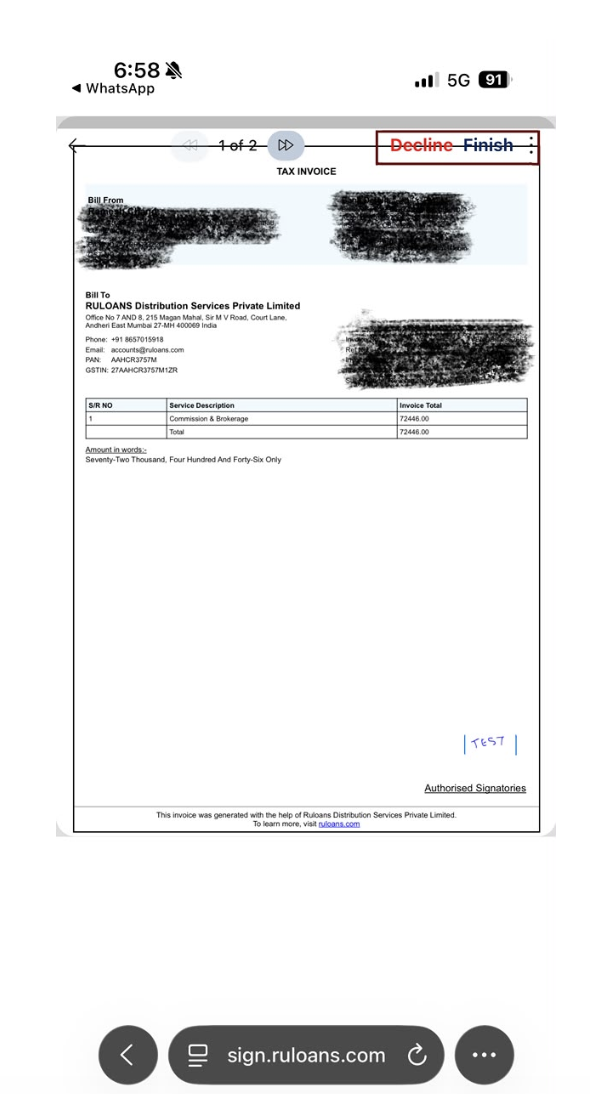 Fig. 4 — Invoice loaded with Decline / Finish options
- If the calculation is correct: sign the invoice digitally in the signature field.
- If there is an issue: select “Decline” and coordinate with your Business Head (BH) regarding the concern.
- GST-registered vendors: still sign this copy (without GST) to confirm the pre-GST amount is correct, and separately submit the GST/IGST invoice to [email protected] as per the usual process.
| ⚠ IMPORTANT: After signing, you must click “Finish” (or “Decline” if rejecting) — this is the most critical step. The invoice status is updated in the system only after Finish/Decline is clicked. Simply signing is not enough. |
|---|
 Fig. 5 — Confirmation: “Document signed — Congratulations!”
- Wait until the “Congratulations! This document has been successfully signed by all participants!” pop-up appears.
- Once this pop-up is visible, the process is complete and the invoice status is updated on the backend.